Document analysis
Introduction
Document analysis lets Flowable read an uploaded document for the user and fill in the rest of the form automatically. When you enable it on an attachment component, every document a user uploads to that field is sent to a document agent that first classifies the document (determines what type of document it is) and then extracts structured data from it. The extracted values are proposed as values for other fields on the same form — and nothing is written until the user has reviewed and approved them.
A typical example is an onboarding or claims form where the user has to upload a document (an ID card, an invoice, a policy letter, an email) and then re-type the same information into a set of form fields. With document analysis enabled, the user only uploads the document: the agent recognises the document type, pulls out the relevant fields, and offers to fill them in. The user checks the suggestions, corrects anything that looks wrong, and applies them with a single click.
Document analysis is one of the Content AI features that run on the attachment component. It is complementary to the interactive content analysis features (ask AI about content, translate, sentiment analysis): those are triggered on demand by the user, while document analysis runs automatically as soon as a document is uploaded.
The same automatic classification can also be applied to incoming email: an email inbound channel can store each received email and its attachments as content items and classify them, without a form being involved at all. This is described on the Unstructured data classification page.
 Opt-in feature
Document analysis relies on the runtime AI features of Flowable Work. Make sure AI has been enabled and configured in your installation, otherwise the option has no effect at runtime.
How it works
When a user uploads a document to an attachment component that has document analysis enabled, the following happens behind the scenes:
- Upload – The file is uploaded as a provisional content item. It is linked to the form field but is not yet stored as a definitive attachment, so the extraction can run before the form is submitted.
- Preview rendition – A preview of the document is generated. Office documents, text, Markdown and email are converted to a PDF rendition; PDFs and images use a thumbnail rendition. This rendition is what the agent actually looks at.
- Classification – The linked document agent inspects the document and classifies it as one of the document types (content models) it has been configured to recognise. If the document does not match any of the configured types, the agent's no-match behaviour decides whether to fall back to a default type or to leave the document unclassified.
- Data extraction – For the matched document type, the agent runs its data-extraction operation and returns the extracted values as document metadata.
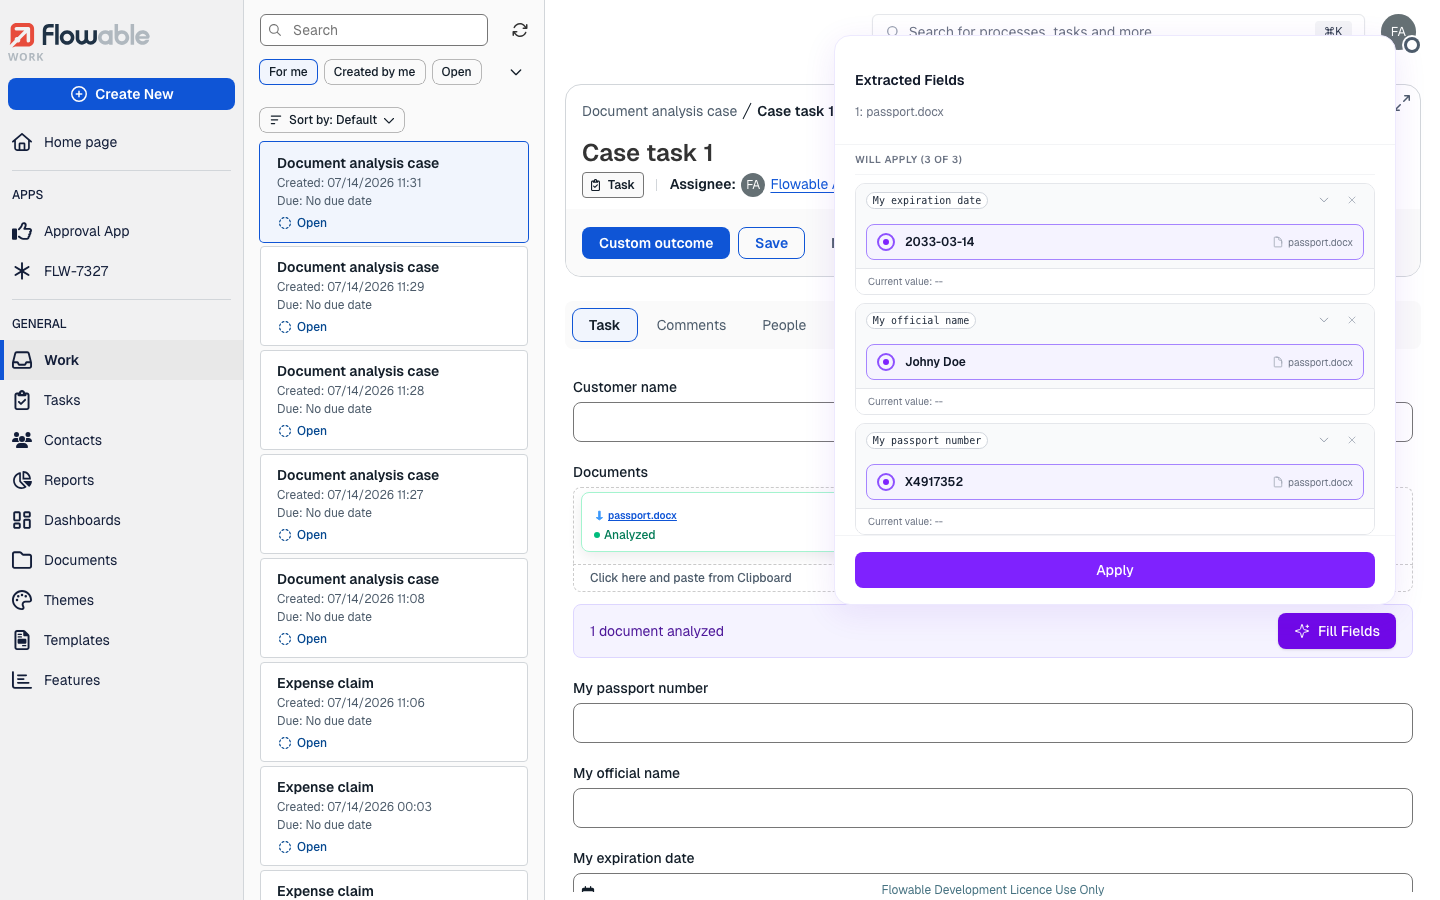
- Review and apply – The interface shows the analysis progress per file. When analysis has finished, the user opens the Extracted Fields panel, reviews the proposed values against the current form values, and applies the ones they want. Only the values the user approves are written into the form.
The whole process is automatic from the user's point of view: they upload a file and, a few moments later, are offered a set of field values to accept.
Prerequisites
Before you can enable document analysis on a form, the following need to be in place:
- AI is enabled in the Flowable Work runtime (see Setup AI in Flowable).
- A document agent exists that describes the document types to recognise and how to extract data from each of them. A document agent is an agent model of type document assistant. See the Document Agent reference for the full model.
- A content model for each document type, with a linked edit form. The fields you can extract and map are taken from that edit form, so a content model without an edit form cannot be used for mapping.
Configuring document analysis
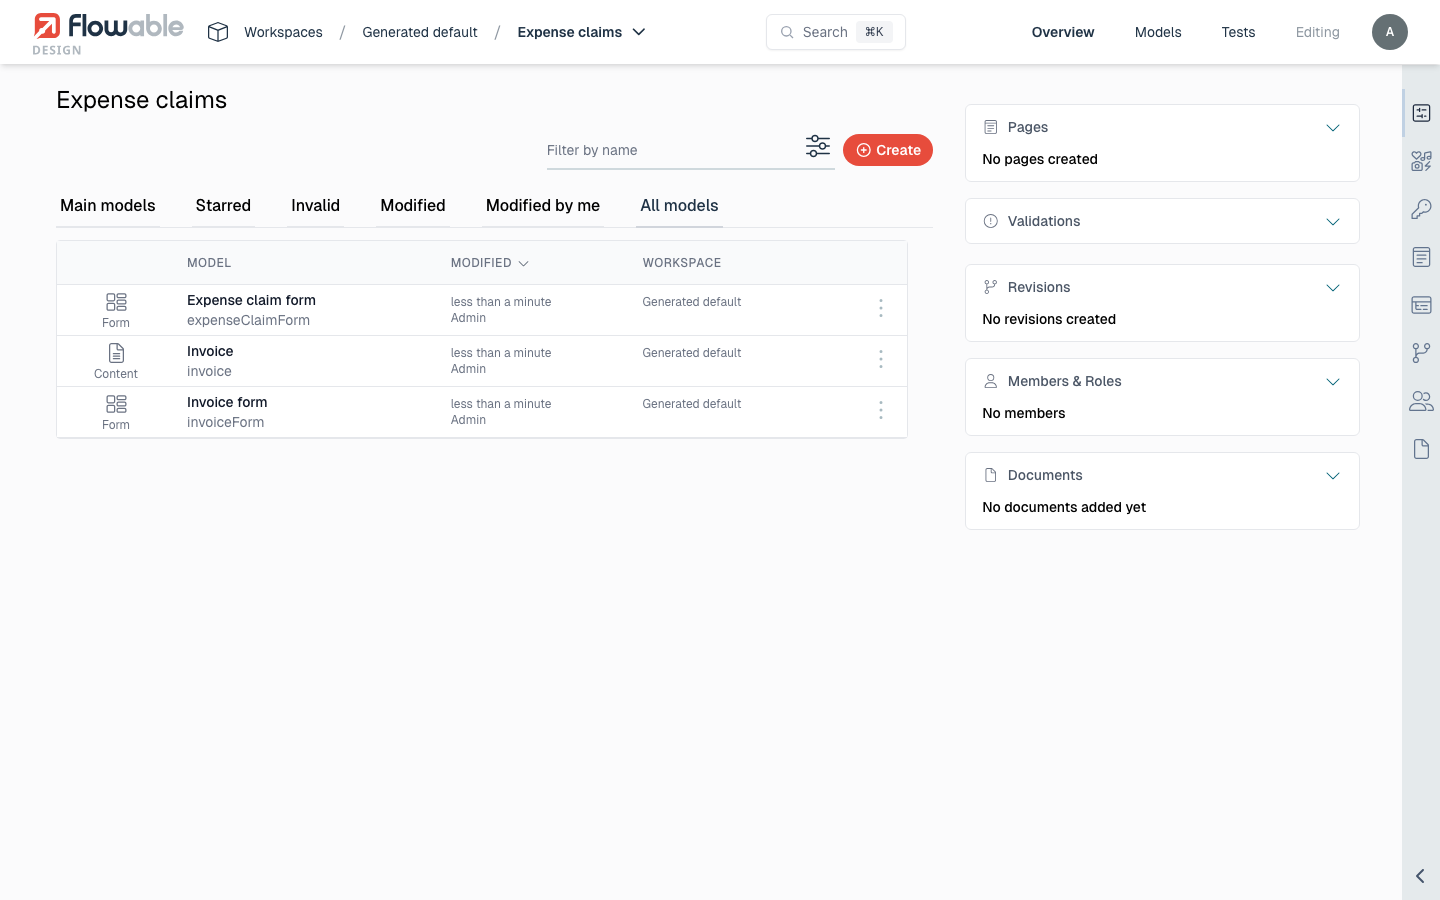
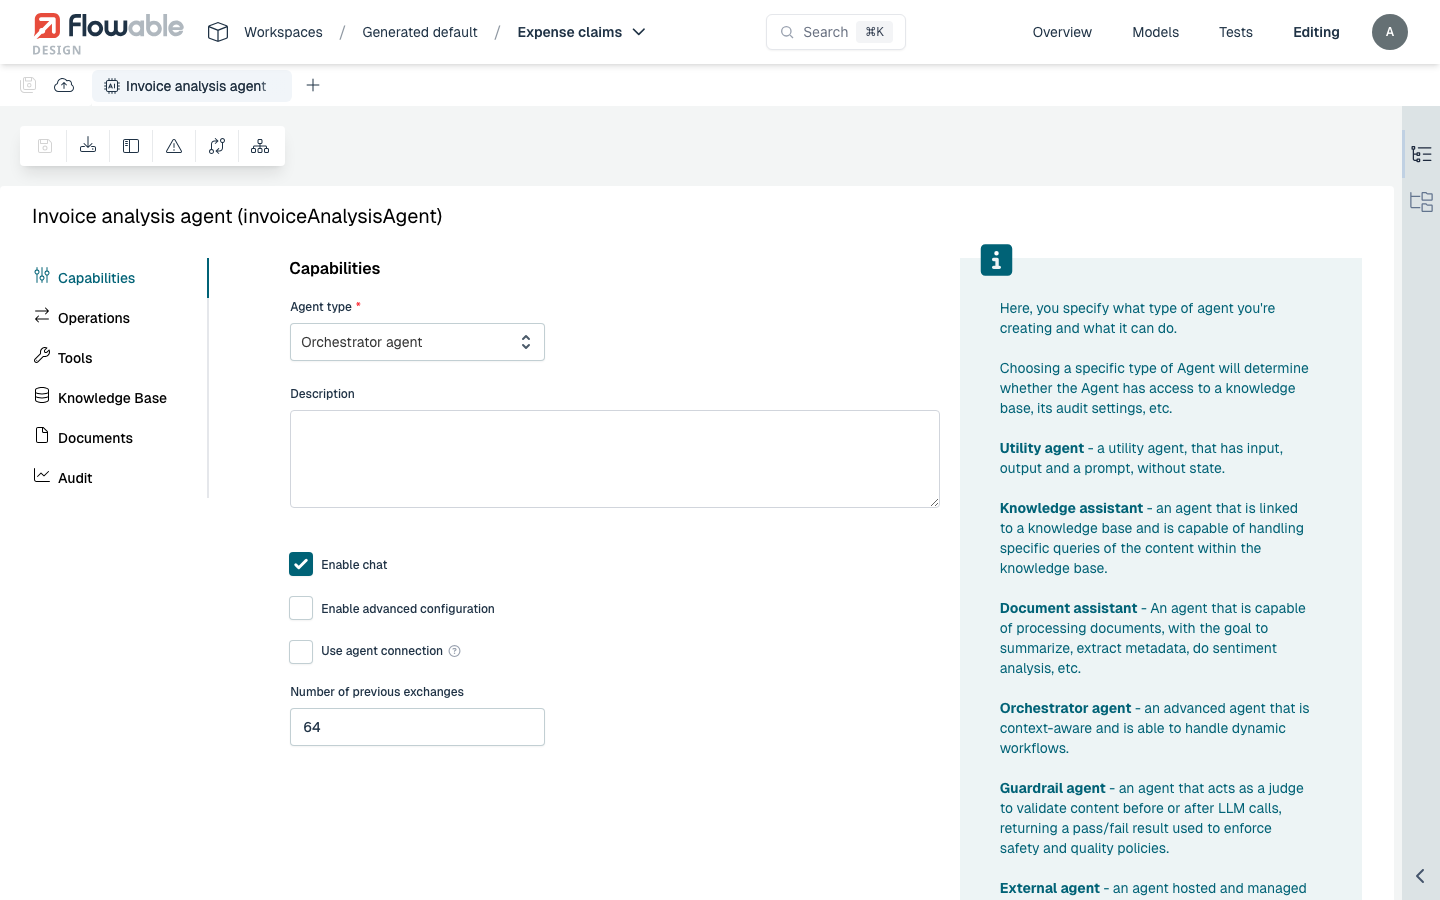
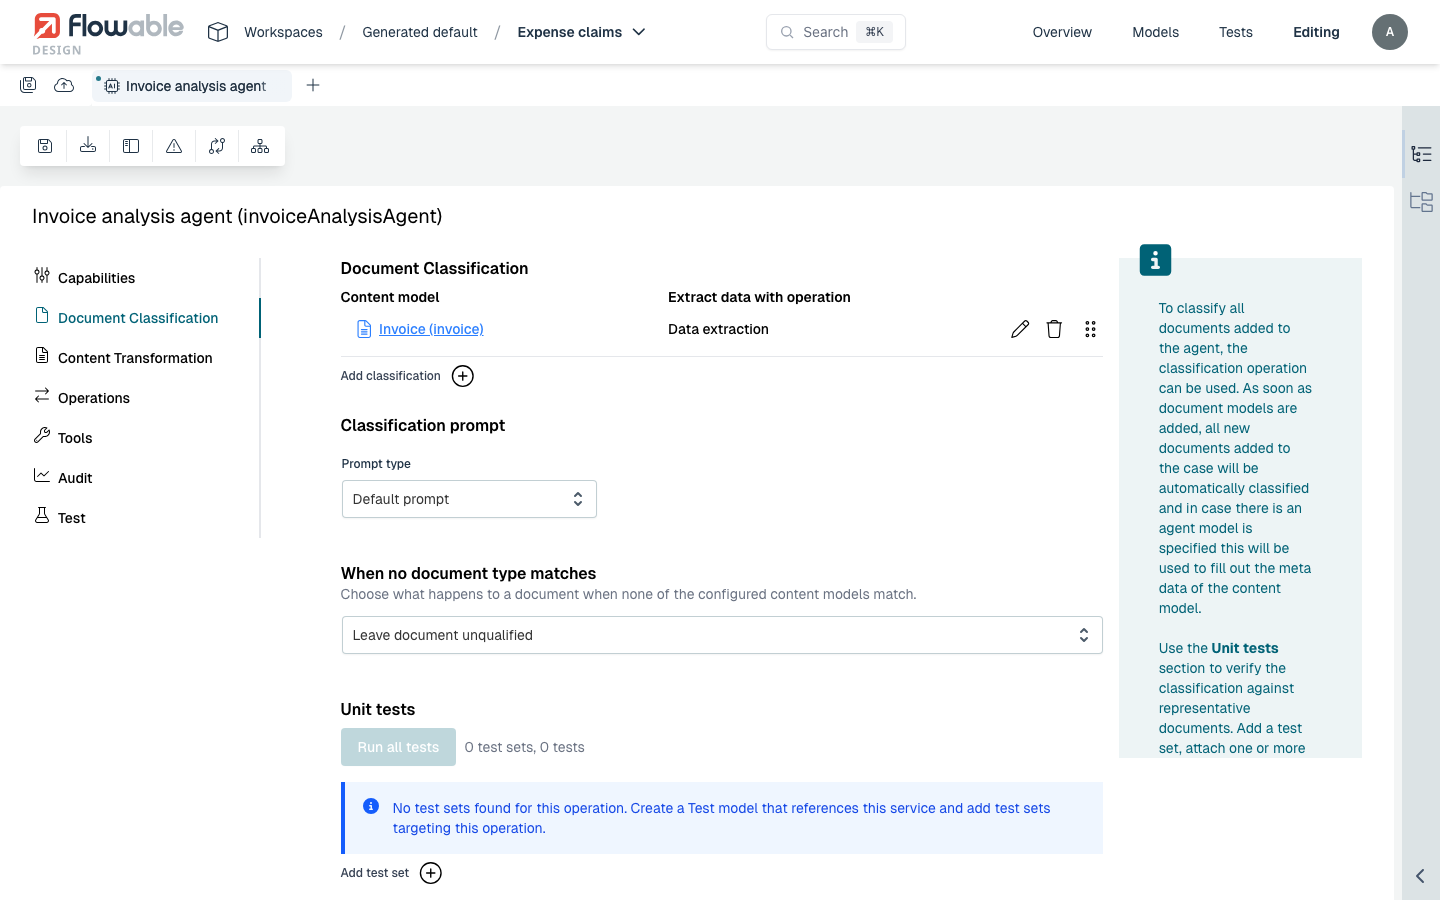
Configuration has three parts: the document agent that does the work, enabling the feature on the attachment component, and mapping the extracted fields onto the form.
1. Create the document agent
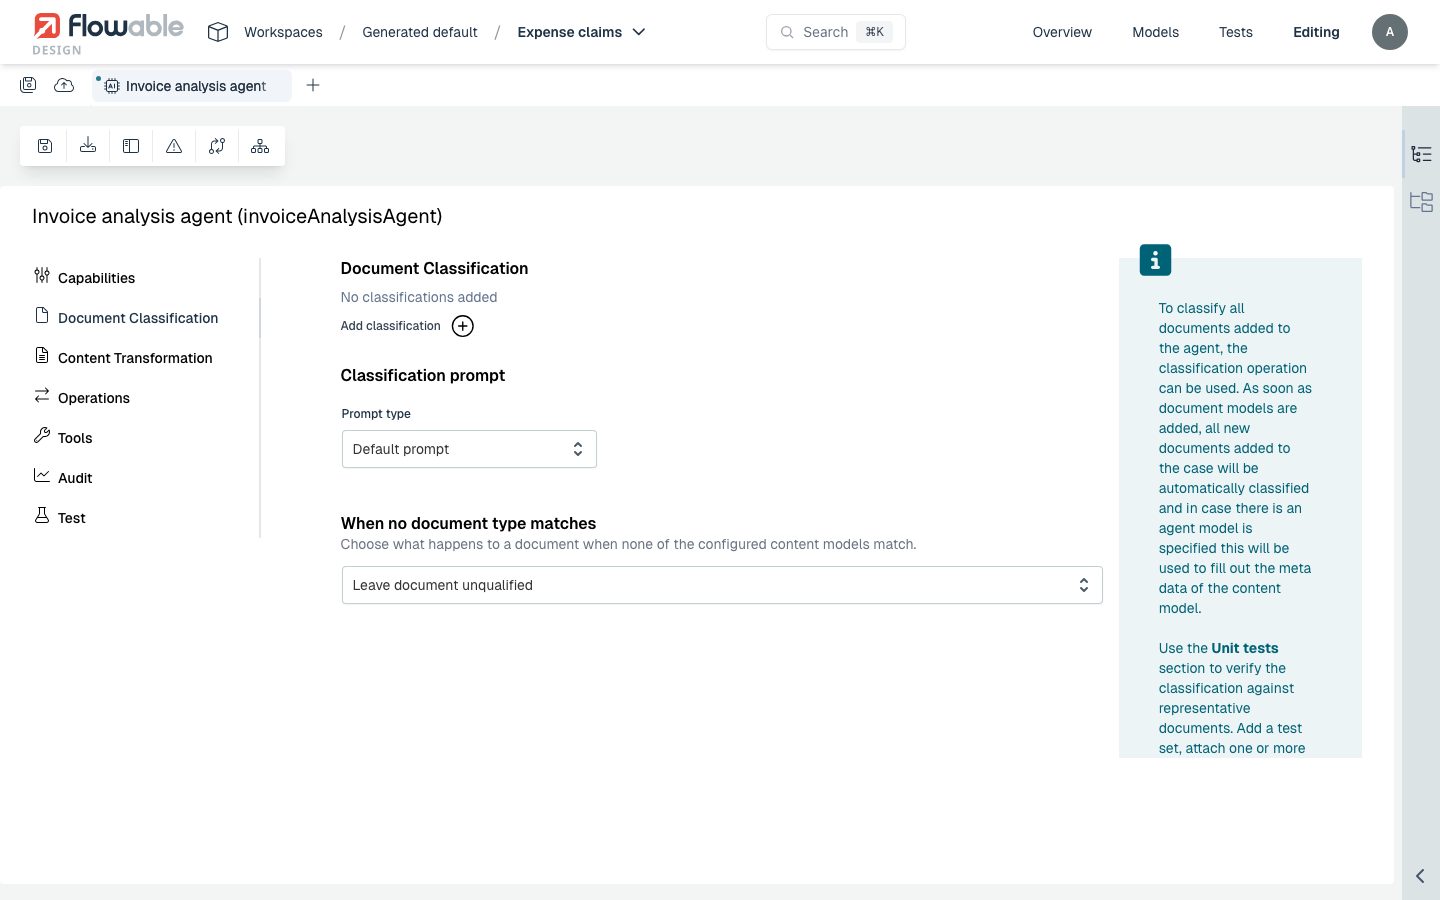
Create an agent model and set its type to document assistant. On the agent you configure two things:
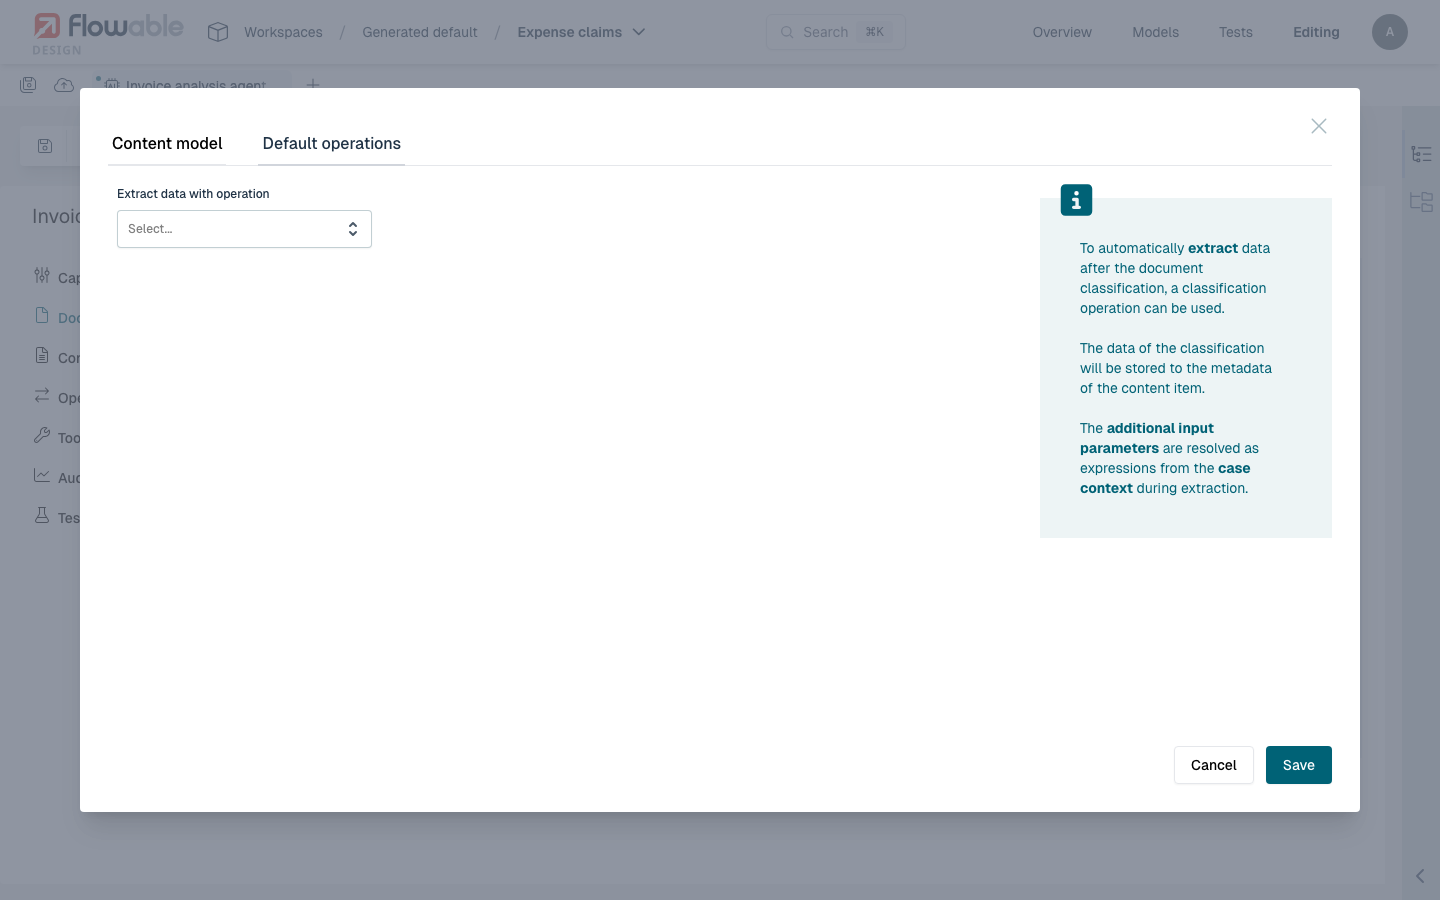
- Classification – the list of document types the agent can recognise. Each entry references a content model (the document type) and specifies which operation to use for extracting data from that type. The classification step itself is handled automatically by the agent: it decides which of the configured content models the uploaded document belongs to, or reports that none match.
- Data extraction – for each document type, a data-extraction operation that returns the fields to fill. The extraction operation takes the uploaded document (the content item) as input and produces document metadata as output. You can also pass extra inputs to the extraction — for example values already present on the running case or process — using expressions such as
${customerName}.
You can also configure a no-match behaviour for documents that do not fit any configured type: either leave the document unclassified (the default), or fall back to a configured default content model so that extraction still runs.
For the full set of options — classification behaviour, operation definitions, structured versus unstructured input, and the default content model. See the Document Agent reference.
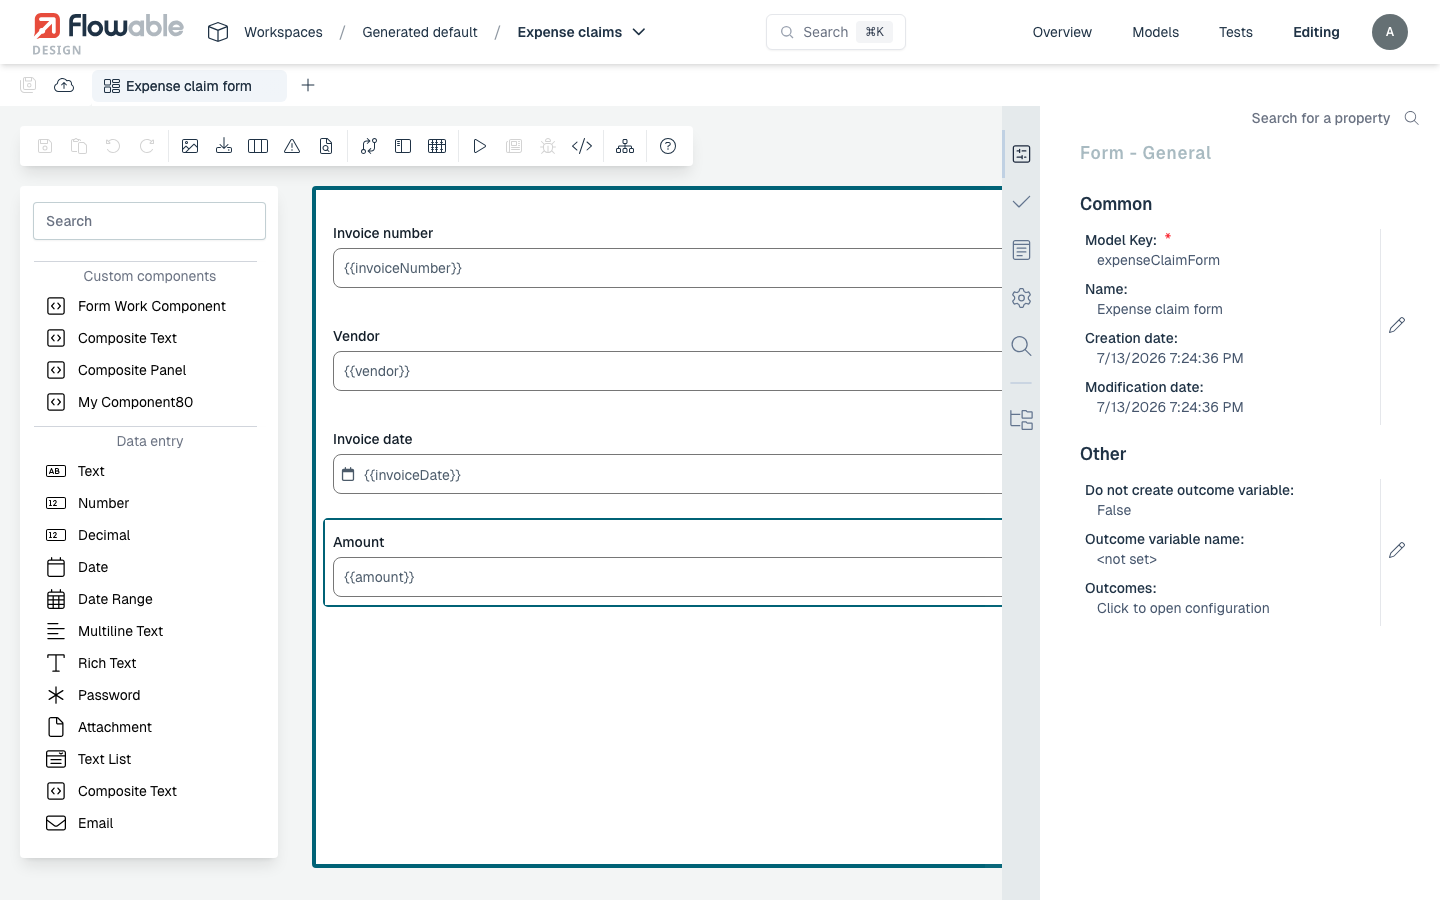
2. Enable document analysis on the attachment component
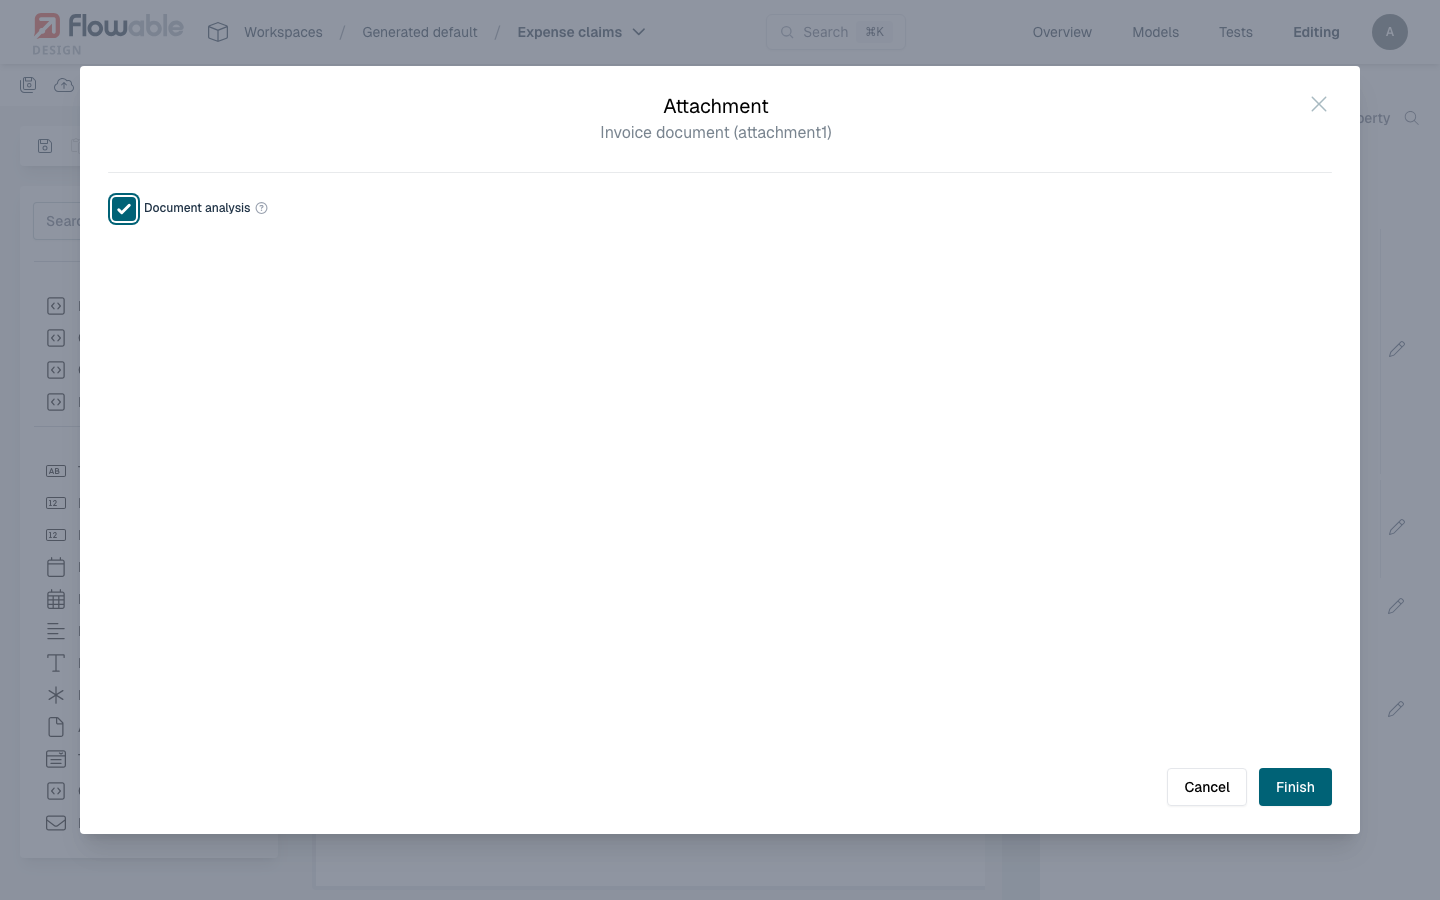
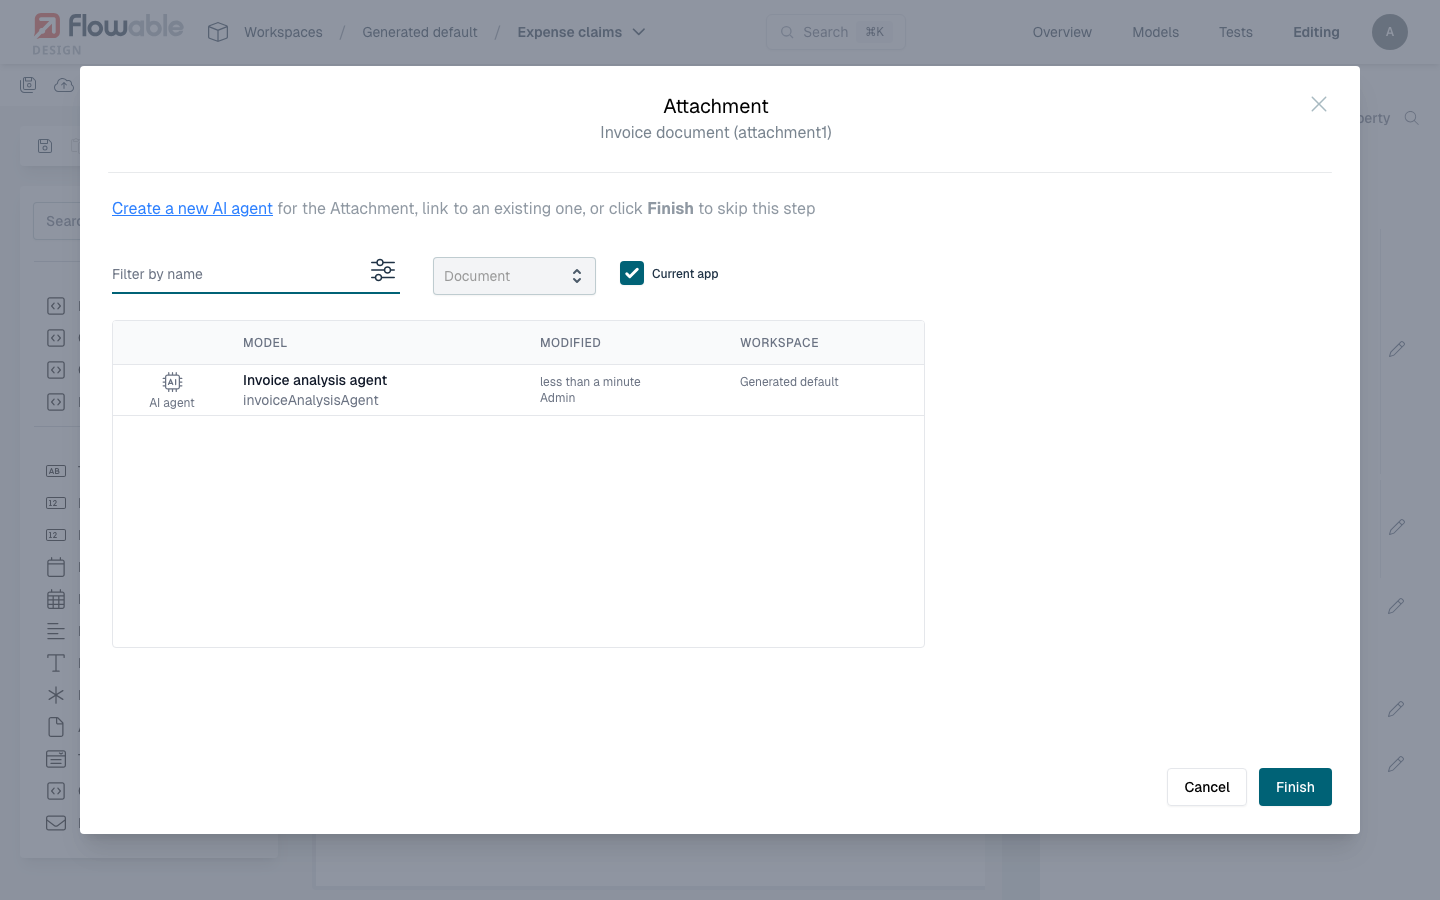
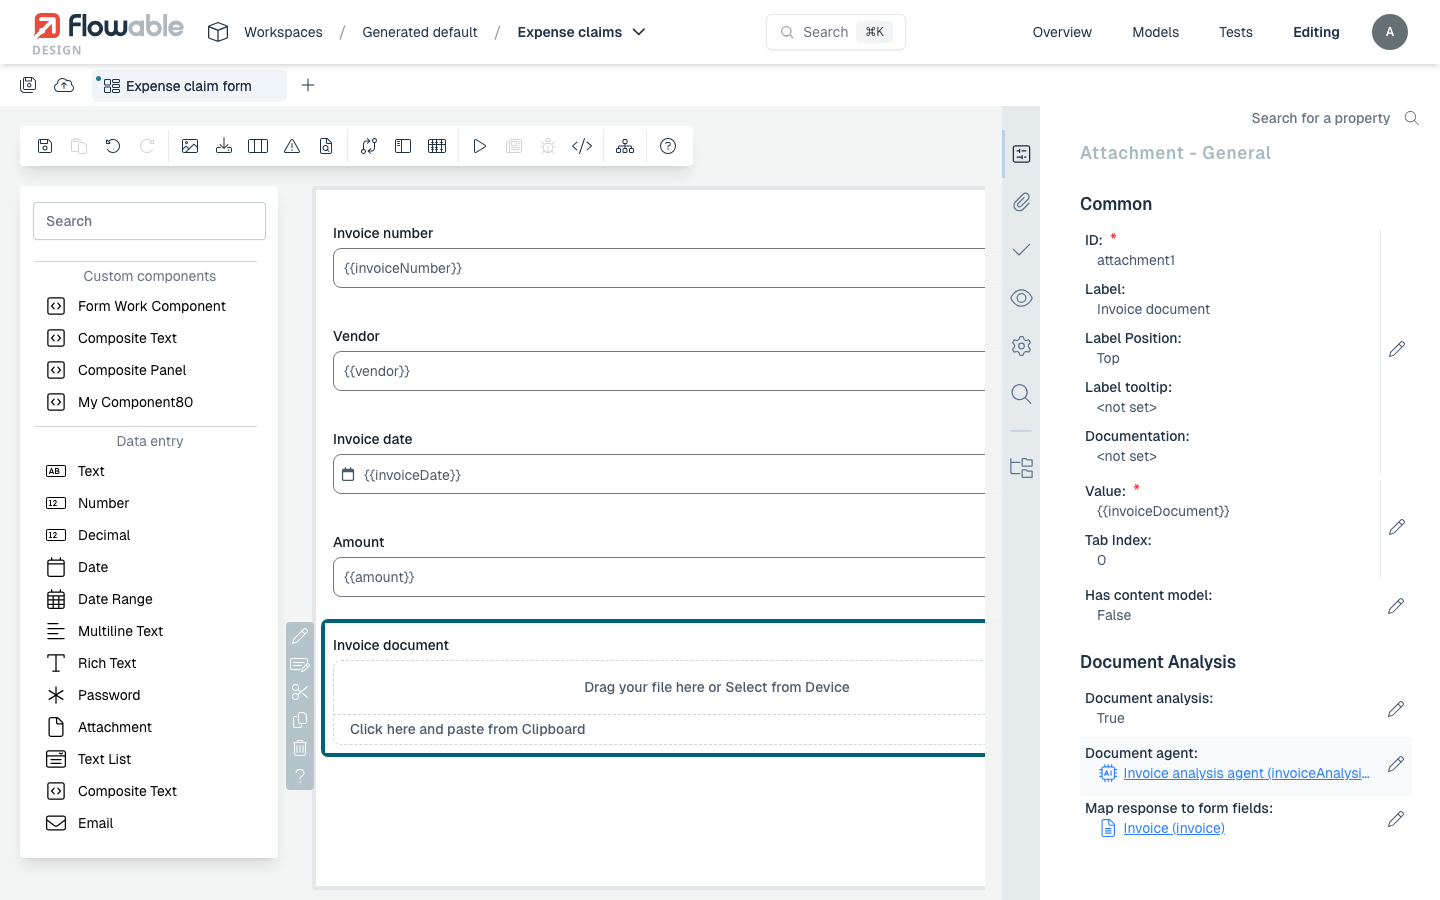
In the form editor, add an attachment component (or select an existing one) and open its Document analysis property group:
- Enable Document analysis.
- Select the Document agent you created. The picker only lists agent models of the document assistant type.
Once a document agent is selected, the Map response to form fields option appears, which is where you connect the agent's output to the form.
3. Map extracted fields to form fields
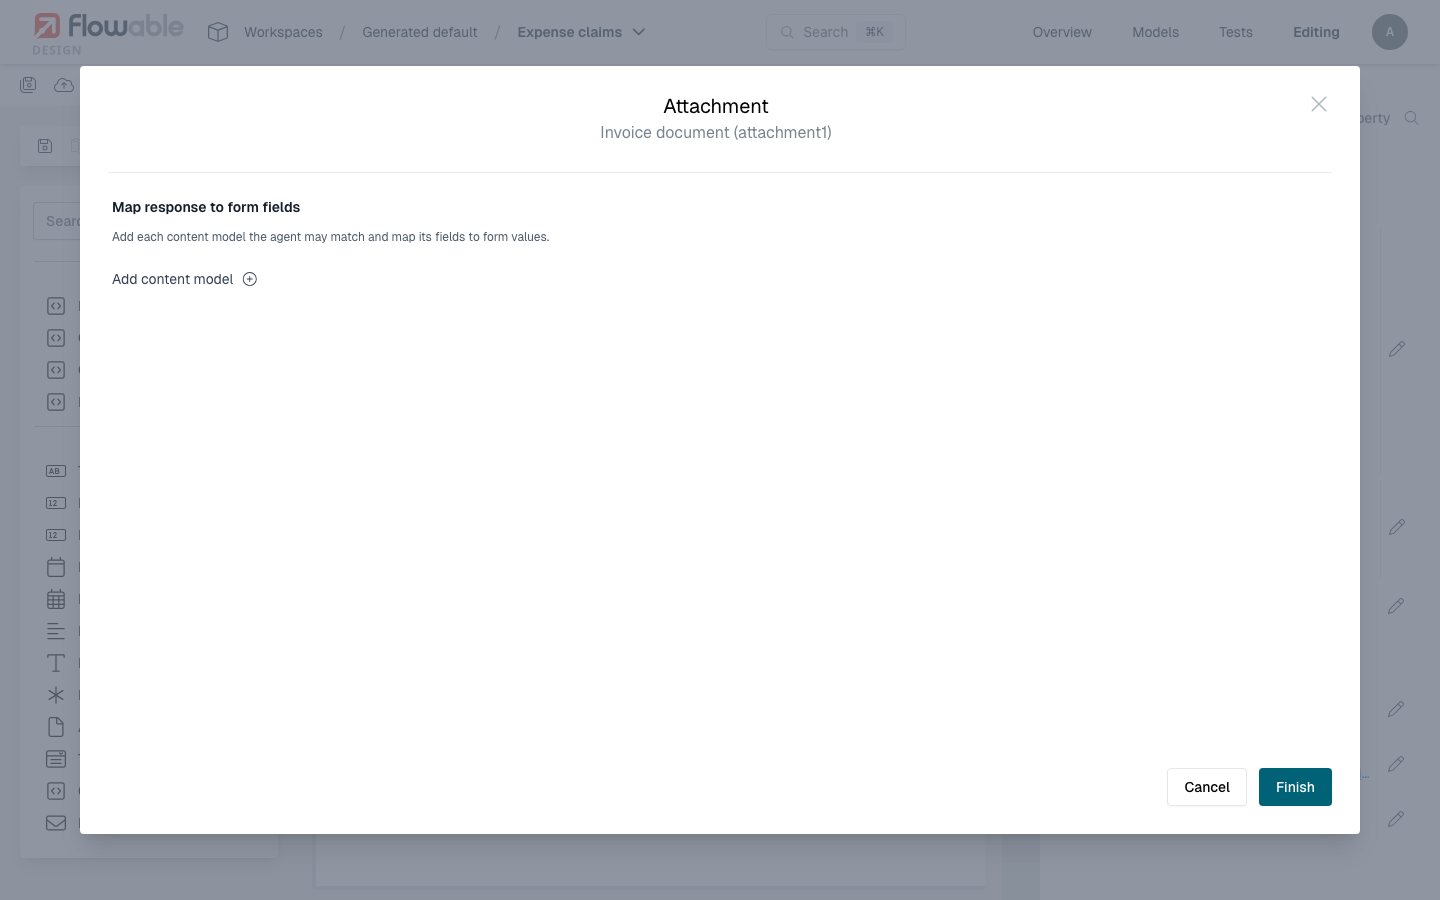
Use Map response to form fields to tell Flowable which extracted value goes into which form field. The mapping is defined per document type:
- Add an entry for each content model (document type) the agent may classify a document as. The available content models come from the document agent you selected.
- For each content model, map its fields to fields on your form. The list of source fields is taken from the content model's edit form, so a content model without an edit form is shown as disabled and cannot be mapped.
- Use Map fields automatically to fill the mapping by matching names (each form field is set to the extracted field with the same name), then adjust individual rows as needed.
Because the mapping is per document type, a single form can handle several kinds of documents: whichever type the agent detects determines which set of mappings is applied when the values are filled in.
The end-user experience
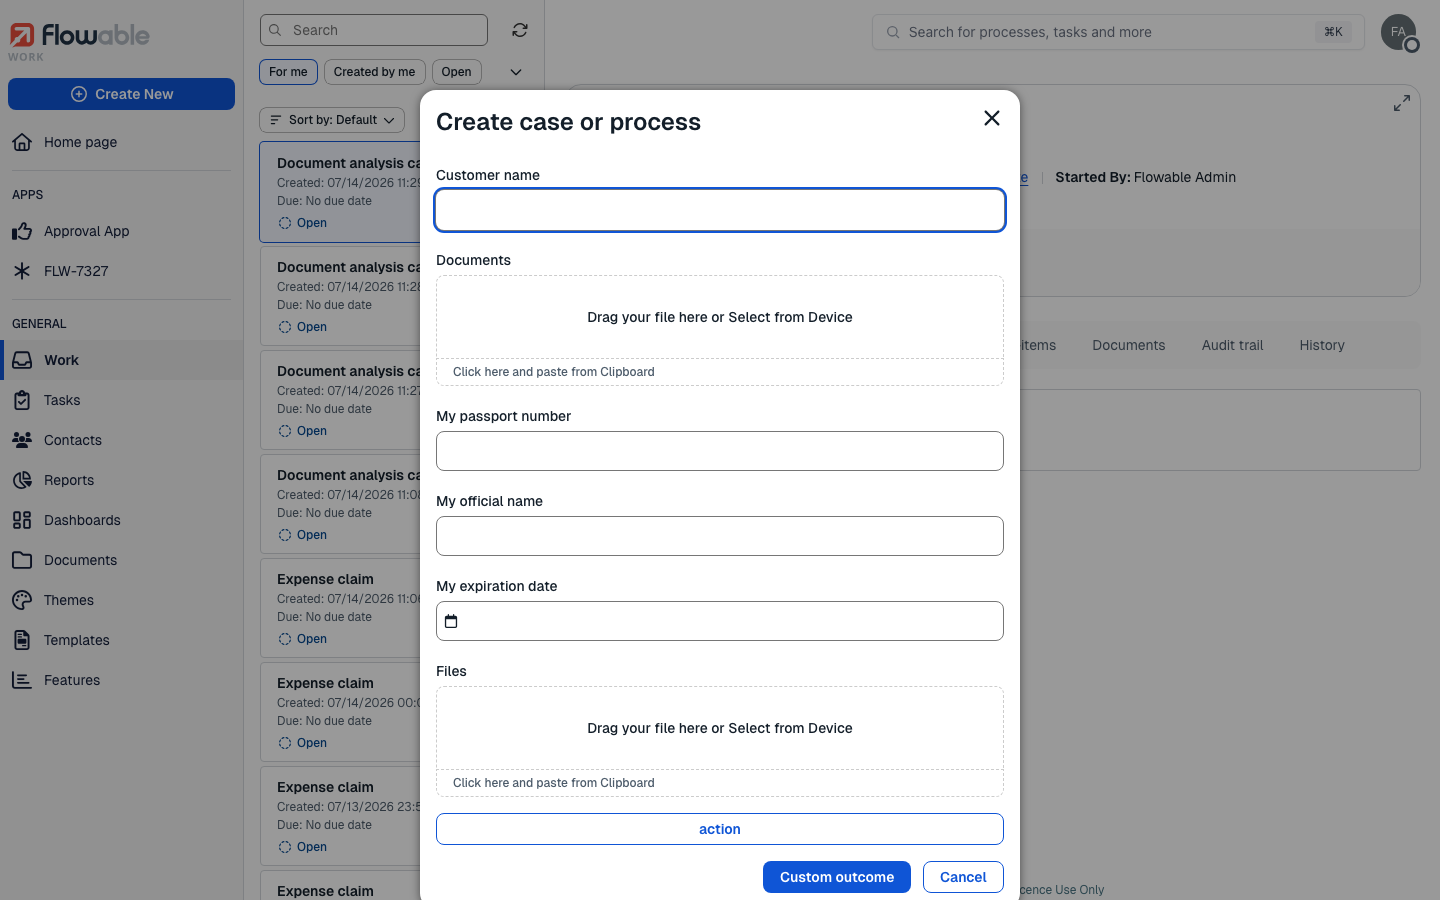
At runtime the user simply uploads a document to the attachment field; analysis starts automatically.
Upload and analysis status
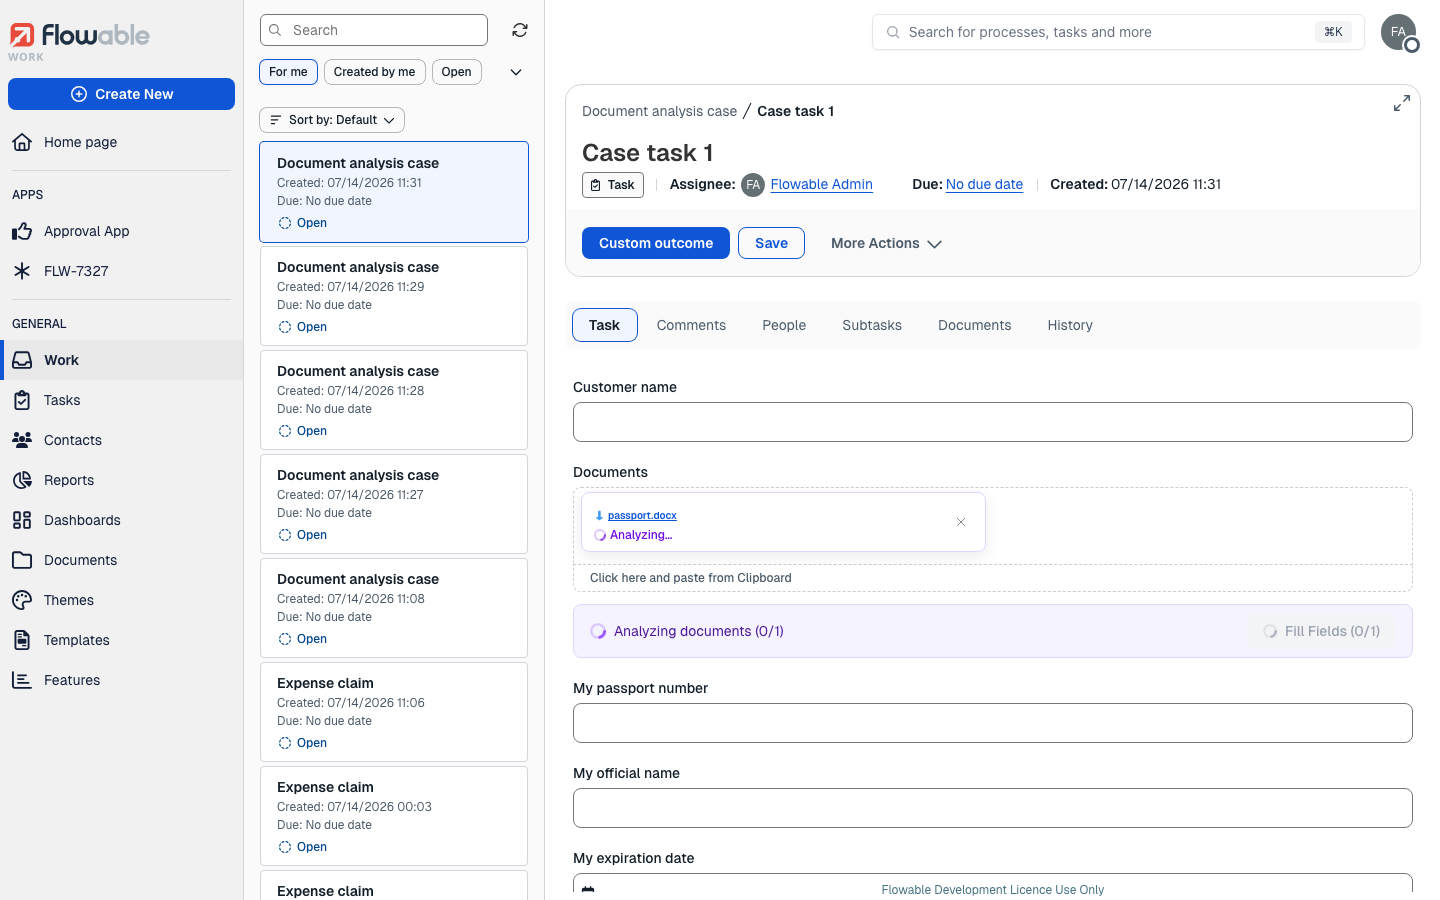
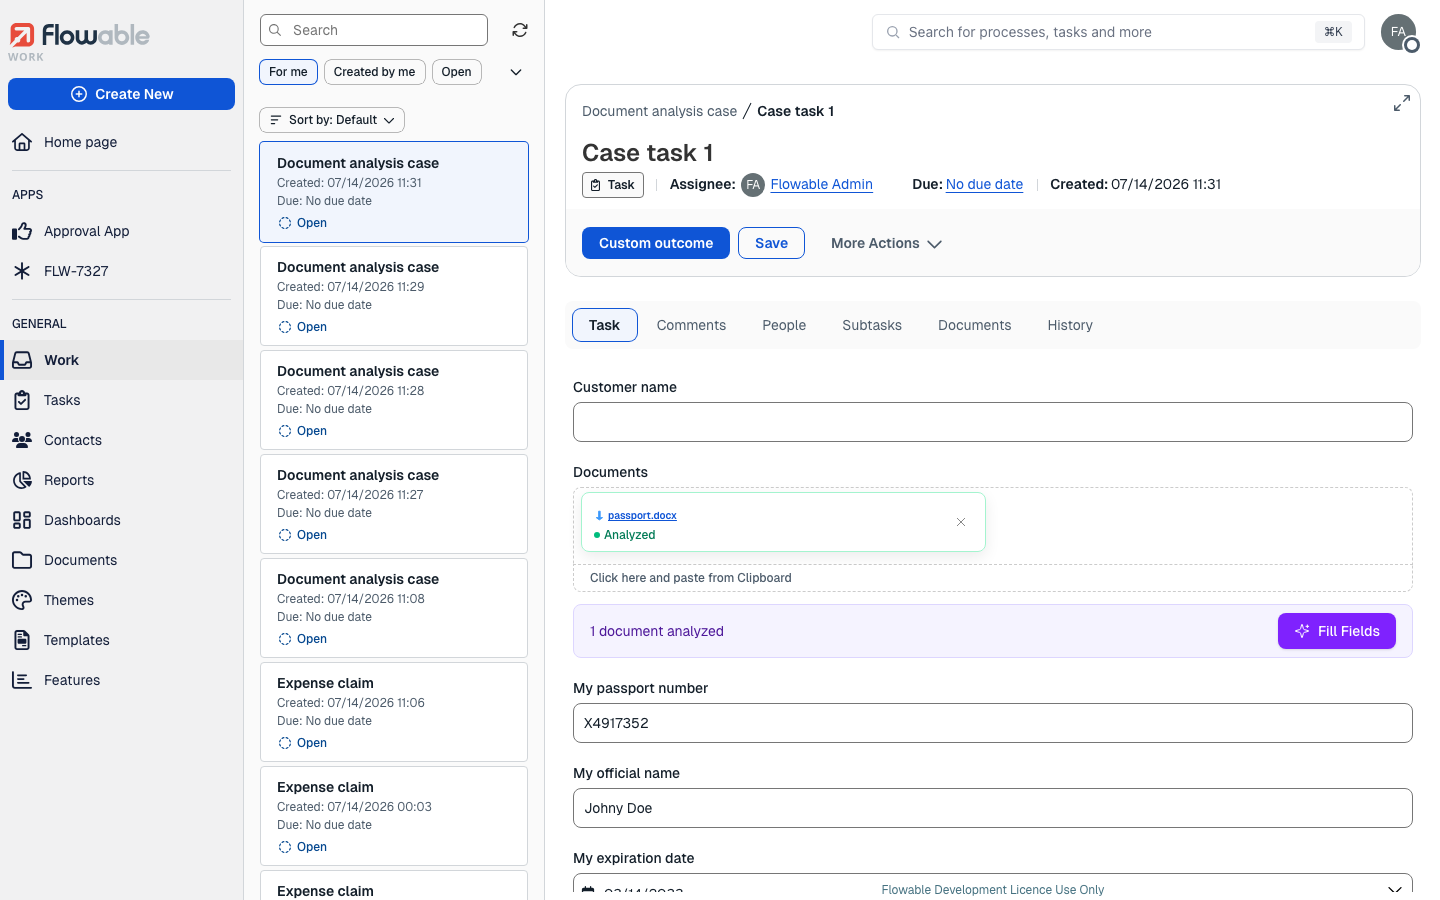
Each uploaded file shows its progress as a status label that moves through the stages of the pipeline:
- Uploading – the file is being uploaded.
- Preparing preview – the preview rendition is being generated.
- Analyzing – the document agent is classifying the document and extracting data.
- Analyzed – analysis finished and values are available.
If something goes wrong, the file shows Upload failed or Analysis failed instead. A banner above the attachment shows the overall progress (for example Analyzing documents (1/2)) and, once documents have been analysed, a Fill Fields button.
Reviewing and applying extracted values
Selecting Fill Fields opens the Extracted Fields panel — the approval step. Nothing is written to the form until the user applies it here. The panel:
- Lists the documents that were analysed.
- Groups the results into Will apply (fields whose suggested value differs from the current value) and No change (fields whose current value already matches the suggestion).
- Shows, for each field, the current value next to the suggested value. The user can discard a suggestion (keeping the current value), restore a discarded suggestion, or edit the suggested value by hand.
- Handles conflicts when more than one document produced a value for the same field: the field shows See alternatives so the user can choose which extracted value to use. By default the value from the most recently uploaded document is selected.
- Shows a refresh action if more documents finish analysing while the panel is open, so their results can be pulled in.
Clicking Apply writes the approved values into the corresponding form fields. Discarded suggestions and fields under No change are left untouched.
Supported documents
Document analysis works with the document types that Flowable can generate a preview for:
- PDF and image files (
pdf,png,jpg,jpeg,gif,bmp,tiff,tif,svg,webp) are analysed using a thumbnail rendition. - Office documents, text, Markdown and email (Word, Excel, PowerPoint, plain text,
.md, RFC822 email) are analysed using a generated PDF rendition.
A few practical notes:
- Generating the preview and running the agent take a little time; the interface waits up to about two minutes for the preview and up to about five minutes for the analysis before reporting a failure. Large or complex documents take longer.
- The existing attachment settings still apply. Restrictions such as the allowed file types and the minimum and maximum number of files are unaffected by document analysis.
- For the most reliable results, configure a distinct content model for each document type the form is expected to receive, and give each one a clear edit form so the extracted fields are well defined.
Related pages
- Unstructured data classification – classifying incoming emails and their attachments.
- Using AI to Analyze Content – the interactive content analysis features on the attachment component.
- Document Agent reference – the full document agent model, classification and extraction operations.
- Email Inbound Channel – receiving emails and persisting them as content items.
- Setup AI in Flowable – enabling and configuring the runtime AI features.