Flowable Mobile App User Guide
This user guide explains the concepts and features of the Flowable Mobile App. The app provides a comprehensive mobile client for managing work items, tasks, and documents on the go. You can navigate to specific topics using the table of contents on the right.
Introduction
The Flowable Mobile App is built with React Native and runs on both iOS and Android devices. It brings the core capabilities of Flowable Work to your mobile device, allowing you to:
- Work - Browse and manage cases and process instances
- Tasks - View, claim, and complete assigned tasks
- Documents - Upload, browse, and preview documents
- Create - Start new cases, processes, and ad-hoc tasks
Getting Started
Login
When you first open the app, you are presented with the login screen.

Enter your credentials to sign in:
- Enter your username and password.
- Tap Sign in.
Once authenticated, you are taken to the Work list home screen.
 tip
tipIf you need to connect to a different server, tap the Configure link to enter the address of your Flowable server.
Navigation
The app uses a drawer navigation menu to switch between modules. Tap the hamburger menu icon (☰) in the top-left corner or swipe from the left edge to open the drawer.
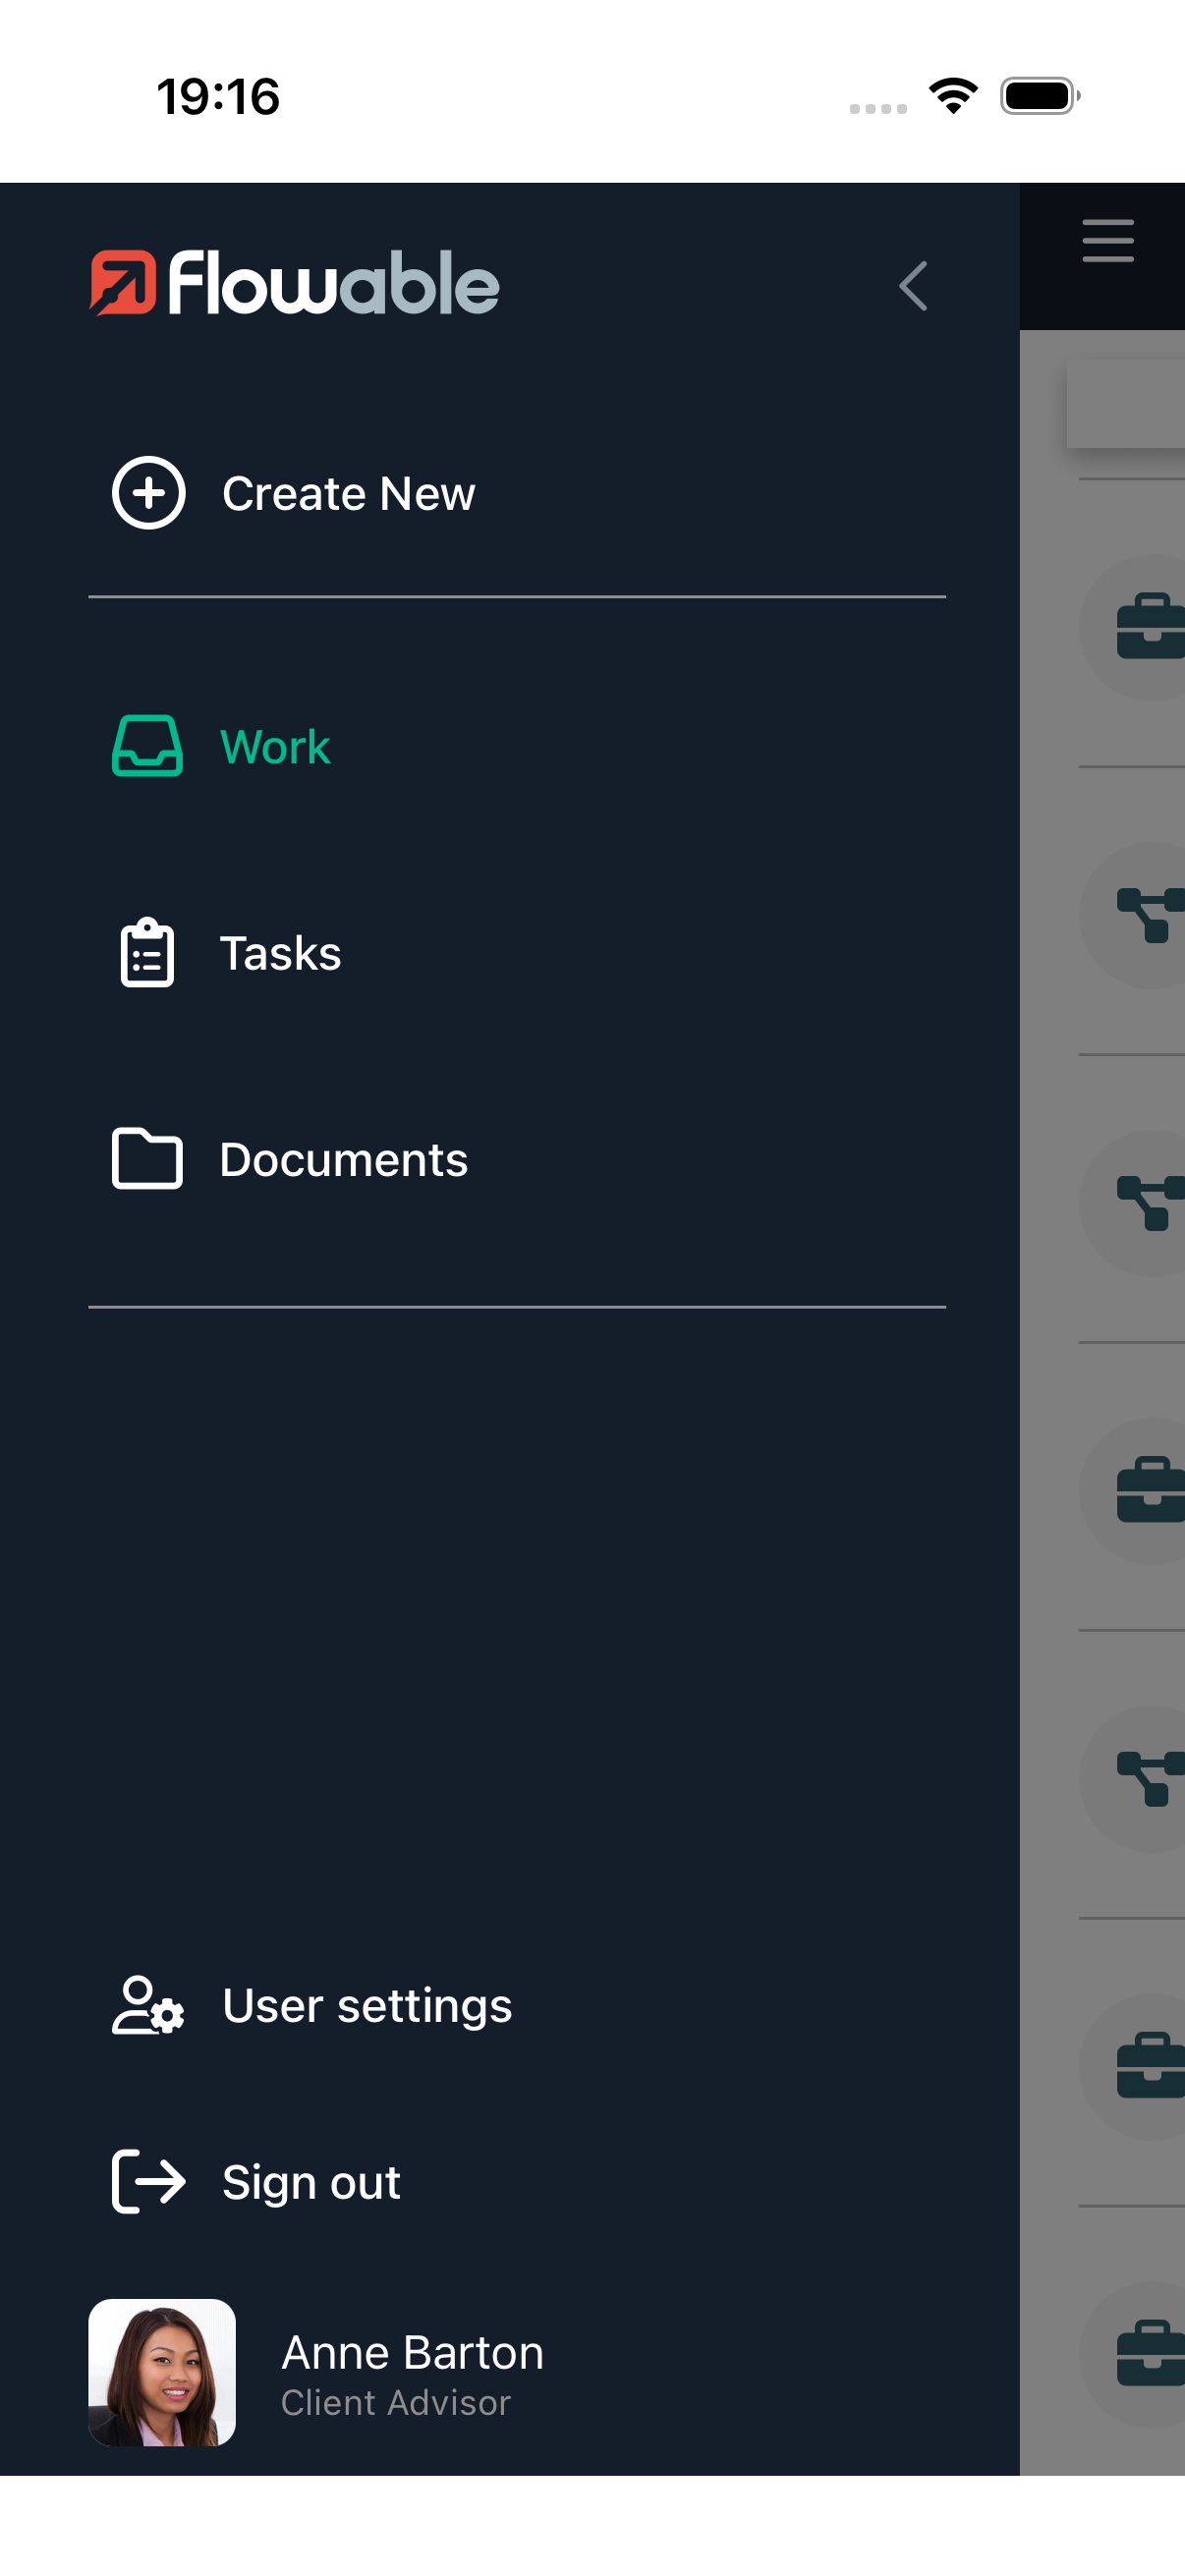
The drawer contains:
- Create New - Start creating a new work item or task
- Work - Navigate to the Work list (default home screen)
- Tasks - Navigate to the Task list
- Documents - Navigate to the Documents module
- User settings - Open user settings (language, about)
- Sign out - Sign out of the app
Your user profile with name and role is displayed at the bottom of the drawer.
Creating New Work Items
Tap Create New in the drawer menu to open the creation screen. From here you can create a new Work item (case or process) or a new Task.

Starting a Case or Process
- Tap Create New in the drawer menu.
- Select Work.
- Browse or search the available case and process definitions.
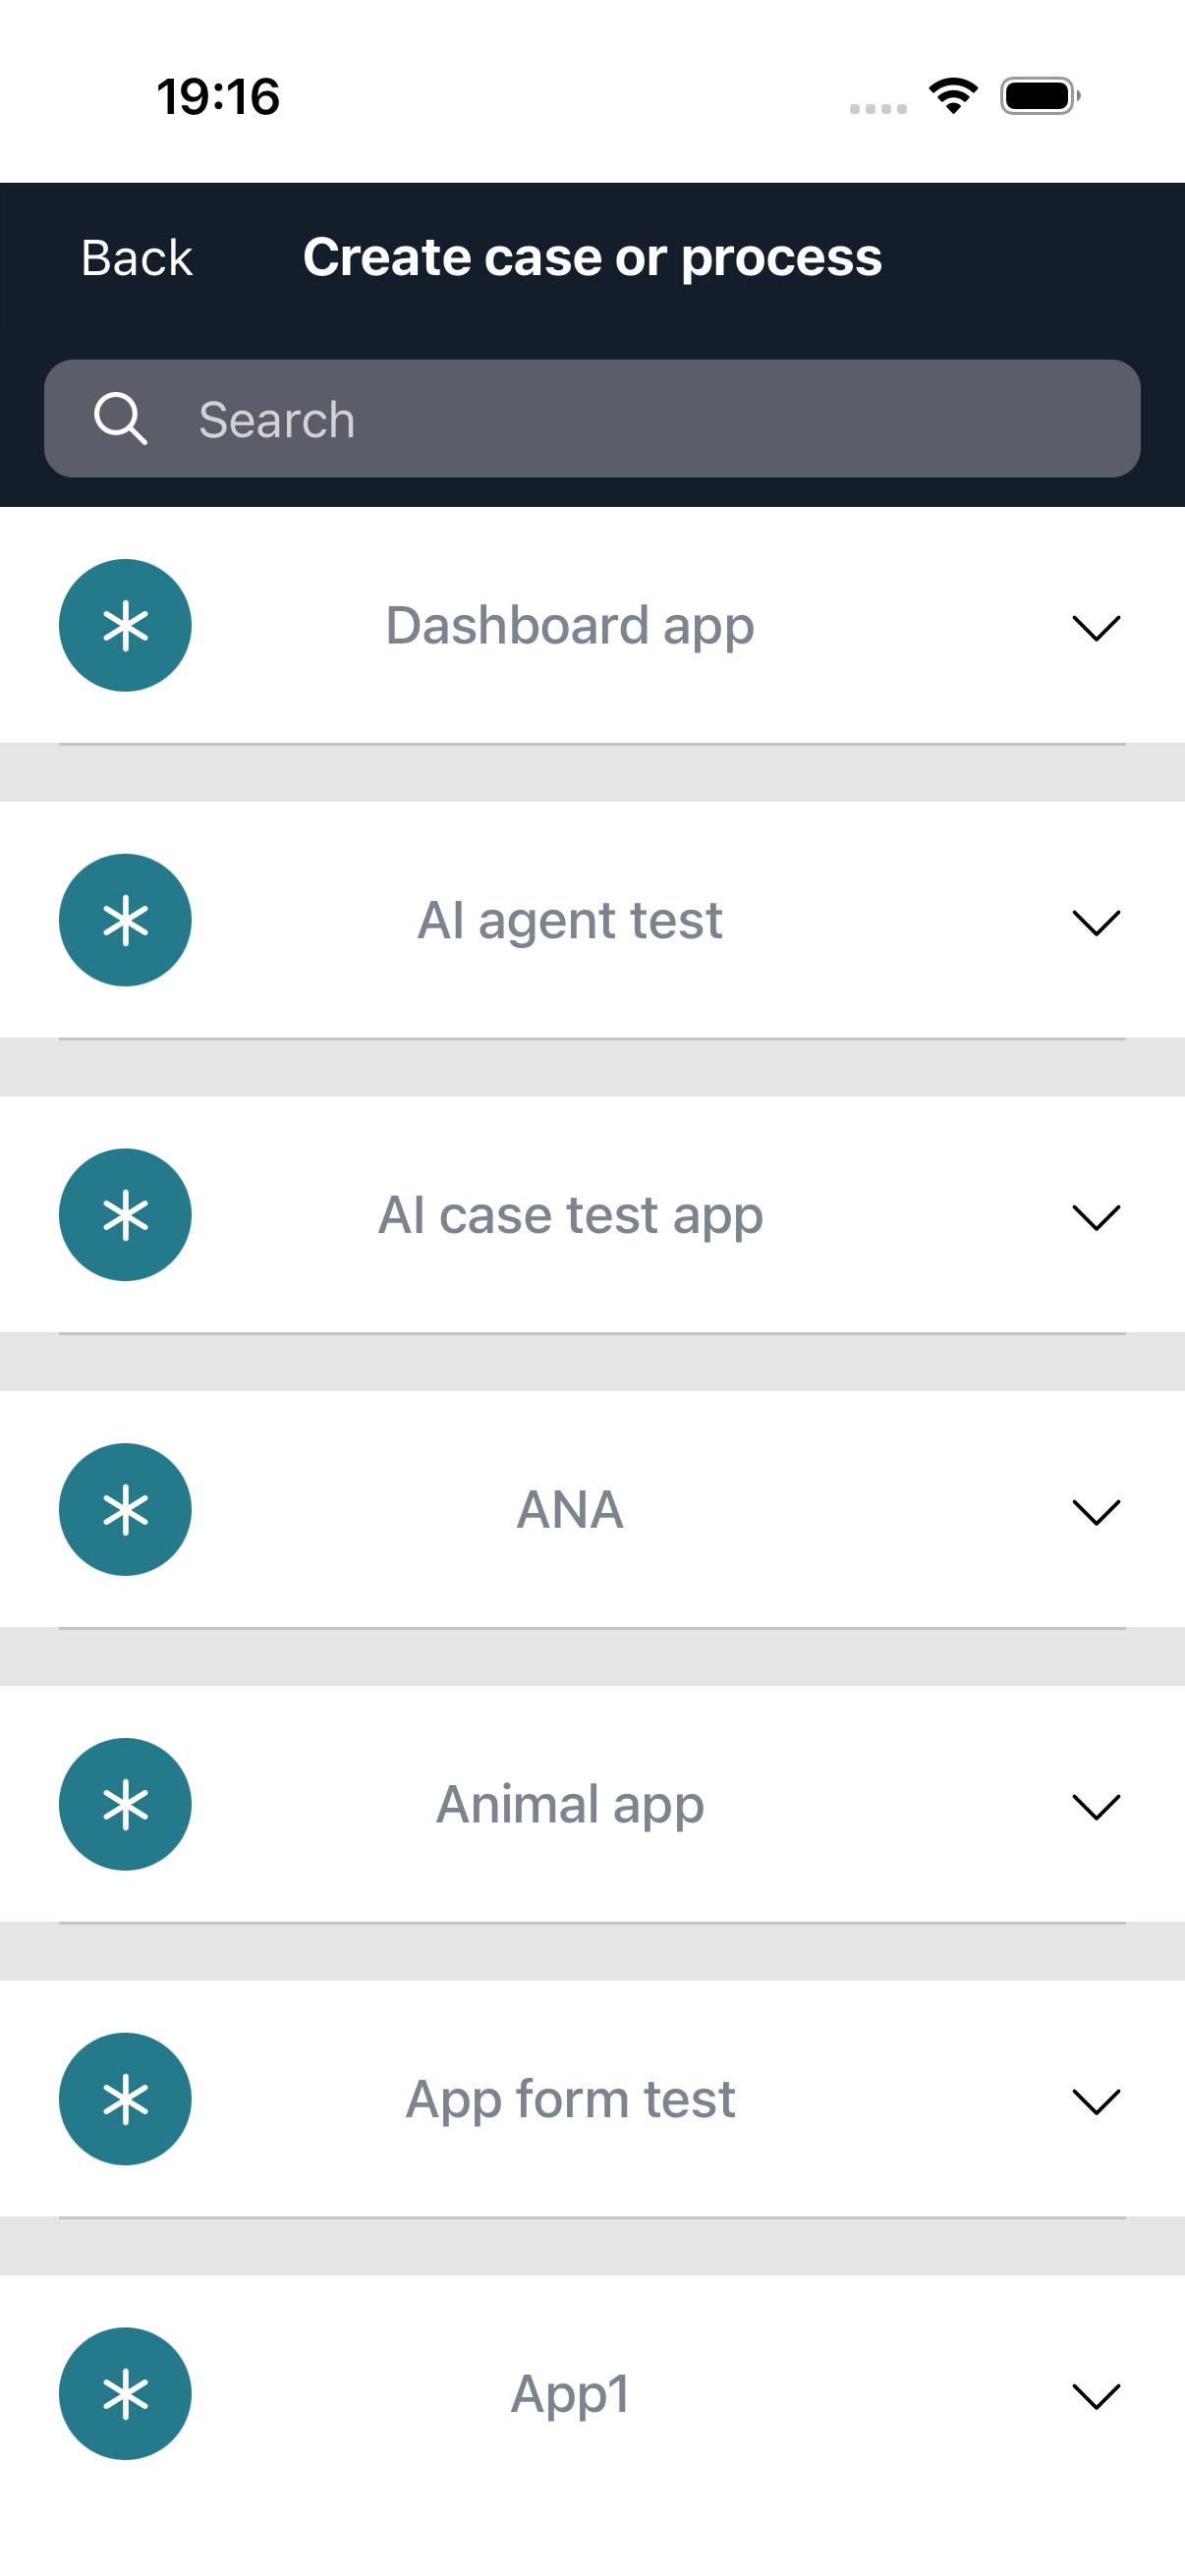
- Select a definition to start.
- If the definition has a start form, fill in the required fields.
- Tap Start to create the work item.
After creation, you are navigated to the new work item's detail screen.
Creating an Ad-hoc Task
- Tap Create New in the drawer menu.
- Select Tasks.
- Fill in the task details:
- Name - A descriptive name for the task
- Assignee - The person responsible for the task
- Due date - When the task should be completed
- Tap Create to create the task.
Work
The Work module displays your cases and process instances.
Work List
The Work list screen shows all work items you have access to. Each item displays its name, assignee, and creation date. Cases and processes are shown with distinct icons.
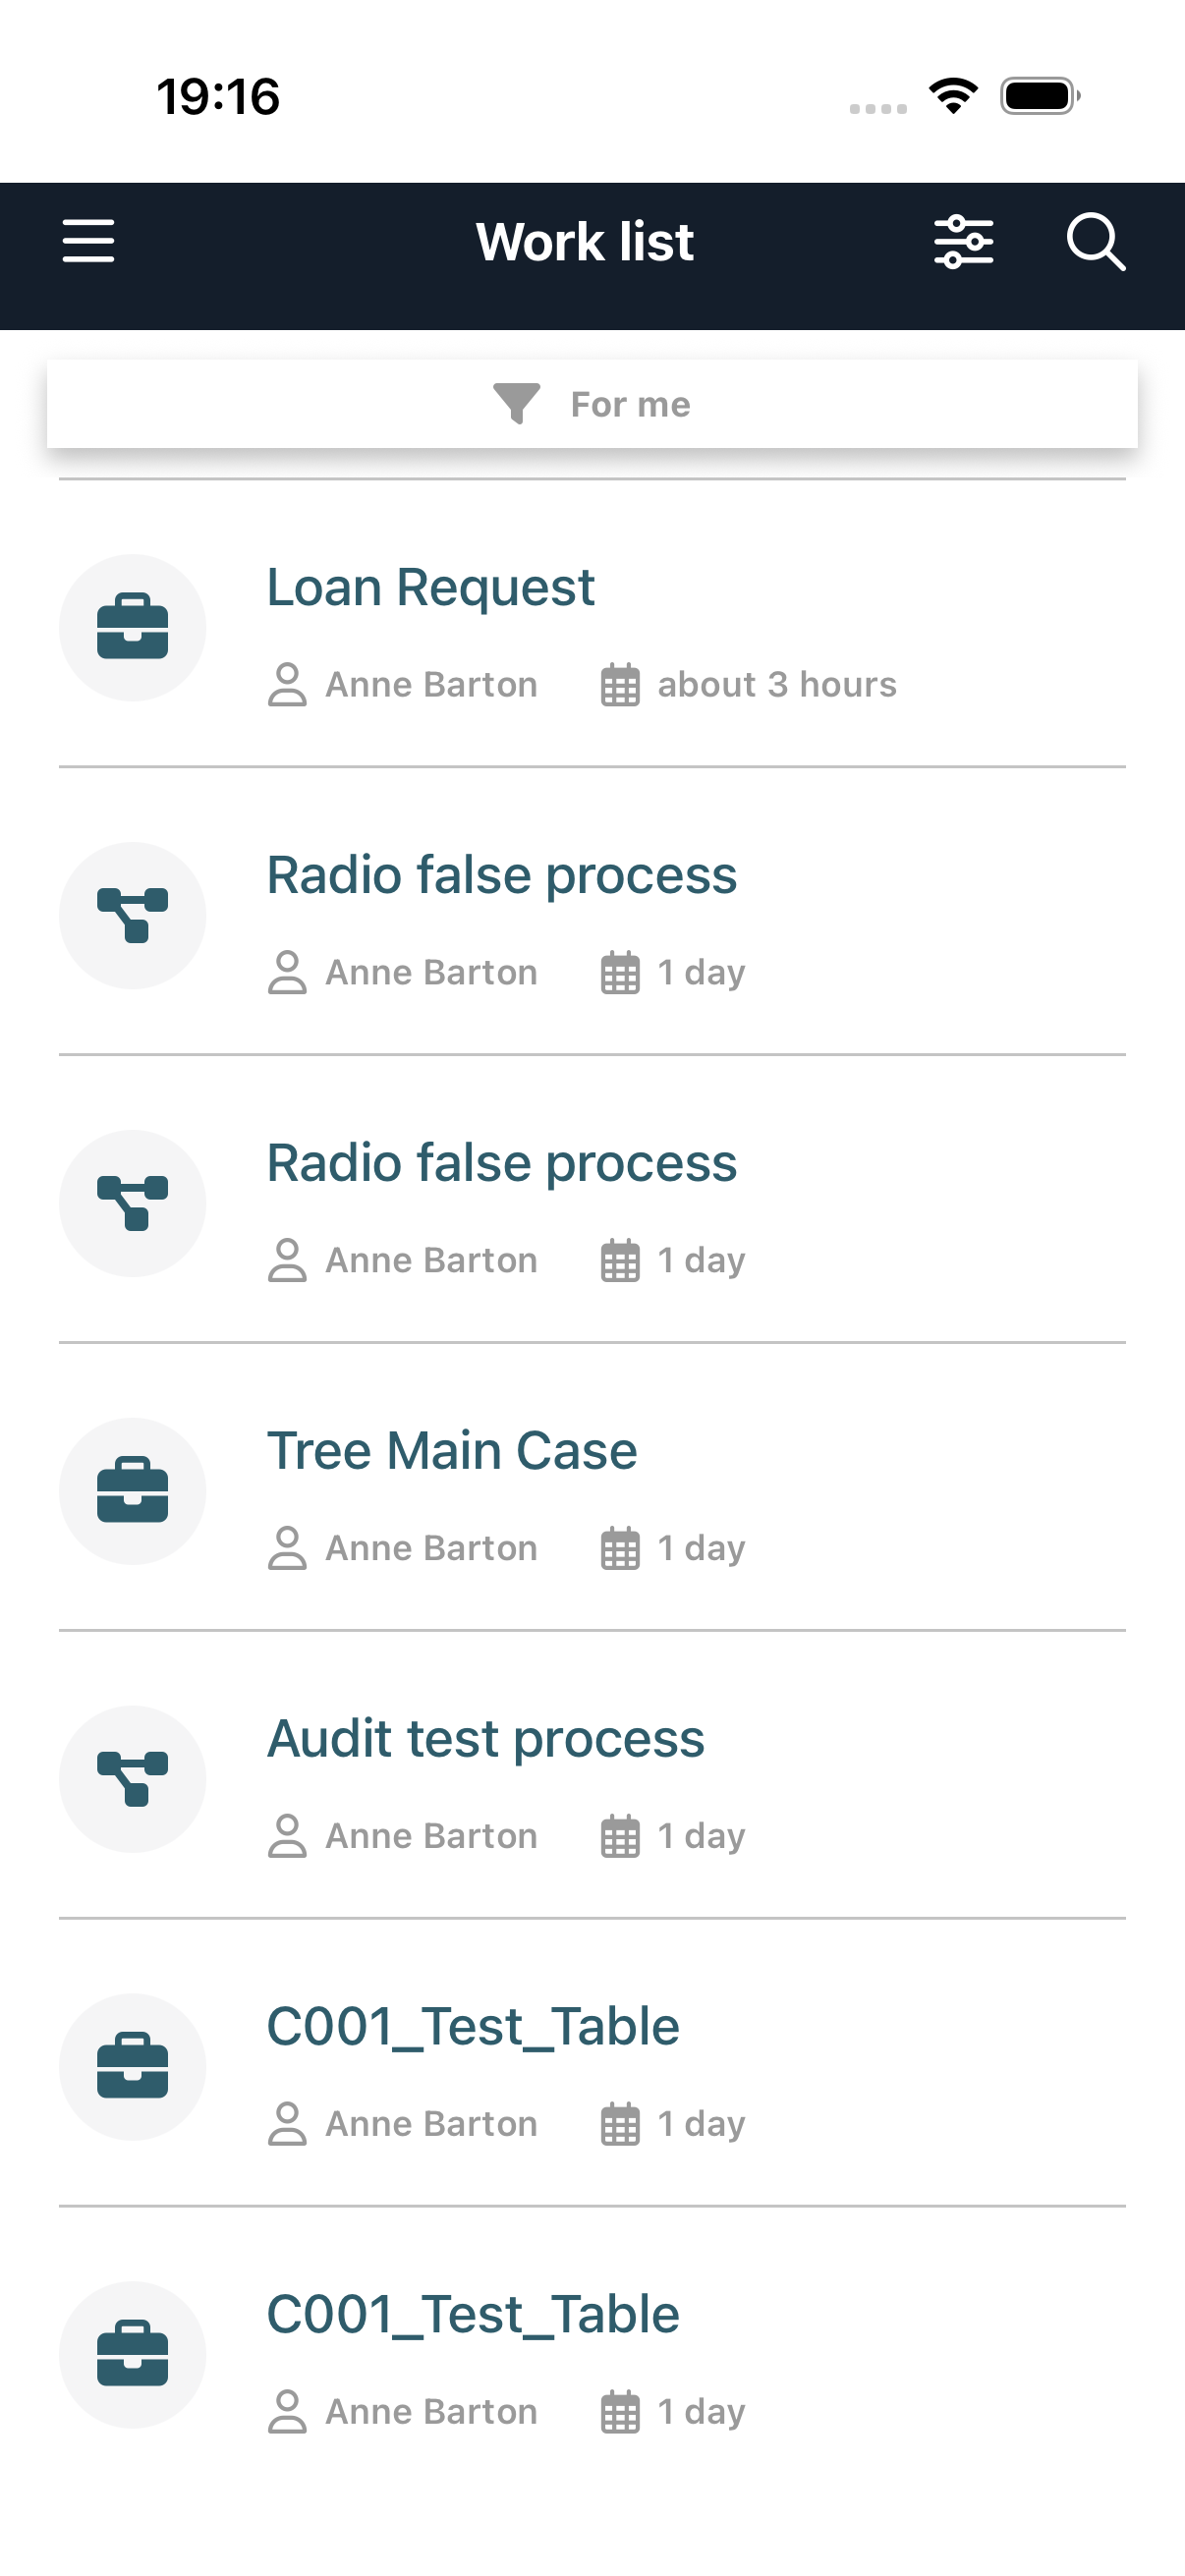
You can:
- Search - Tap the search icon to find specific work items
- Filter - Use the filter bar (e.g., "For me") to narrow down the list
- Pull to refresh - Swipe down to reload the list
Tap a work item to view its details.
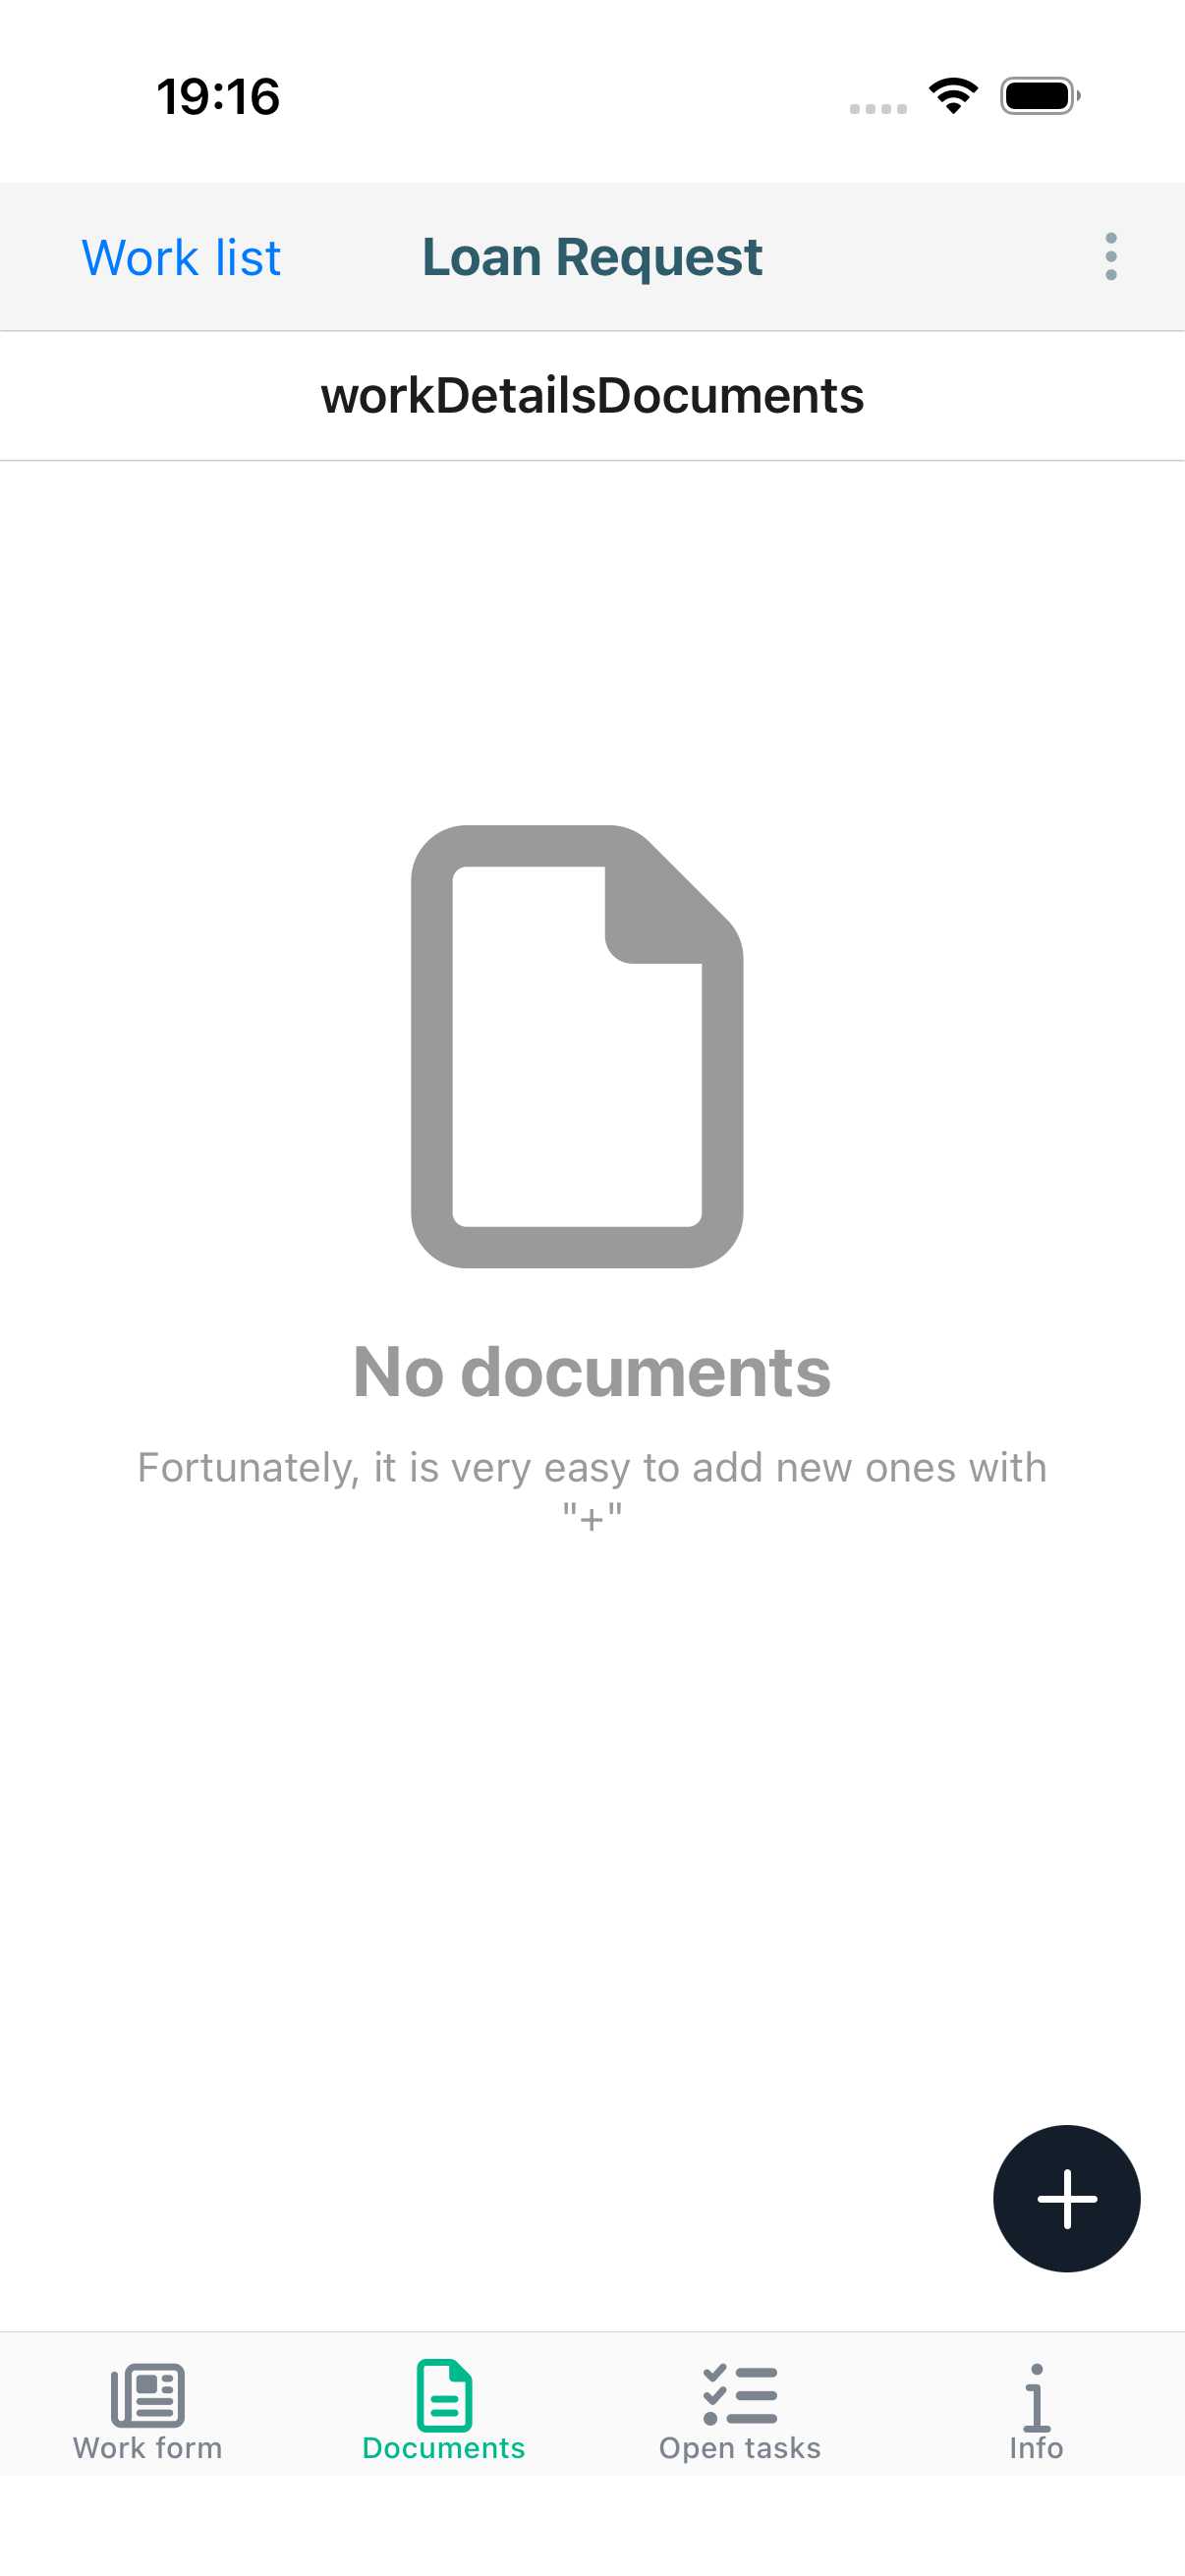
Work Details
The work details screen has four tabs accessible from the bottom tab bar: Work form, Documents, Open tasks, and Info.
Work form Tab
Displays the form associated with the current work item. Fields may be editable depending on your permissions and the current state of the work item.

Documents Tab
Shows all documents attached to the work item. You can upload new documents using the + button and preview existing ones.
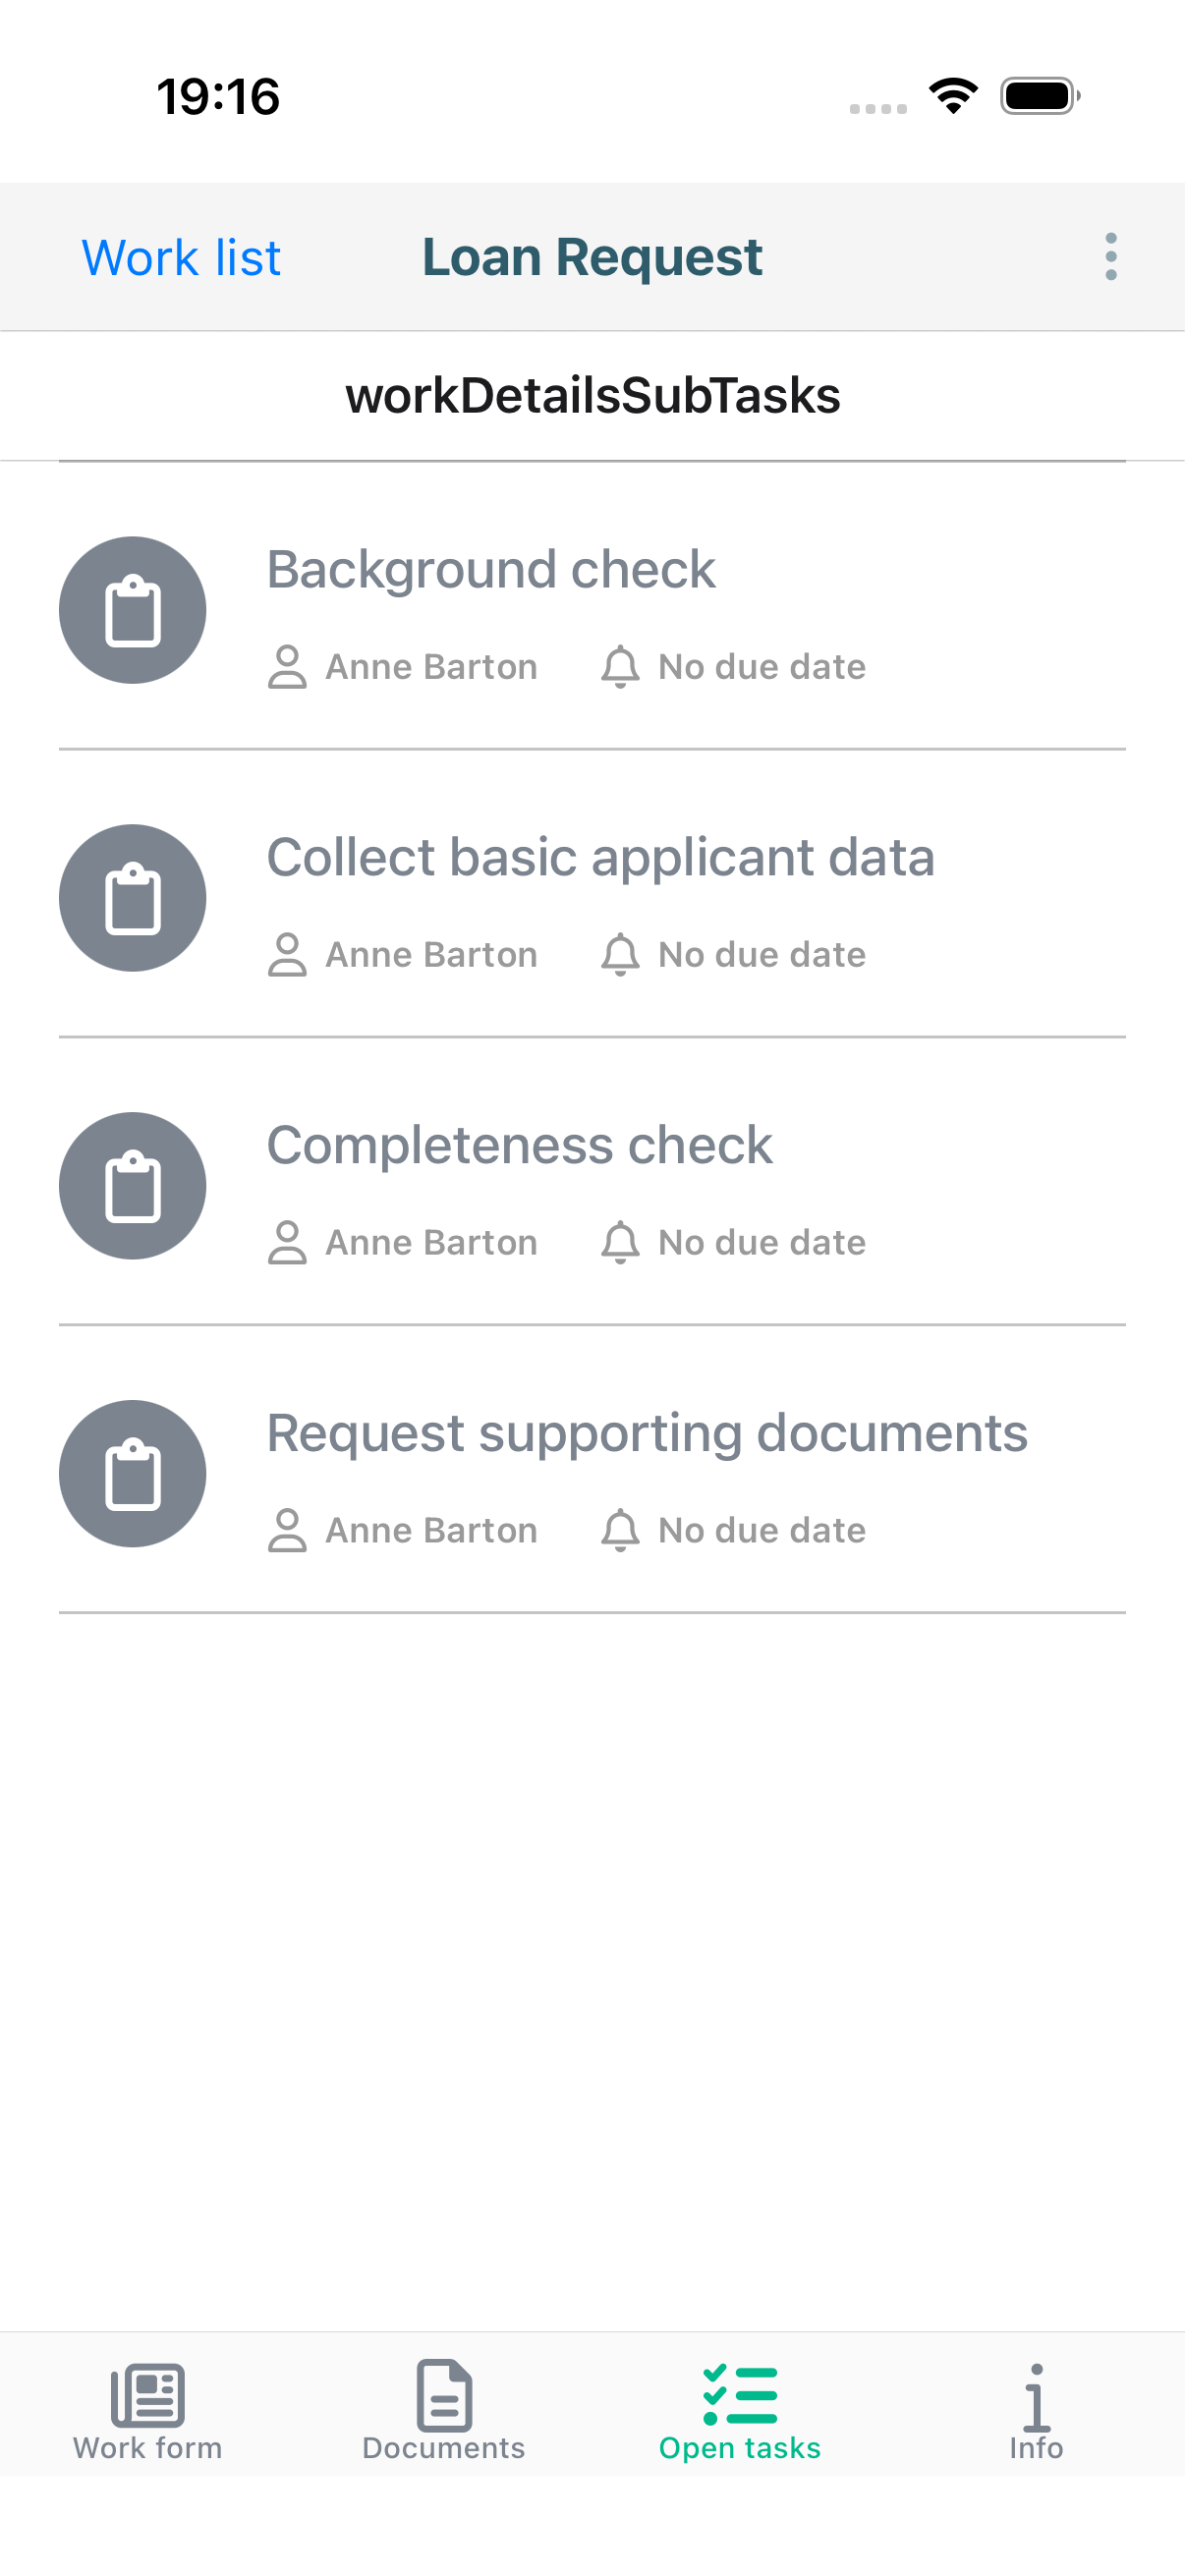
Open tasks Tab
Lists all tasks that belong to this work item, showing each task's name, assignee, and due date. Tap a task to see its details and complete it.
Info Tab
Displays metadata about the work item:
- Name - The name of the case or process
- Started - When the work item was started
- Started By - Who initiated the work item
- Assignee - The person currently assigned (tap to reassign)
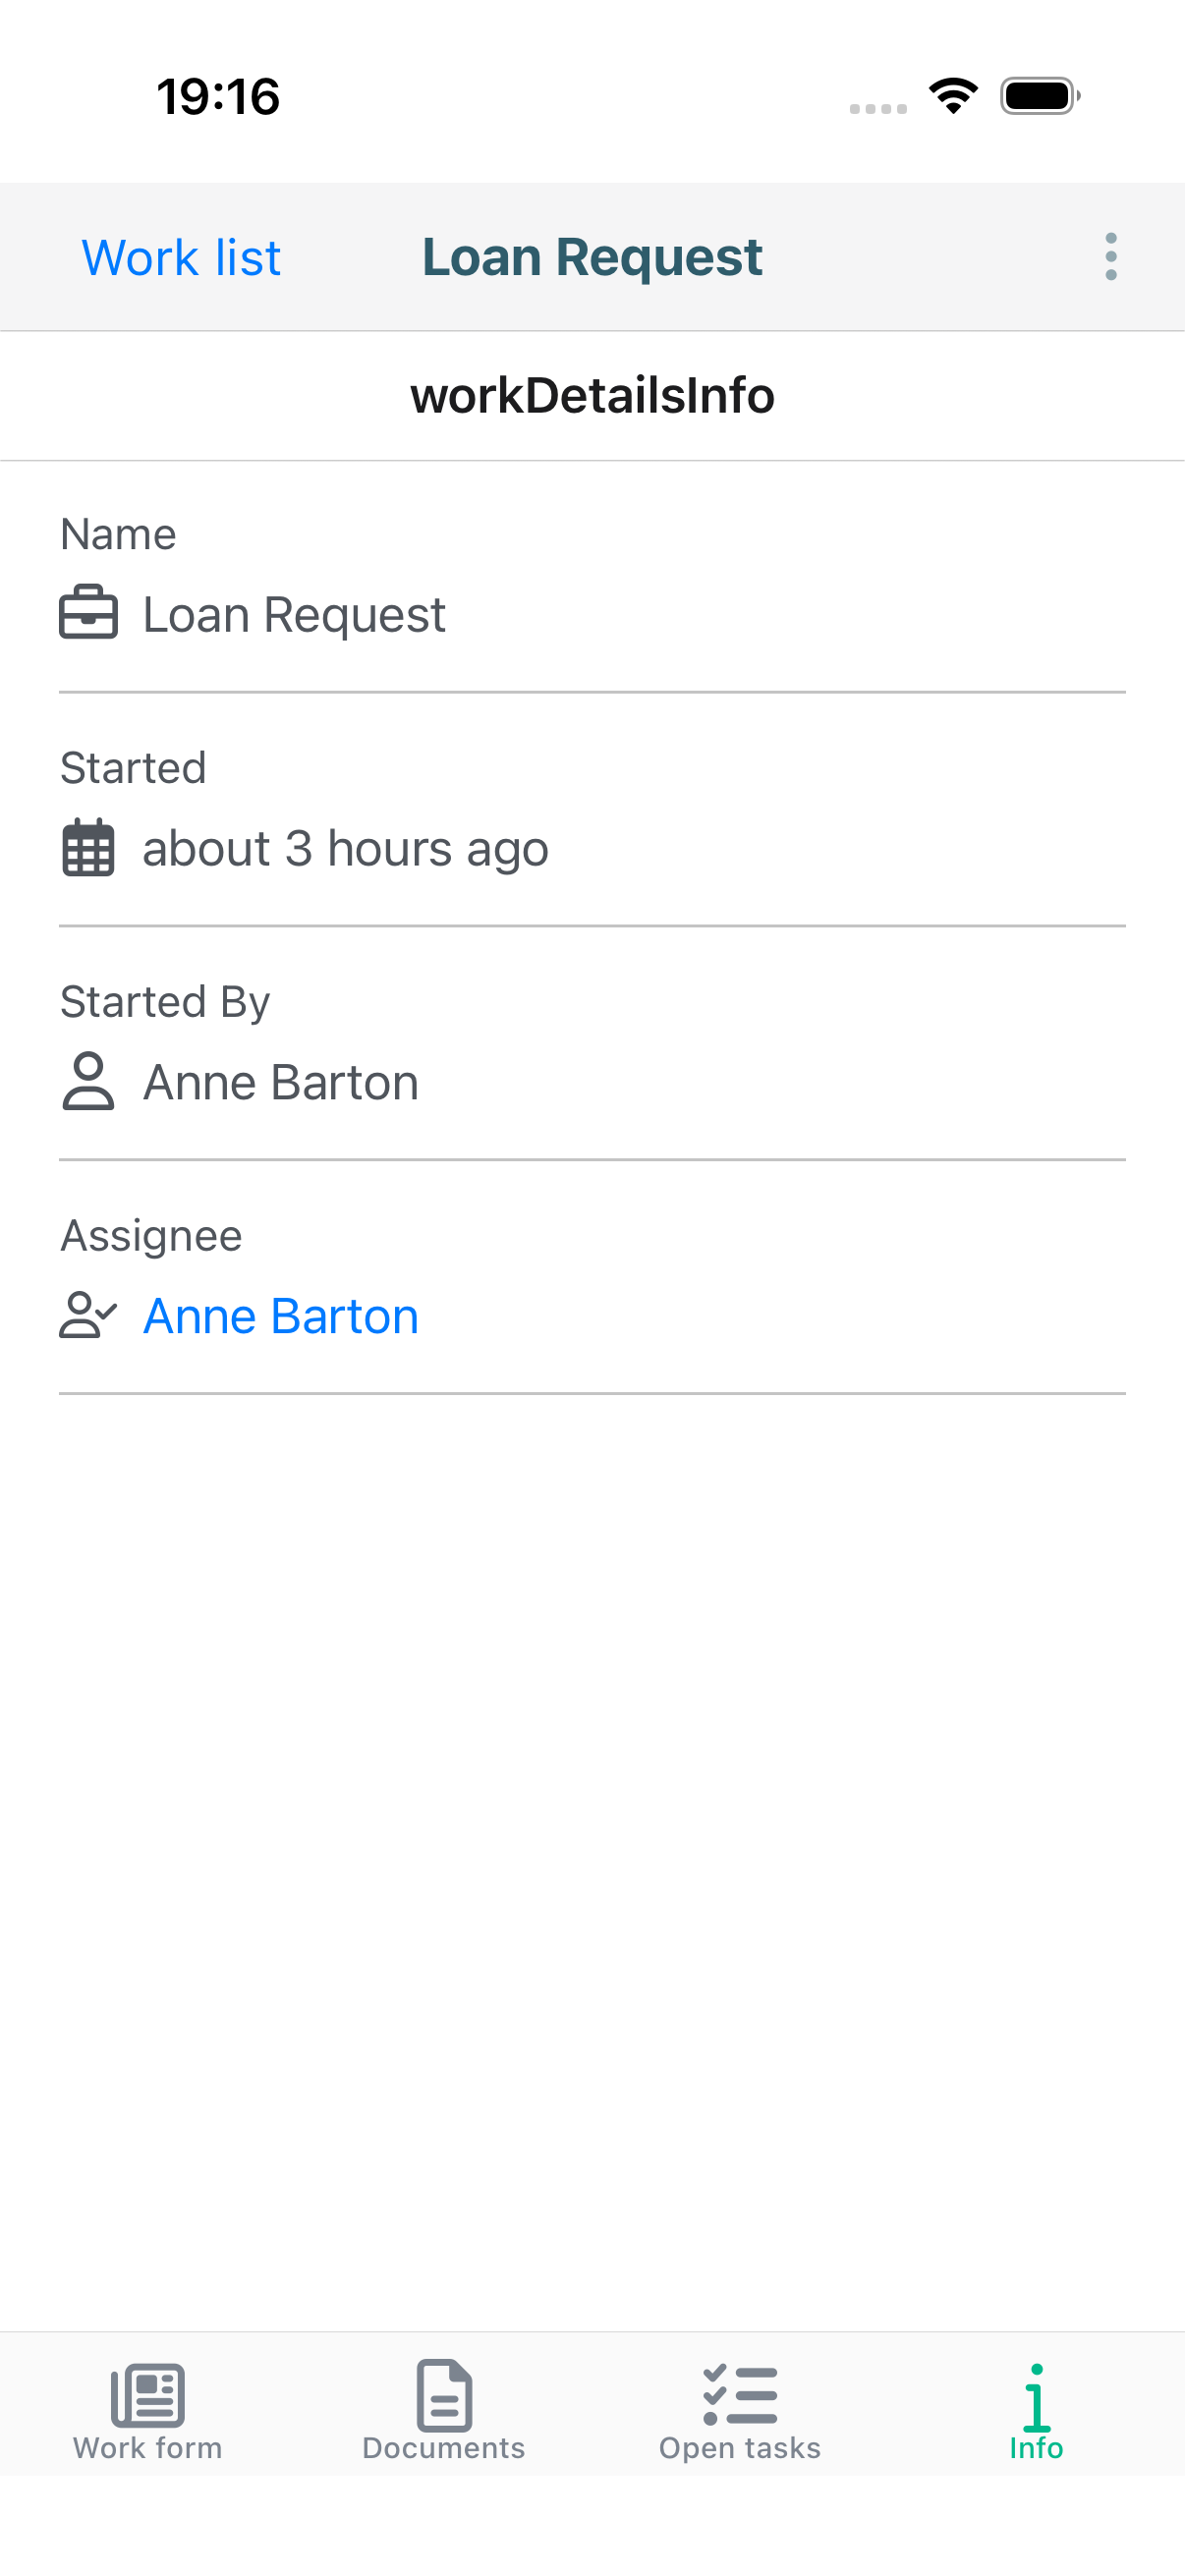
You can change the assignee by tapping the assignee field and selecting a different person from the list.
Tasks
The Tasks module displays tasks that are assigned to you or that you can claim.
Task List
The Task list shows your tasks with their name, assignee, and due date information.
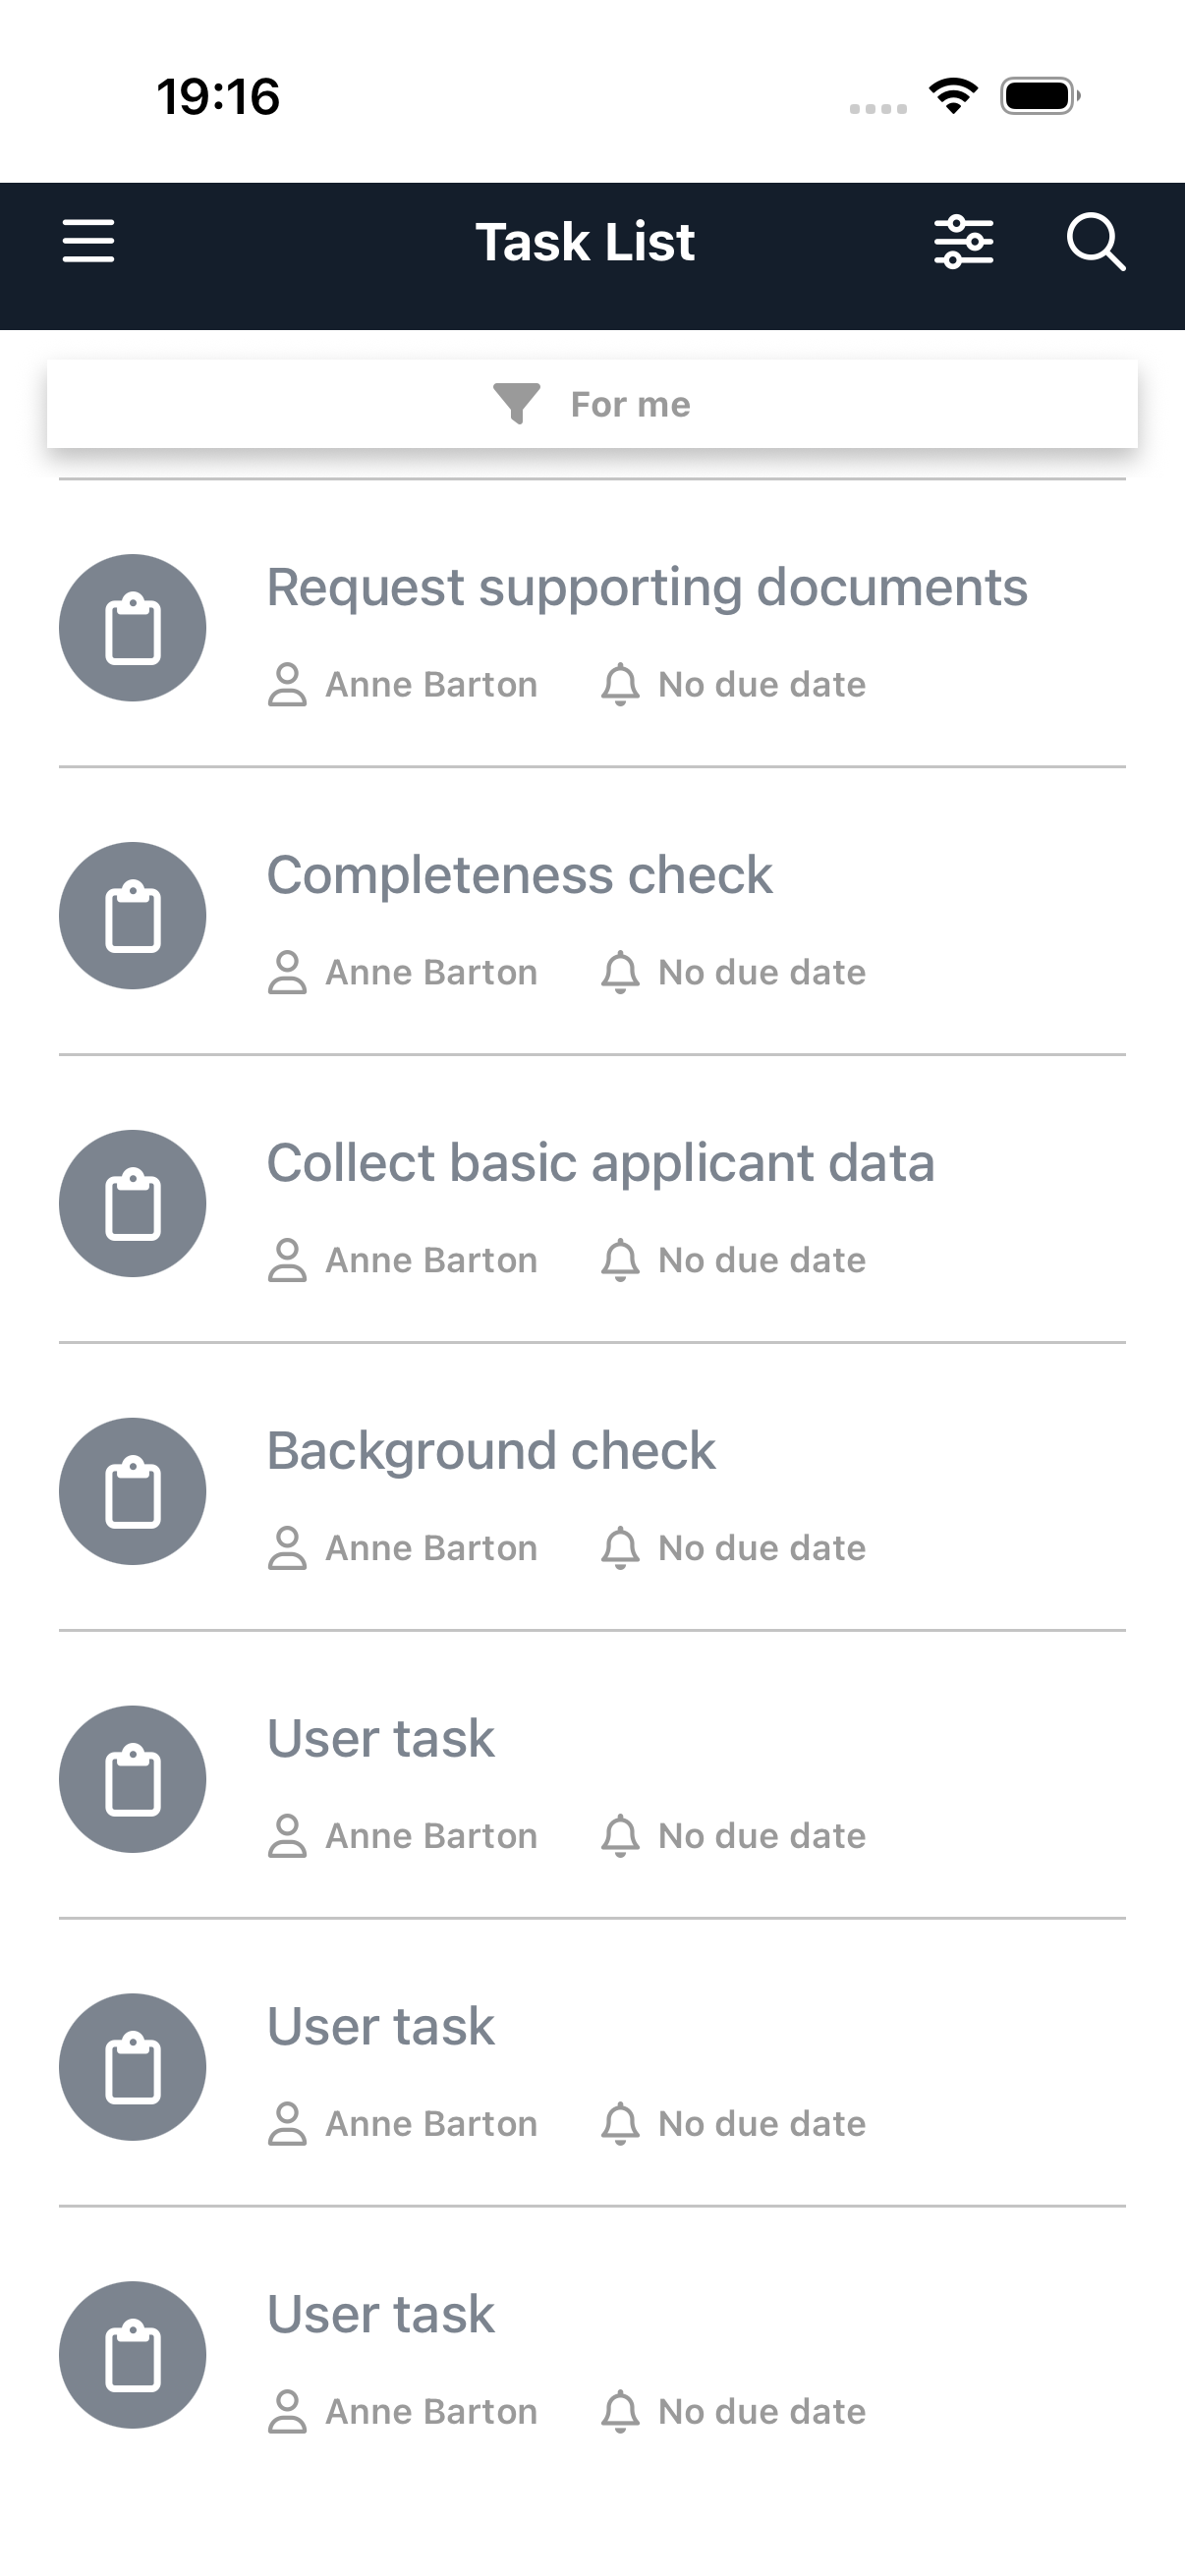
You can:
- Search - Tap the search icon to find tasks by name
- Filter - Use the filter bar (e.g., "For me") to narrow the task list
- Pull to refresh - Swipe down to reload
Tap a task to view its details.
Task Details
The task details screen shows comprehensive information about the selected task with three tabs: Task form, Documents, and Info.
Task form Tab
If the task has an associated form, it is displayed here. Fill in the required fields and use the action buttons at the bottom to complete the task.
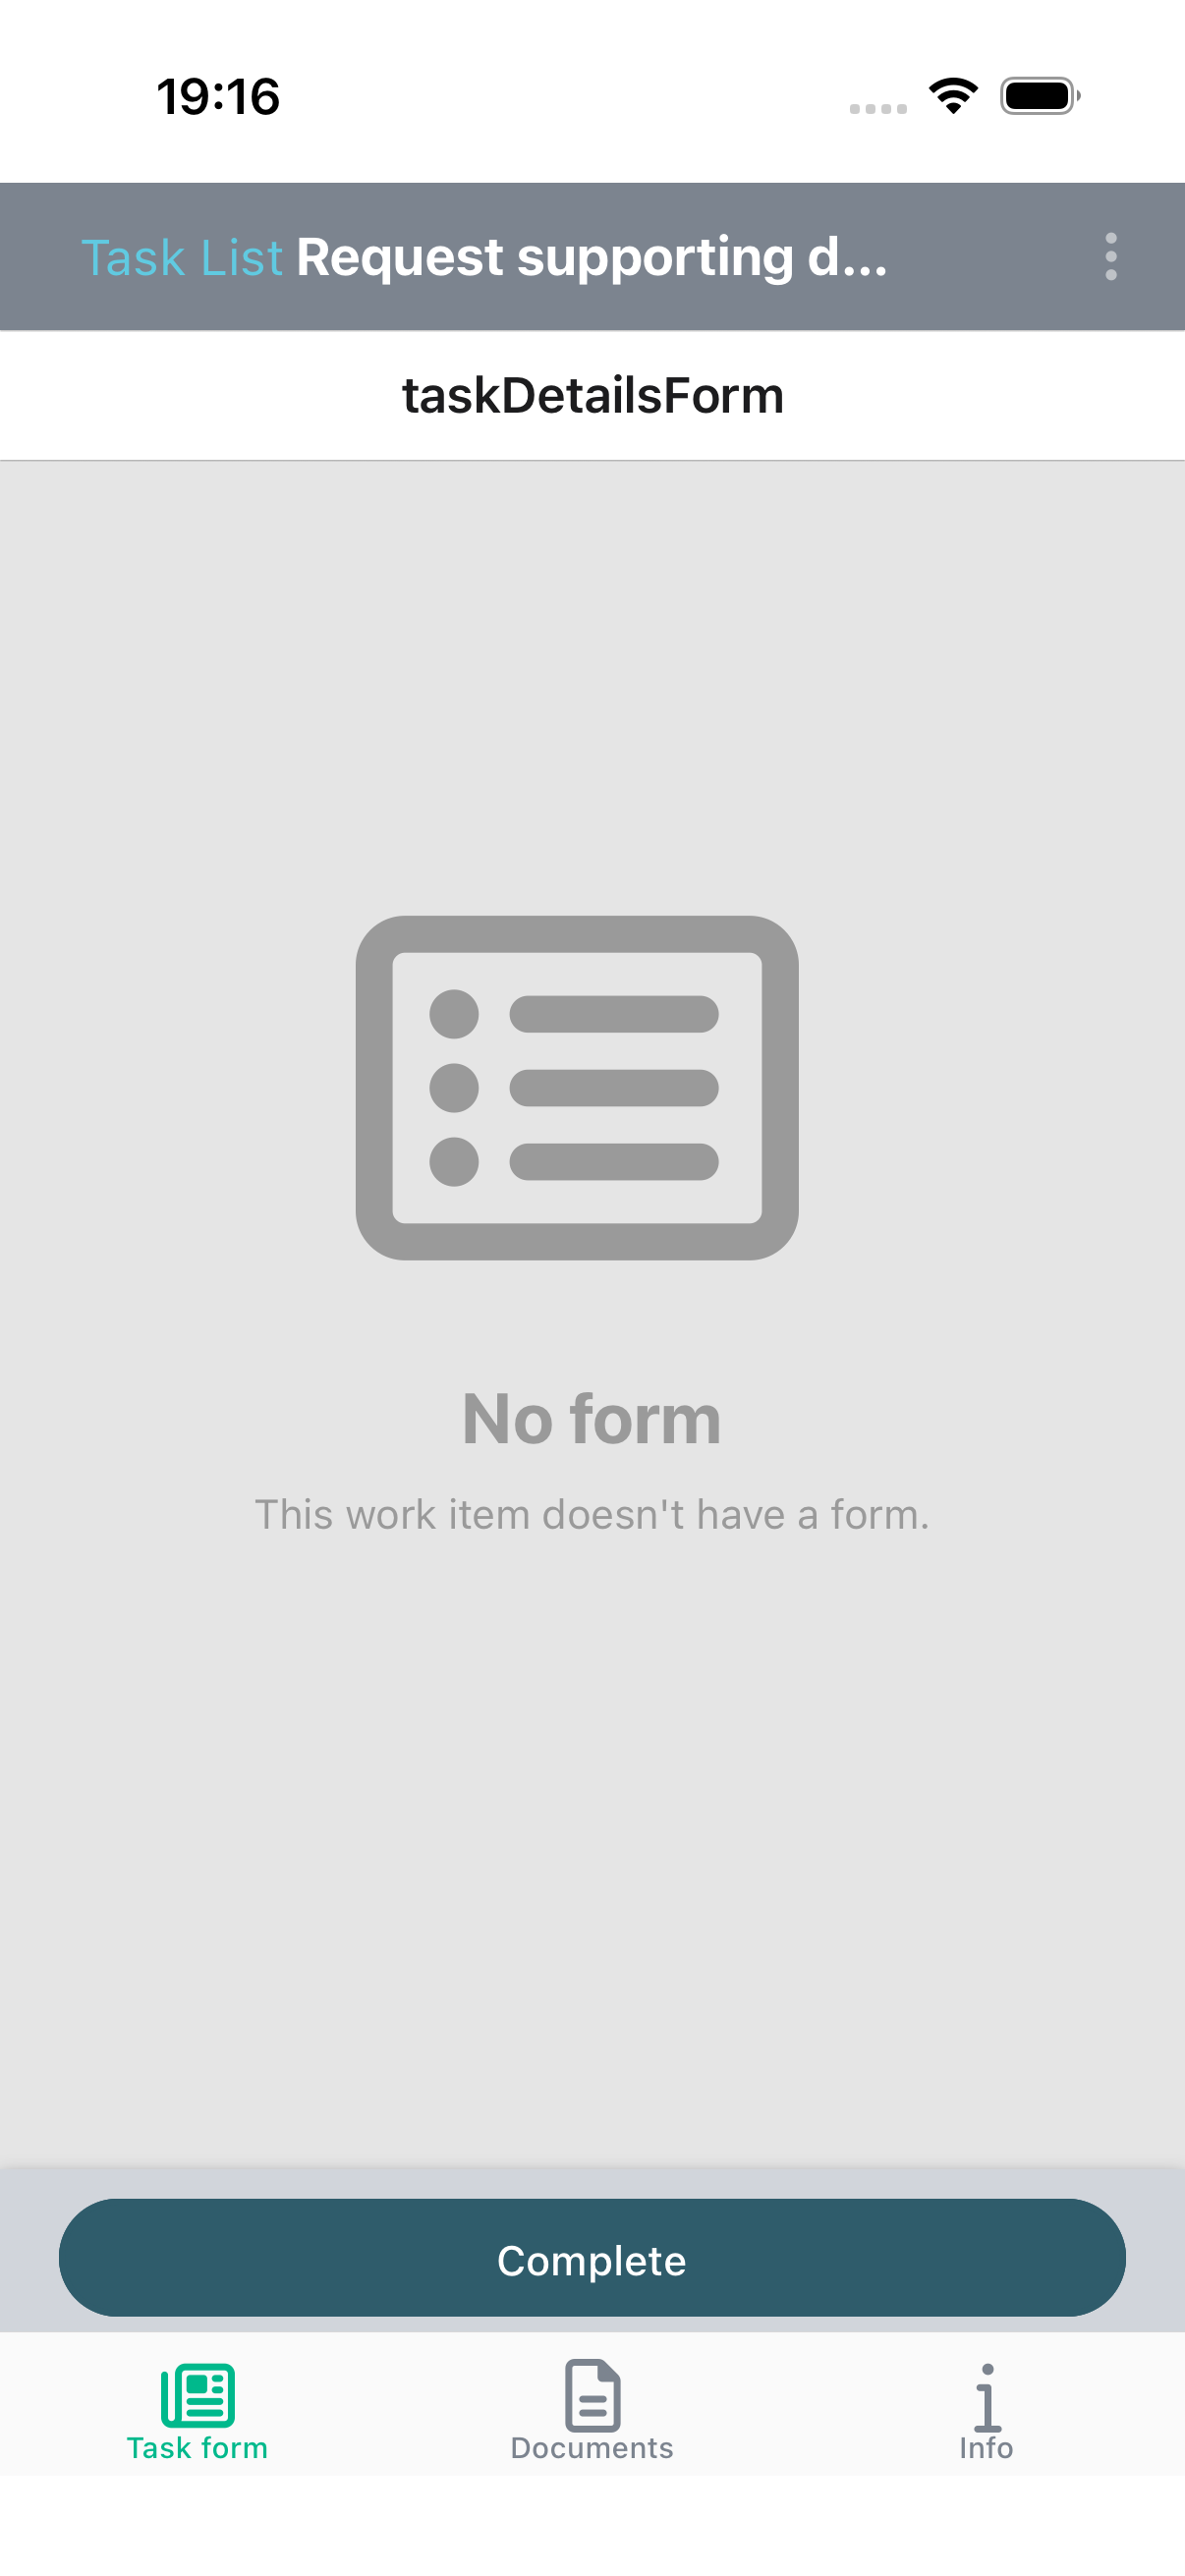
- Complete / Outcome buttons - Complete the task, optionally selecting a specific outcome
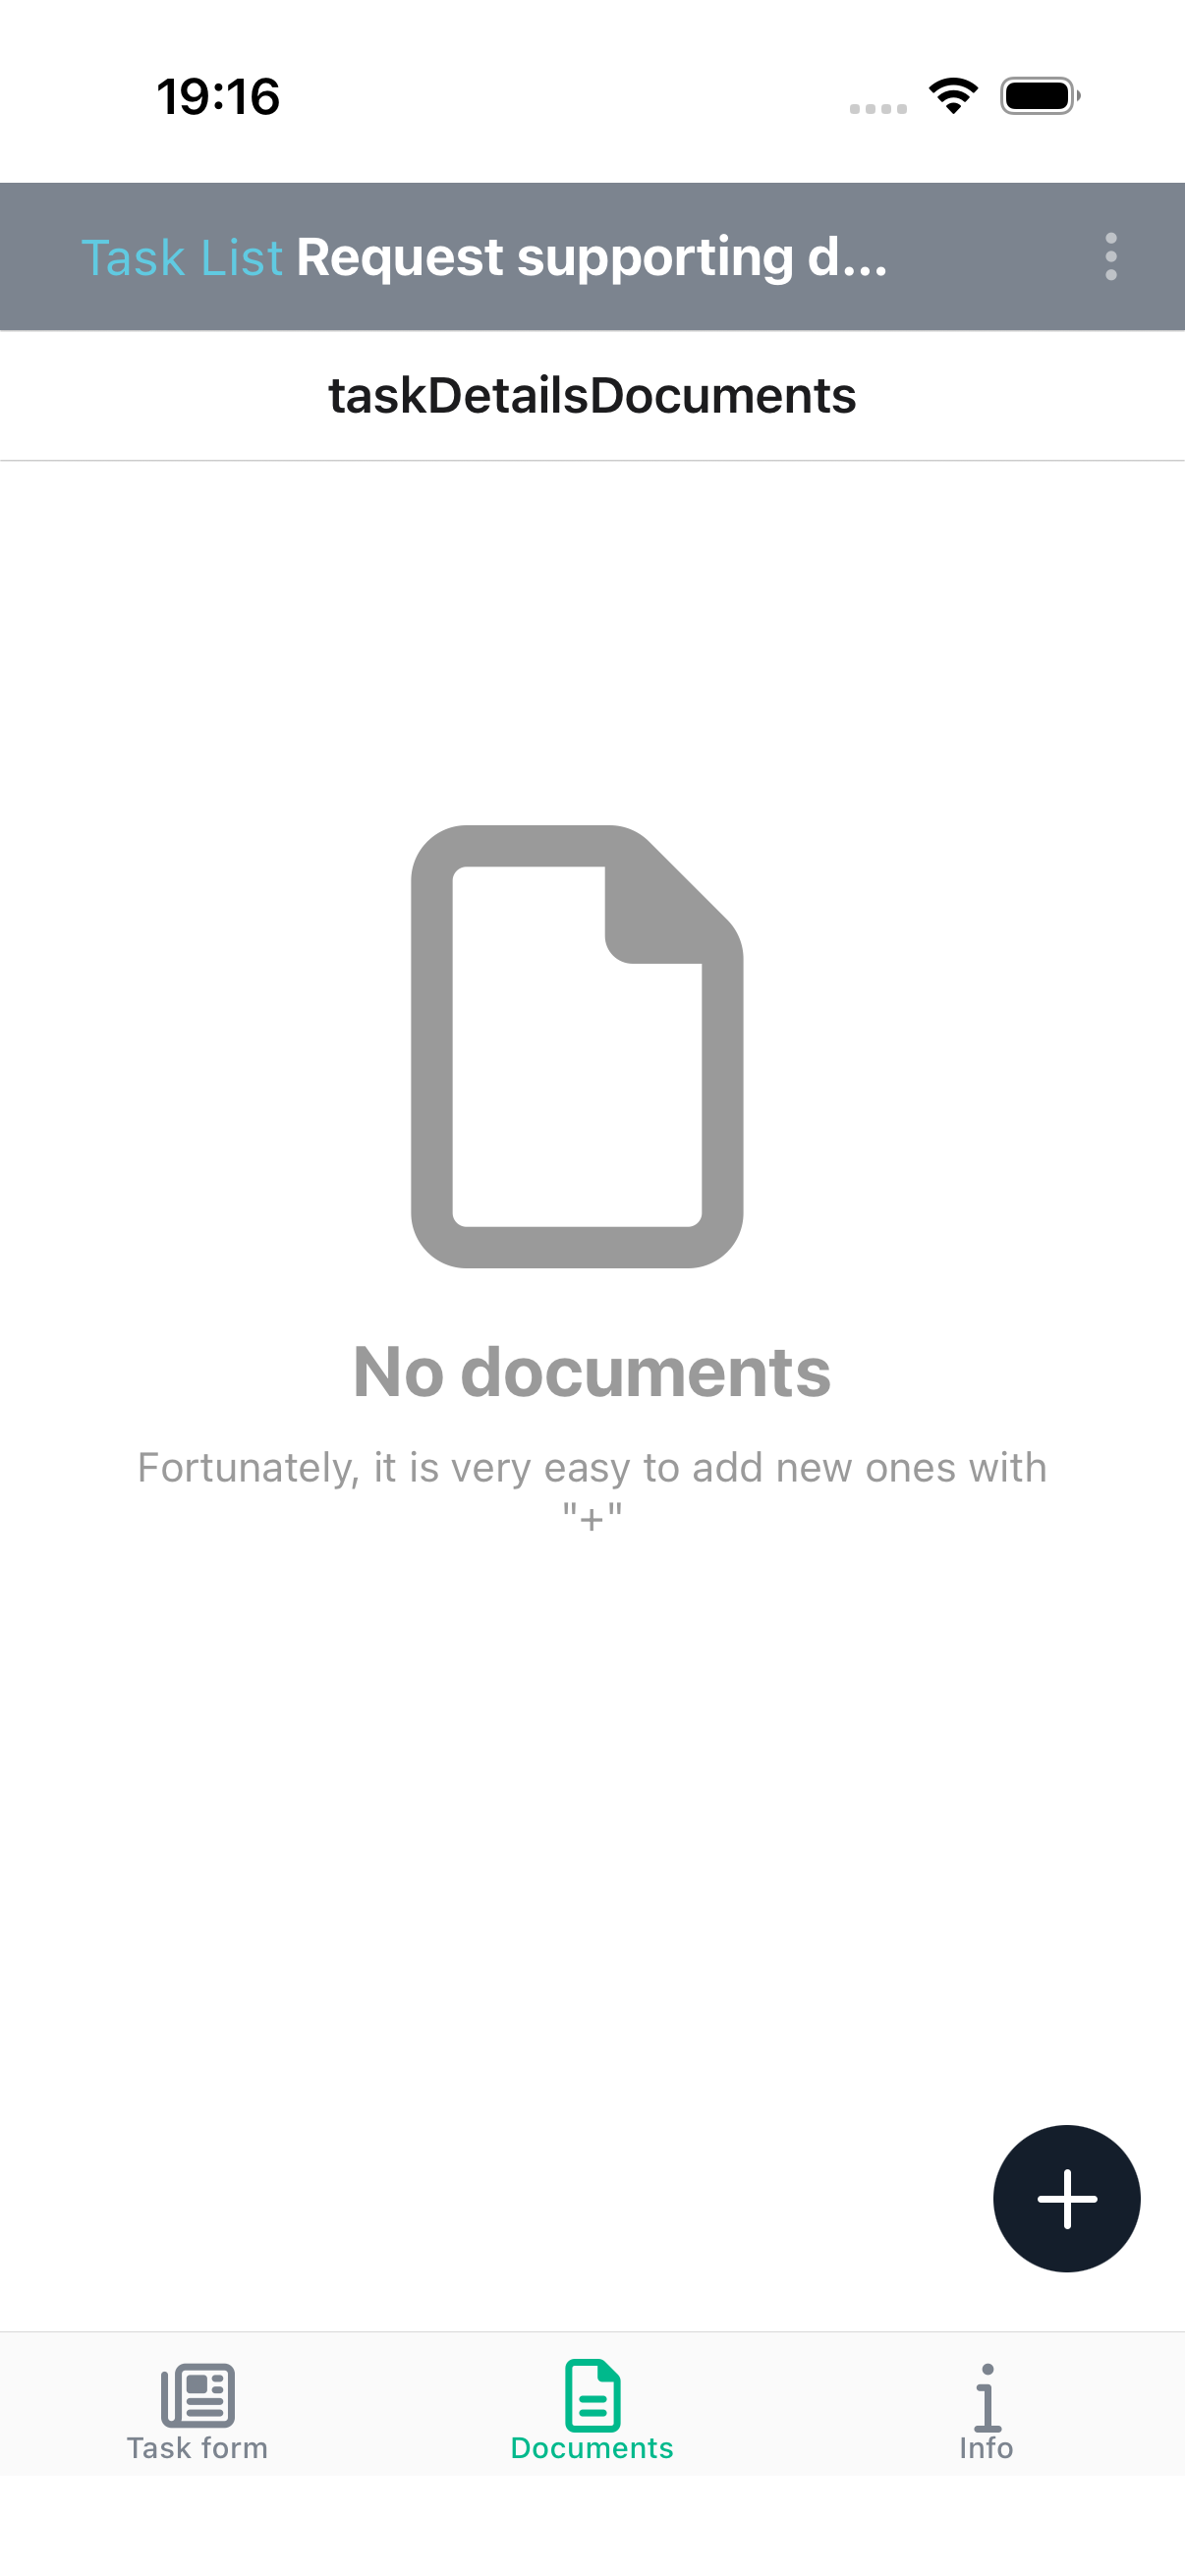
Documents Tab
Shows documents attached to the task. You can upload new documents and preview existing ones.
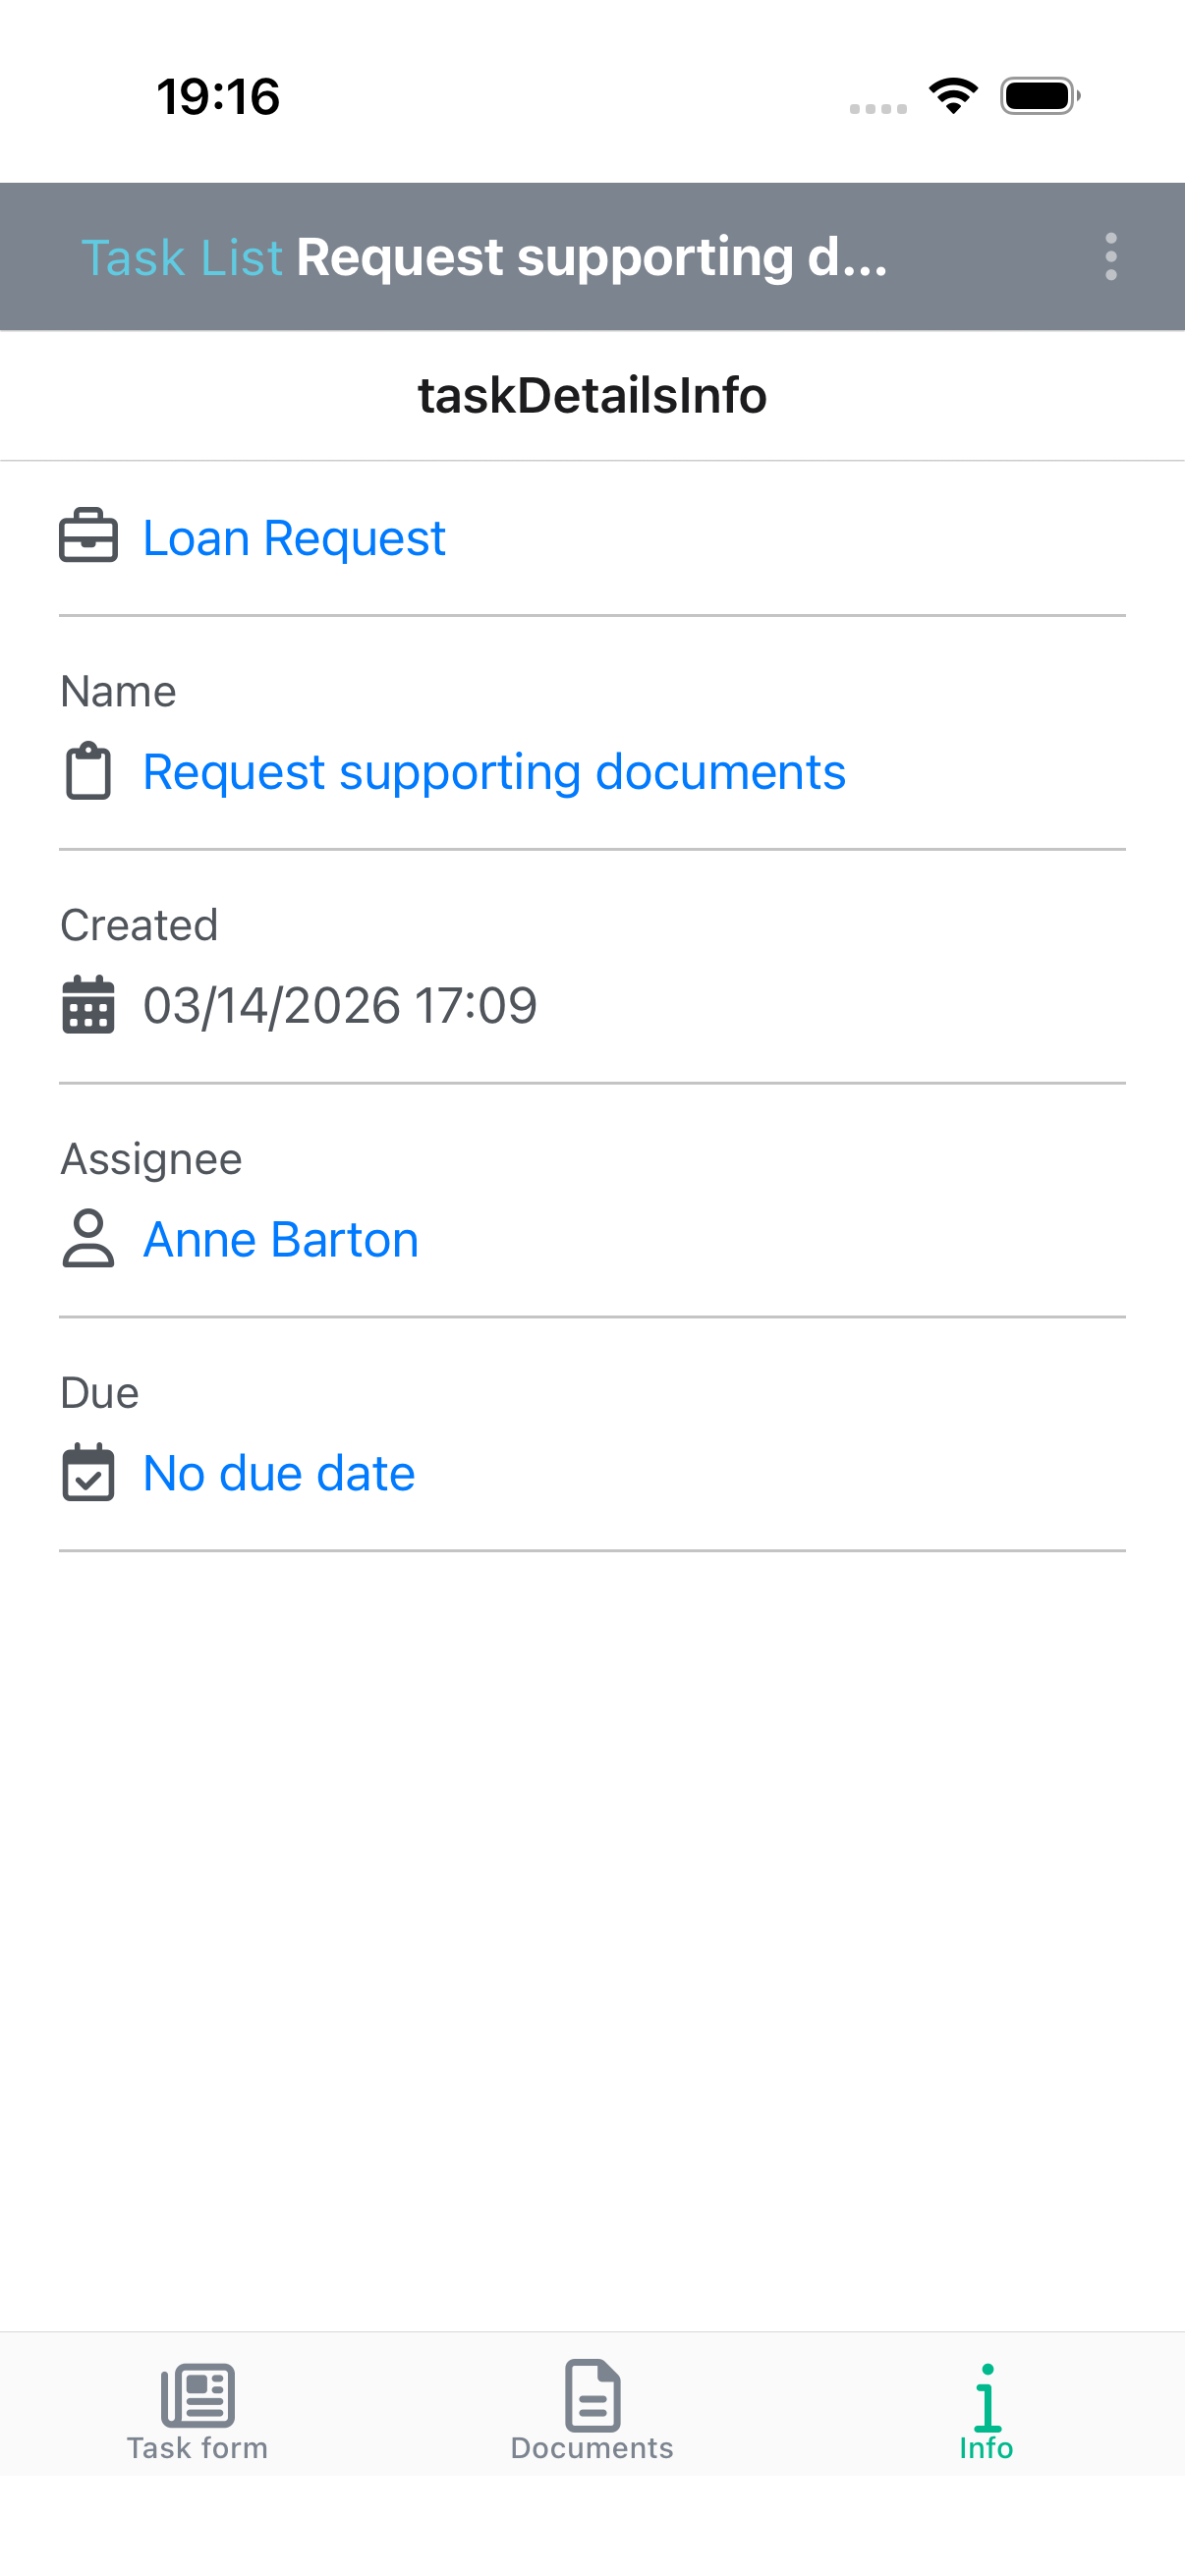
Info Tab
Displays task metadata:
- Parent work item - The parent case or process (tap to navigate to it)
- Name - The task name (tap to edit)
- Created - When the task was created
- Assignee - Who the task is assigned to (tap to reassign)
- Due - Target completion date (tap to change)
Claiming and Completing Tasks
- Claim - If a task is not yet assigned to anyone, you can claim it to take ownership.
- Complete - Once you have filled in any required form fields, tap the Complete button or select an outcome to finish the task.
Documents
The Documents module provides access to the content library where you can browse, upload, and manage files.
Document List
The document list displays files sorted by name. You can change the sort order using the sort option at the top.
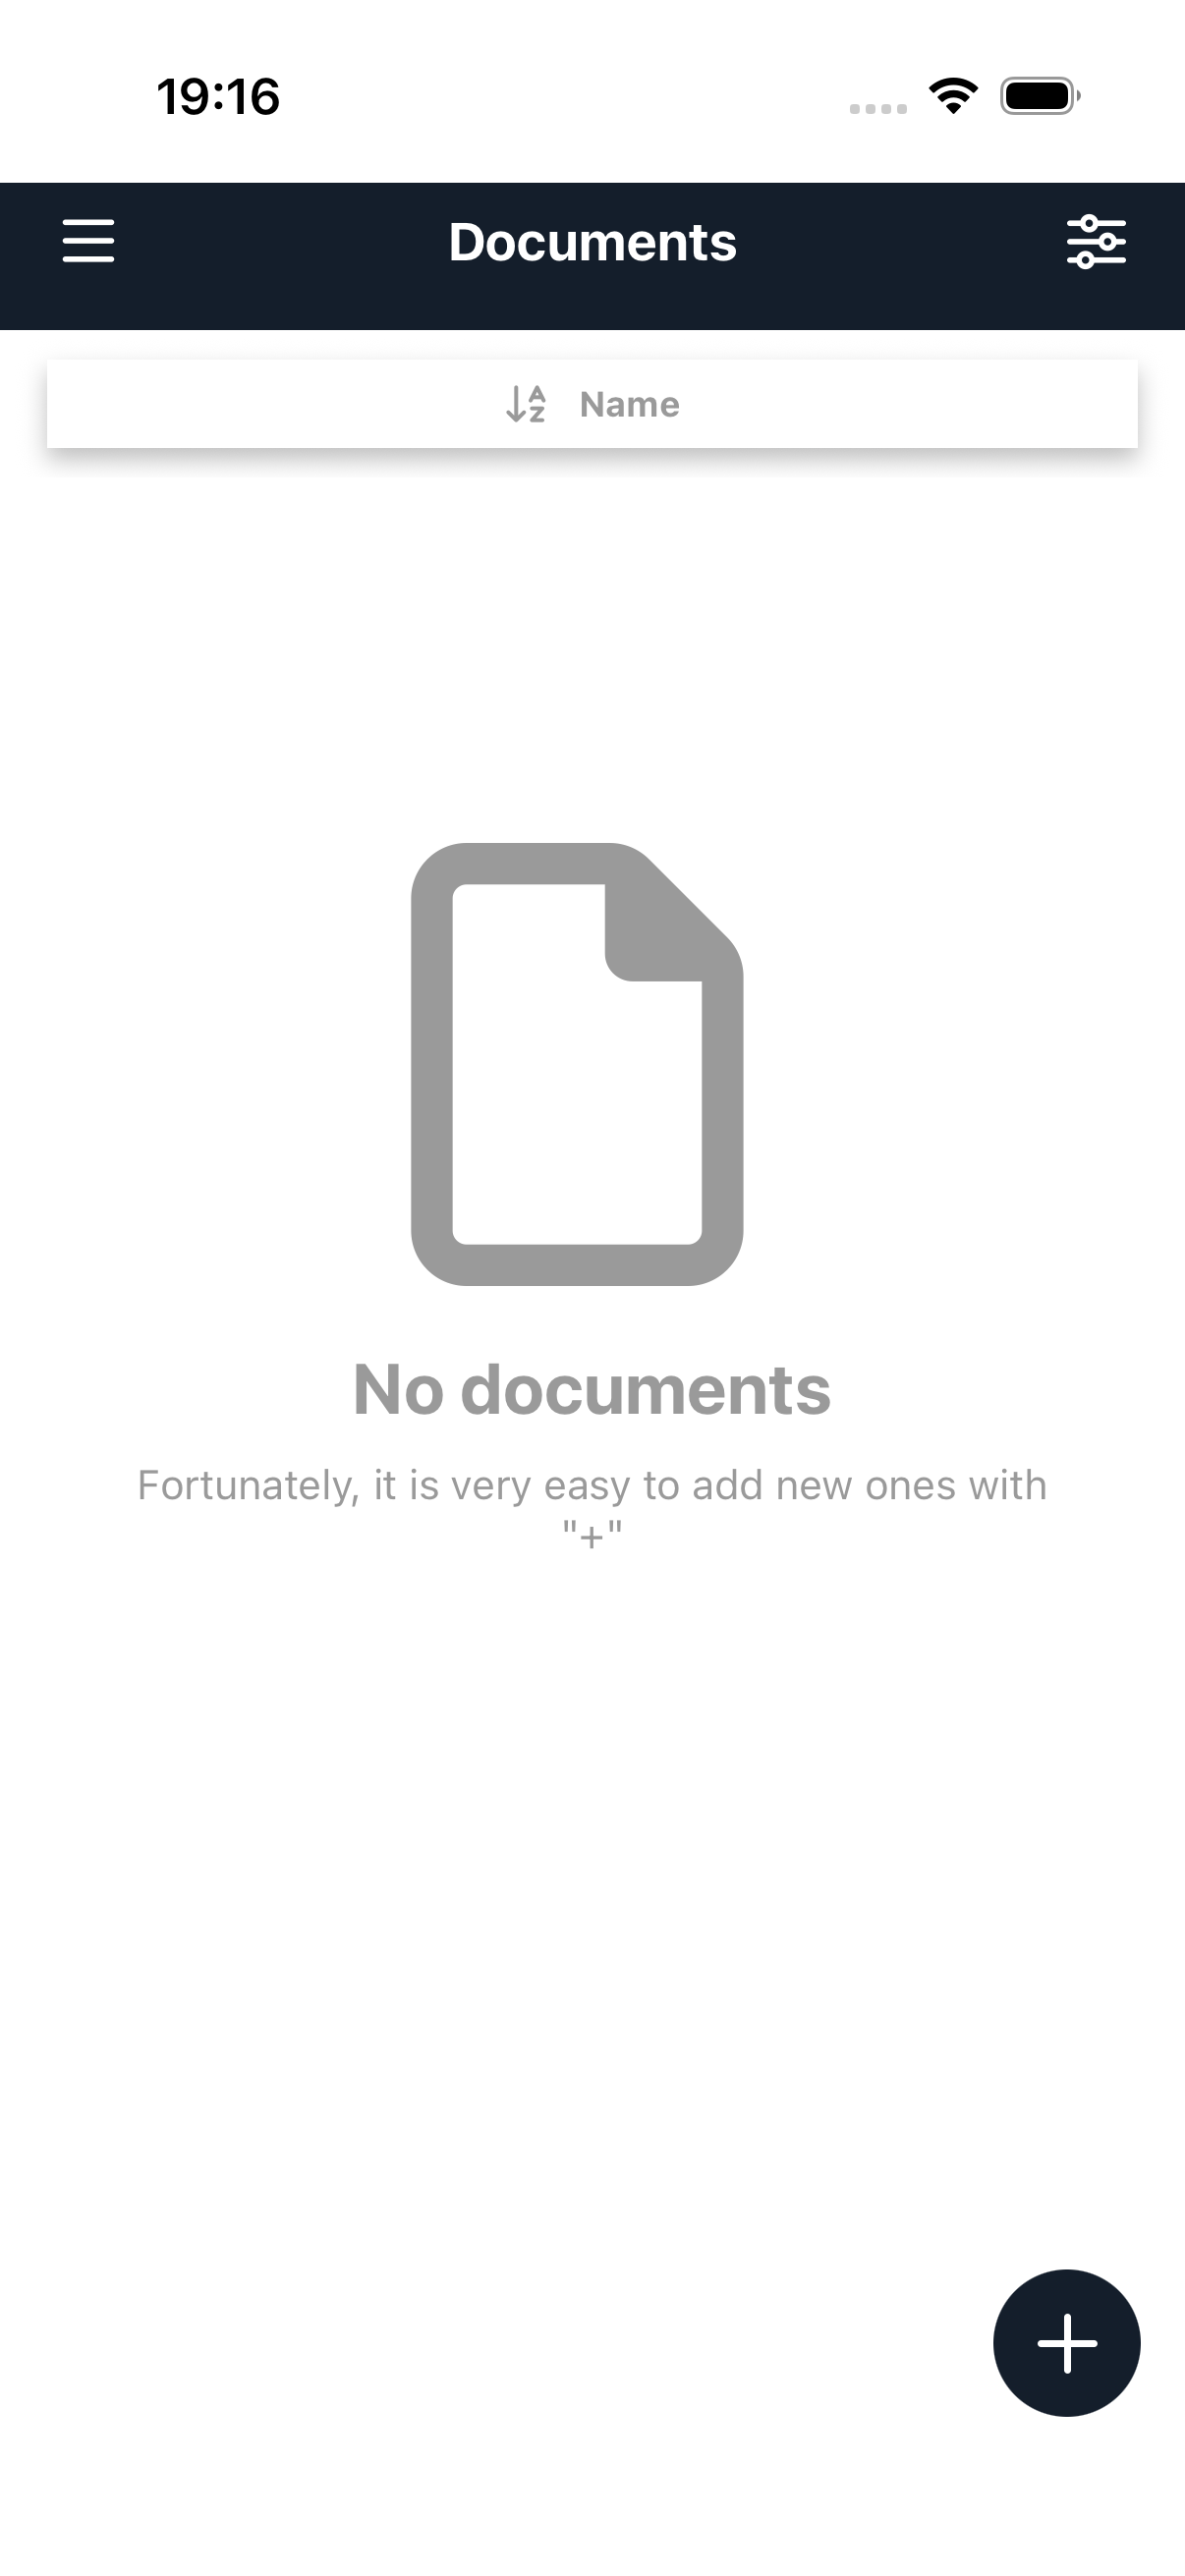
You can:
- Sort - Tap the sort bar to change the ordering
- Upload - Tap the + button to add a new document
- Pull to refresh - Swipe down to reload
Uploading Documents
Tap the + button to add a new document. You can upload from multiple sources:
- Camera - Take a photo directly
- Video - Record a video
- File picker - Choose a file from your device
 note
noteThe first time you use camera or file access, the app will request permission to access your device's camera and storage.
Document Details
Tap a document to open its details screen with a preview and metadata.
The details screen shows:
- Preview - Visual preview of the document content (images, PDFs, videos, and office documents are supported)
- File information - Name, type, size, and timestamps
- Version history - Previous versions of the document
File Actions
From the document details screen you can:
- Download - Save the file to your device
- Delete - Remove the document (with appropriate permissions)
- Add version - Upload a new version of the document
- Rename - Change the document name
Settings
Access settings by tapping User settings in the drawer menu.
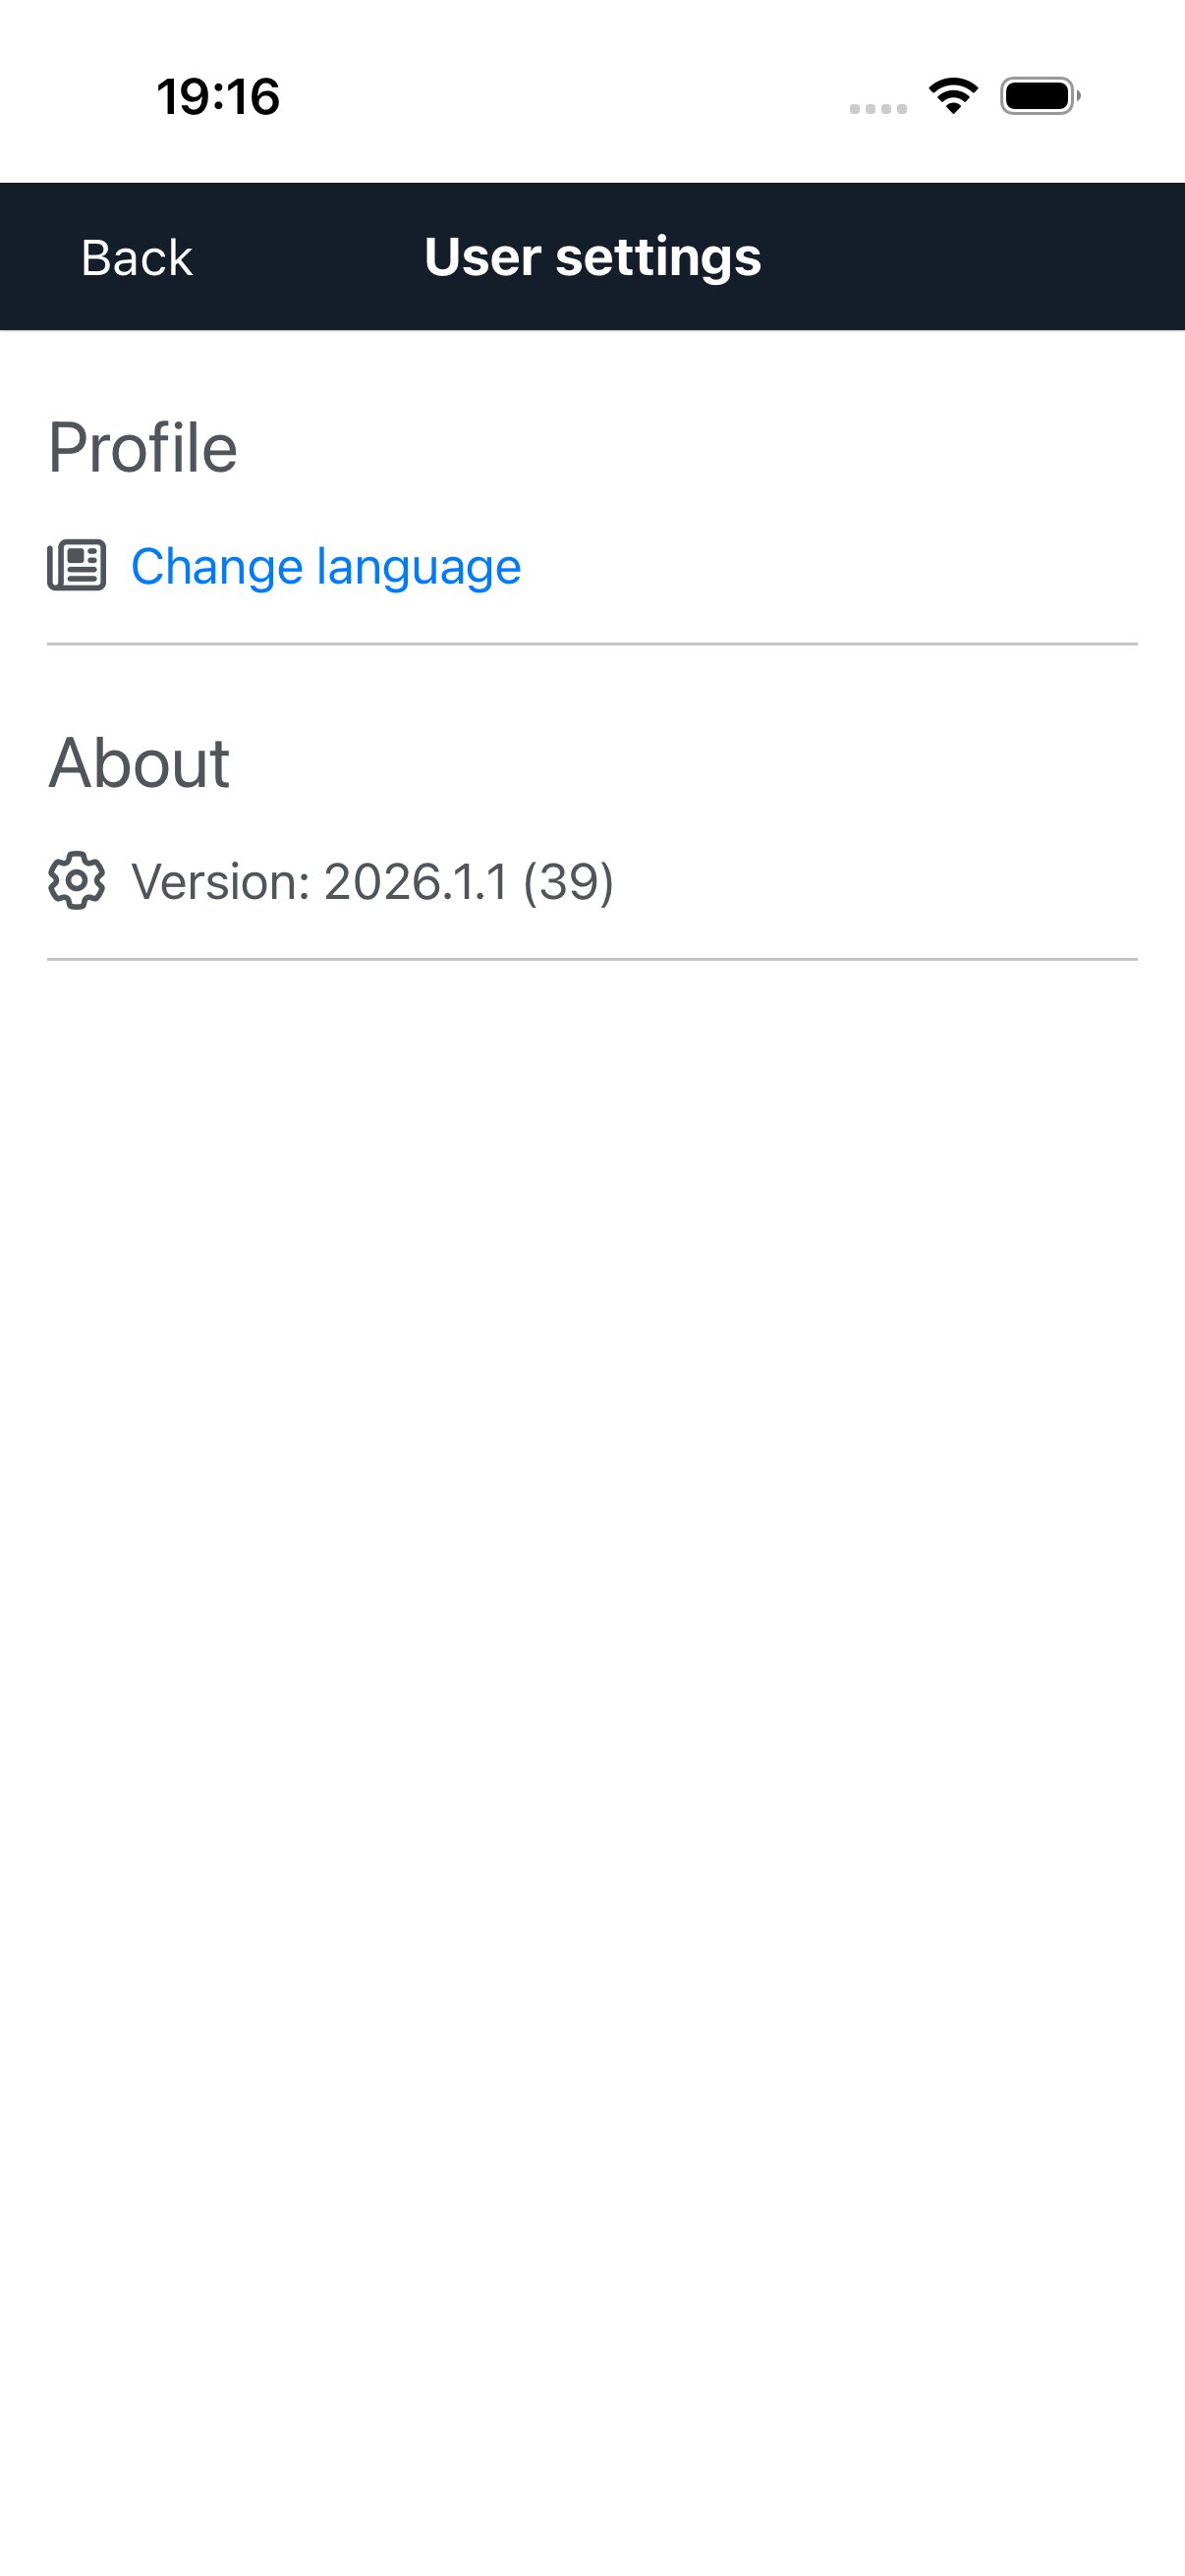
Available settings:
- Profile
- Change language - Switch the app language
- About
- Version - View the current app version and build number
Signing Out
To sign out of the app, tap Sign out at the bottom of the drawer menu. This removes your session and returns you to the login screen.