Documents
The Documents option gives you access to the documents in your content library.
![]()
When you click on Documents, the content library appears showing the first level of folders: Work and Personal.

Those two folders are special system folders that cannot be modified.
-
Work includes all the documents related to the Work application, which includes cases, processes, and tasks documents.
-
Personal is a special folder only for the current user. It provides a personal space to organize your documents.
Clicking on the folder name or double-clicking on a folder row opens the folder and displays the current content.
Work Folder Hierarchy
Folders hierarchy is inherited from the Work item definition. So adding a file called
sample.doc in a task of a case creates the following folder structure:
-
Case 1
-
Task 1
- File
-
Document Upload
If a user has permission to upload files or create folders in the current folder,
then the Create folder and Upload file buttons appear on the right of the
screen.
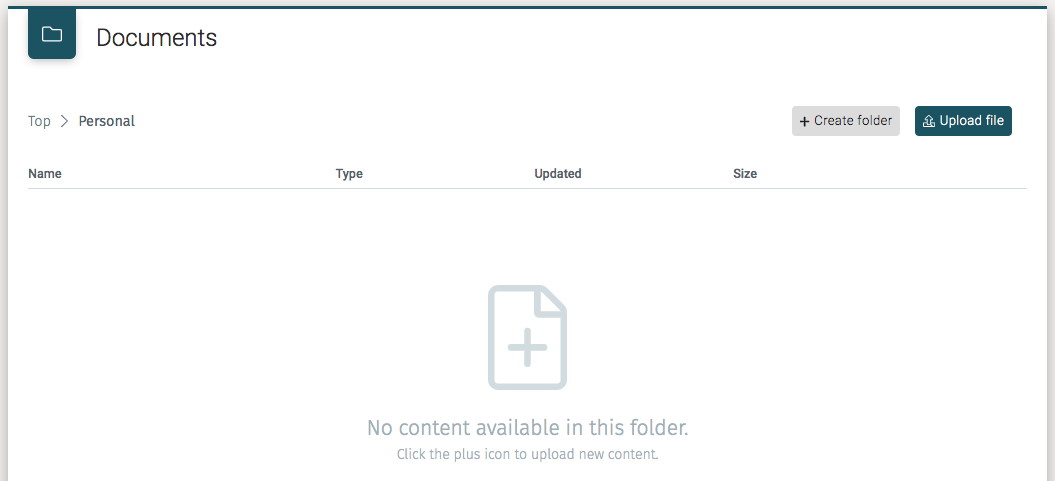
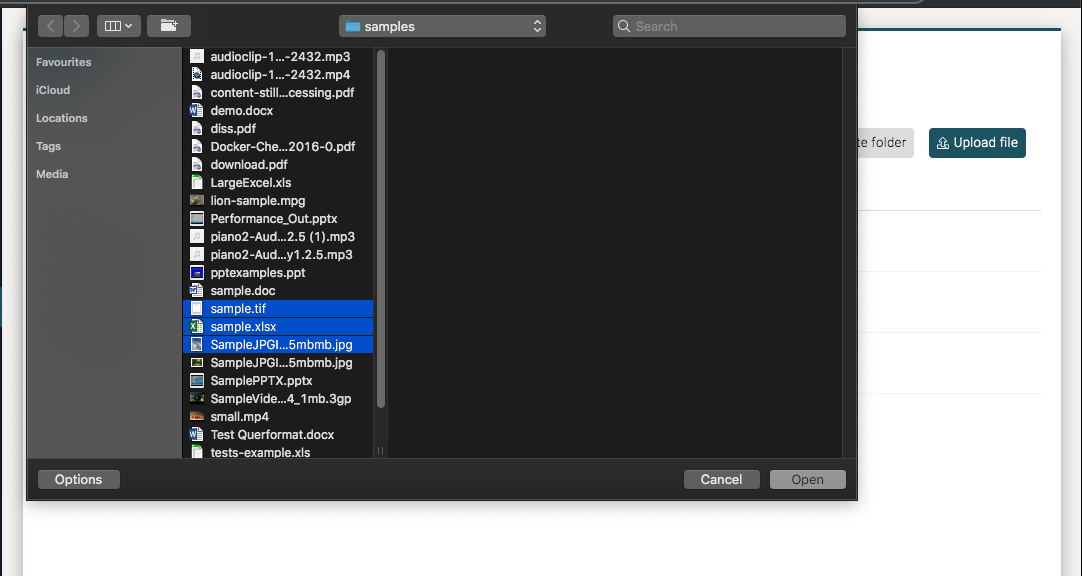
Clicking on the Upload file button opens the system file selector.
Alternatively, if the folder is empty, we can also upload files clicking on
the big file icon in the middle of the screen.
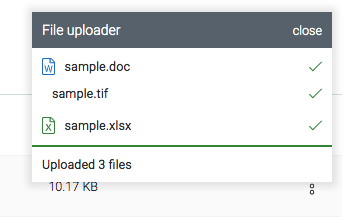
The uploading process allows for uploading multiple files at the same time. An upload status panel shows the upload process and the final result of the operation.
Folders
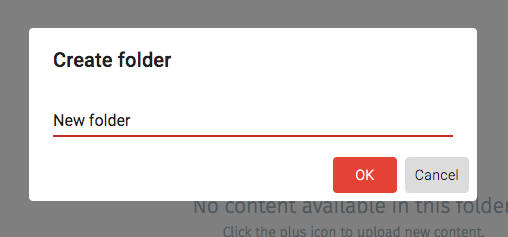
As with uploading files if we are in a folder that allows us to create folders,
we can use the Create folder button. A modal window appears in which a
new folder name is entered.
After clicking the OK button the new folder appears as a child of the current
folder.
To rename a folder,
select Rename in the context menu at the top right of the item row.

Selecting Rename opens a modal window in which we set the new folder name.
After clicking the OK button, the screen is refreshed displaying the
new folder name.
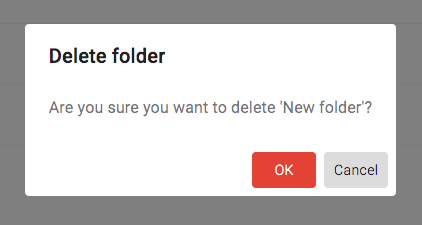
To delete folders (again assuming we have permissions), use the same context menu
and select the Delete folder item.
Selecting Delete folder opens a confirmation window
in which if we click the OK button, the folder is deleted.
Document Versioning
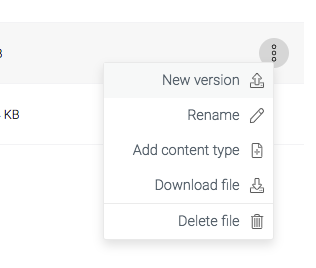
We can add different versions of the same document by selecting New version in the
context menu associated with a file.
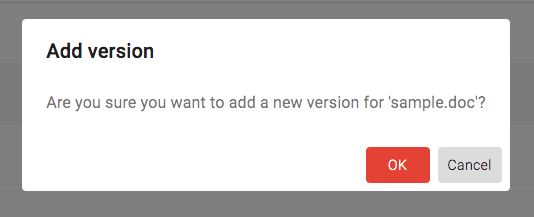
Selecting New version opens a modal dialog confirming that in fact, we do
want to upload a new version of the document. Clicking the OK button
then opens the system file upload dialog in which we select the file to upload.
At any time in the process we can cancel the versioning action.
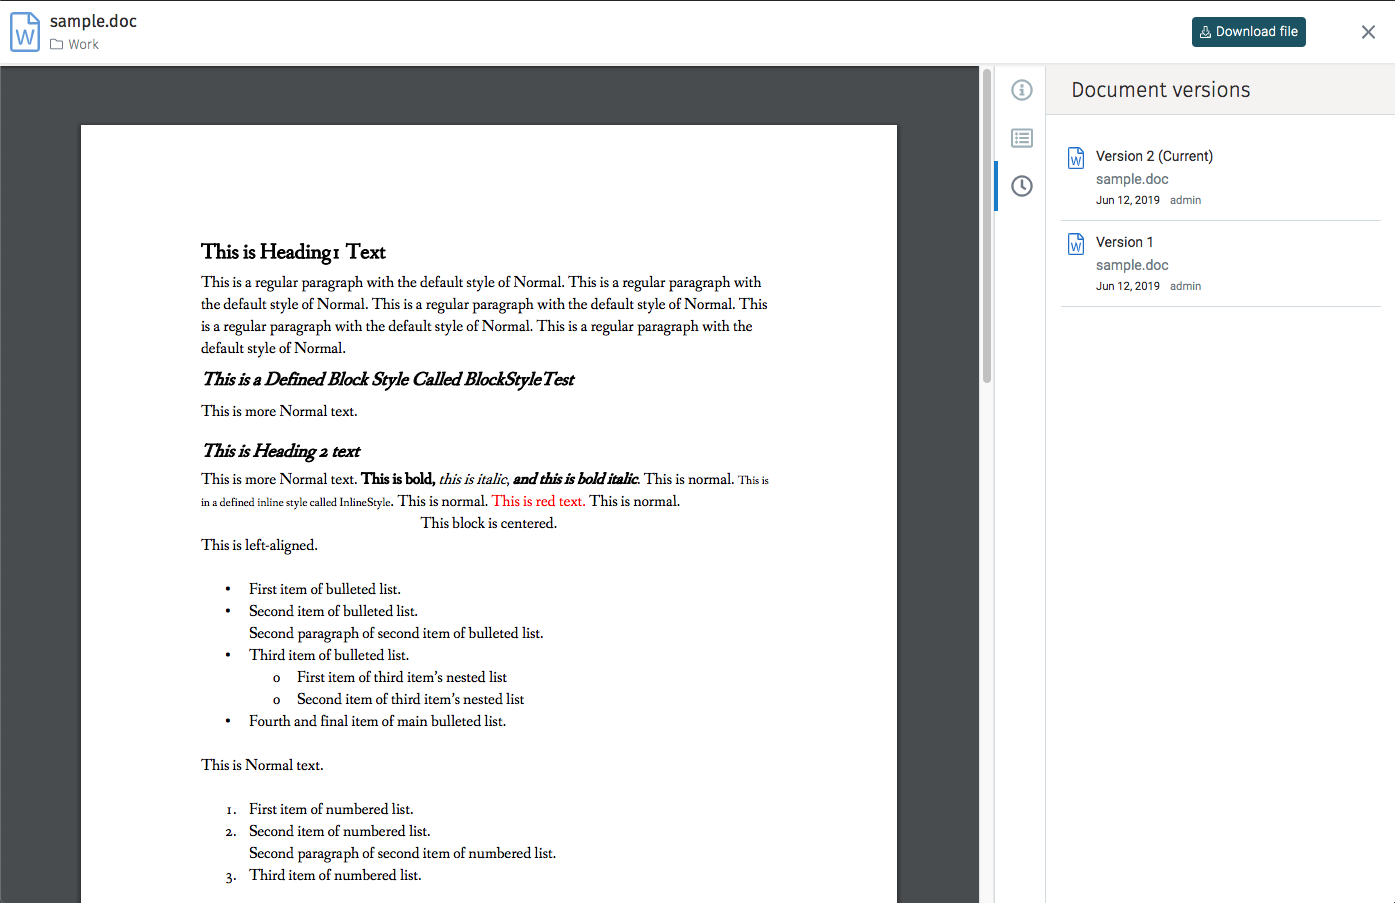
To see the full list of document versions, we first must open the document in preview mode. Next click the versions icon to see the various versions. See versions in the Preview mode.
Content Type
We can add content type information to a document using the context action menu
and clicking on Add content type.

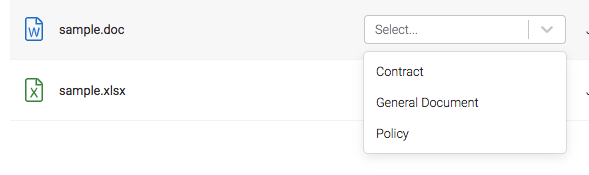
Selecting Add content type produces a dropdown menu from which to pick one
of the possible content types defined in the system.
Once the content type is selected a form with the corresponding metadata fields appears in the list into which we fill in the required information.
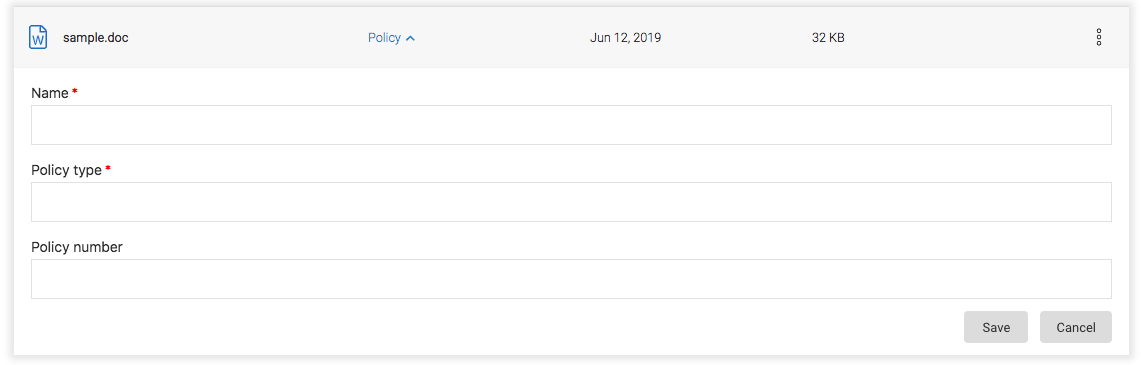
Once the information is entered, click on the Save button
and if the save is successful, a success message appears:

To view the metadata associated with a document, open the document in preview mode.
Document Preview
Clicking on the name of a document in the document list shows a preview of the document contents:
If the document has a convertible file format then a preview in PDF format or the image itself is shown:
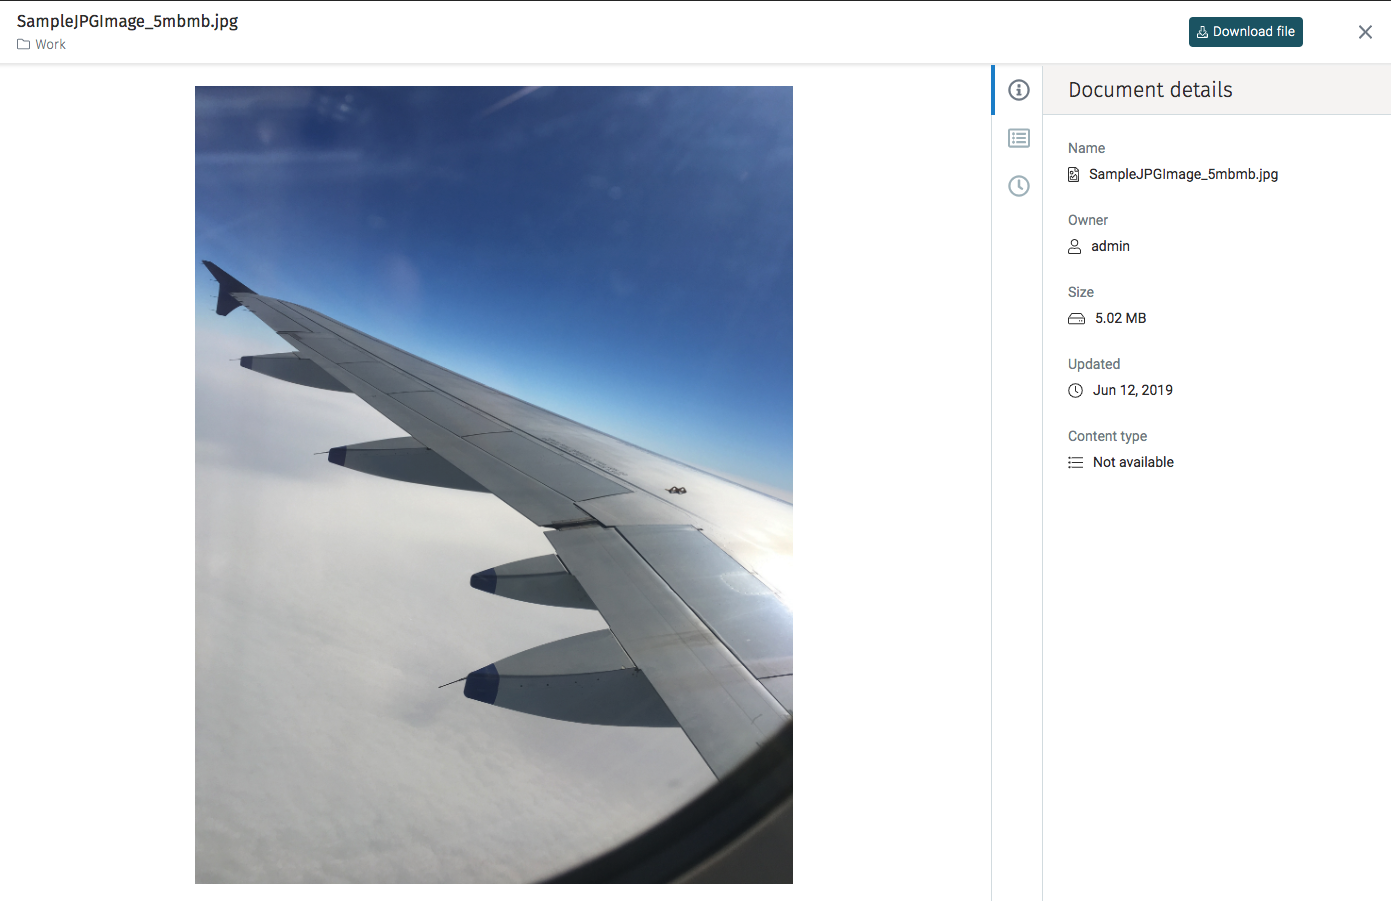
The right panel contains additional details about the document, including the filename, size, and owner.
Actions
The current document is downloaded using the Download file button
on the top right.
Navigation is accomplished by either clicking on the folder name on the top left (breadcrumbs) above the list of files or when previewing a document by clicking on the "X" at the top right corner.
Document Metadata
In preview mode, one of the details tabs is the document metadata. That tab shows the content type and related information defined for that particular document.

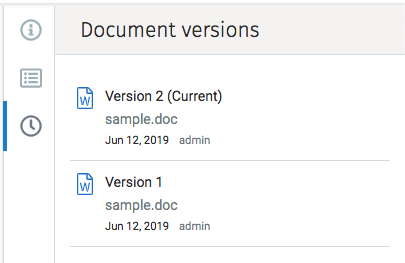
Document Versions
The versions tab lists all the previous versions of the current document. By selecting a previous version from the list that specific version is available for download.
Documents Tab
For each of the Work details pages, there is a tab that shows the documents associated with that particular case, process, or task.
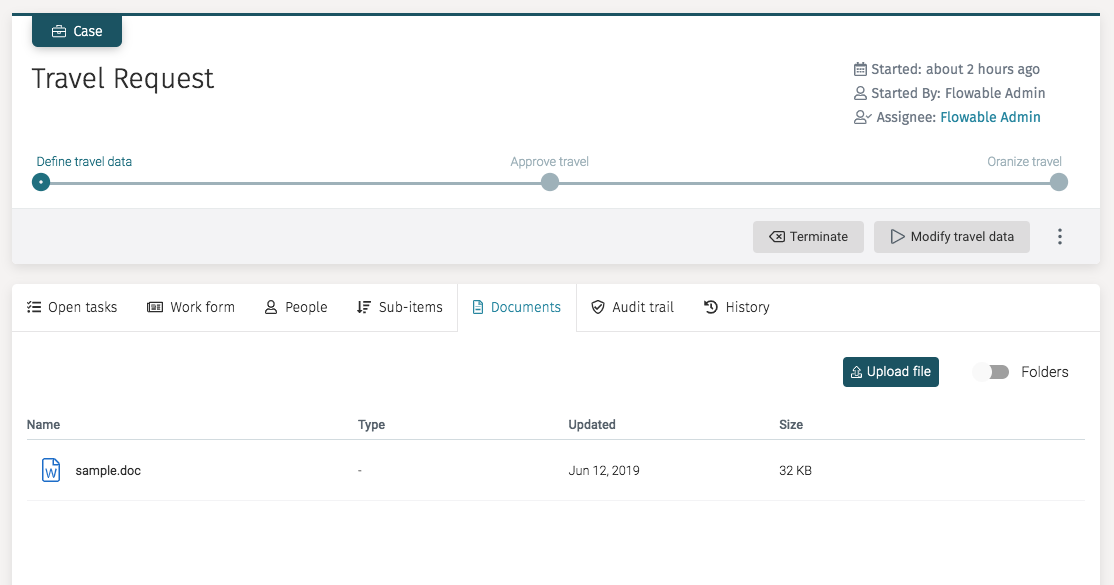
The documents tab includes a switch control labeled Folders that is used
to control whether or not to show the hierarchy
of folders. By default the folder hierarchy is disabled; thus all the files
associated with that
work item are shown in a flat list as shown above.
If the Folders switch control is enabled, the view shows
folders under that case folder. As seen in the next example, we see the task
folder that contains the sample.doc file.
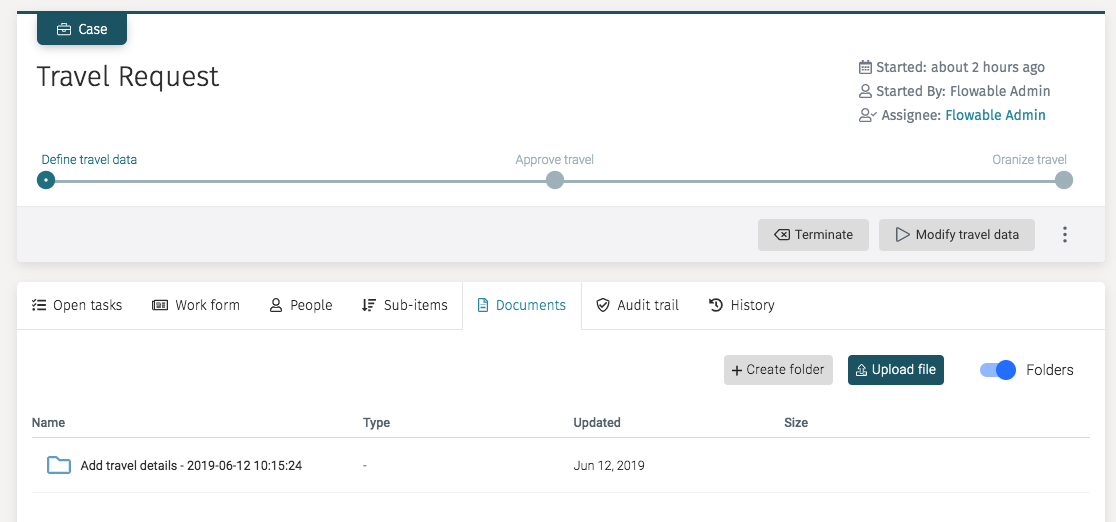
In either view, we can upload files directly to the work item folder, and if the Folders switch is active we can create folders too.