Tasks
The Tasks button lets you access the list of created tasks.

A work item most probably contains some tasks that must be completed by you or your team in order to accomplish the objective of that work item. For example, if you have a Loan Review process, it is very likely that you have a task that revolves around collecting the requestor financial information, such as income, the amount requested, nationality, etc.
When you click on Tasks the inbox loads the list of tasks that are for me,
and it expands the list of other available filters for tasks. The button for
creating a new task is also shown. But keep in mind that this newly created
task is somehow special: it creates what is called an ad hoc task. An ad hoc
task is different from a task in the sense that it does not belong to the
hierarchy of a work item: it is not part of a process or a case. Also,
an ad hoc task does not have a form associated to it. It only contains
four fields: name of the task, assignee, due date, and description
(only the name is required).

Task Inbox
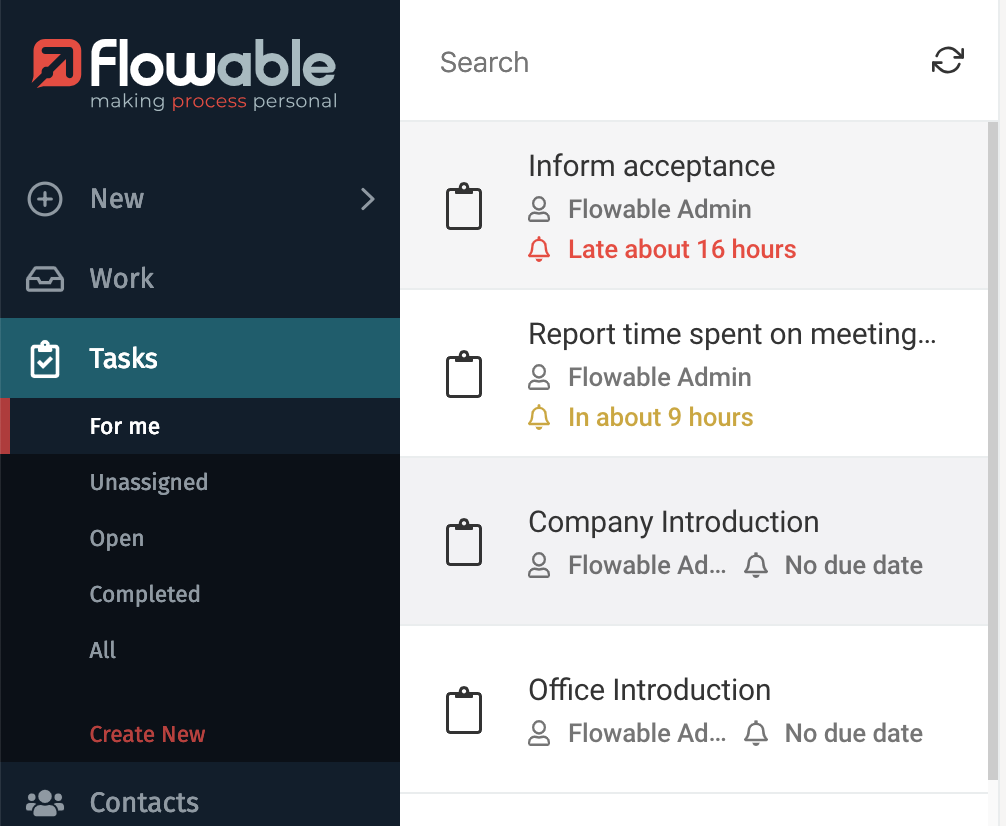
The Tasks Inbox shows you tasks based on the filter you have selected in the expanded list. For example, if the For me filter is selected in the submenu, you only see tasks you are assigned to.
The ordering of the tasks depends on the filter you have selected:
- For the filters For me, Unassigned, or Open tasks the order is the combination of: by due date ascending, by priority descending and by creation time descending. This means that tasks that have their due date close are on top, then for the ones that have the same due date the ones with highest priority and then the ones that were most recently created.
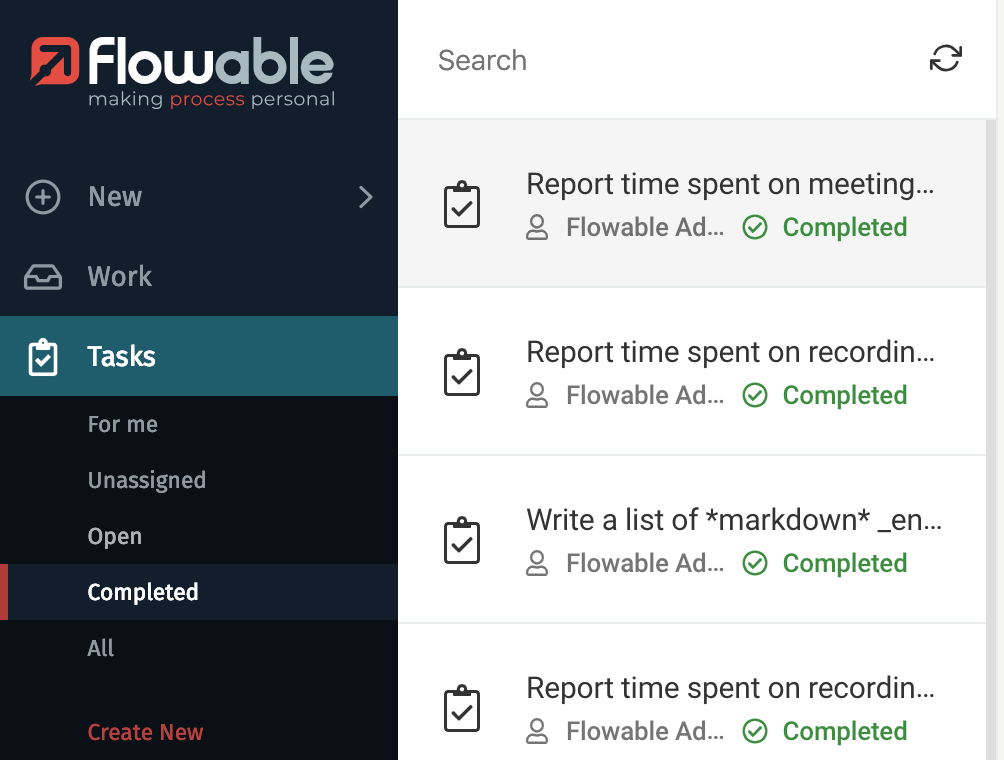
- For the filter Completed tasks the order is by completion date descending, meaning that most recently completed tasks are shown on top of the list.
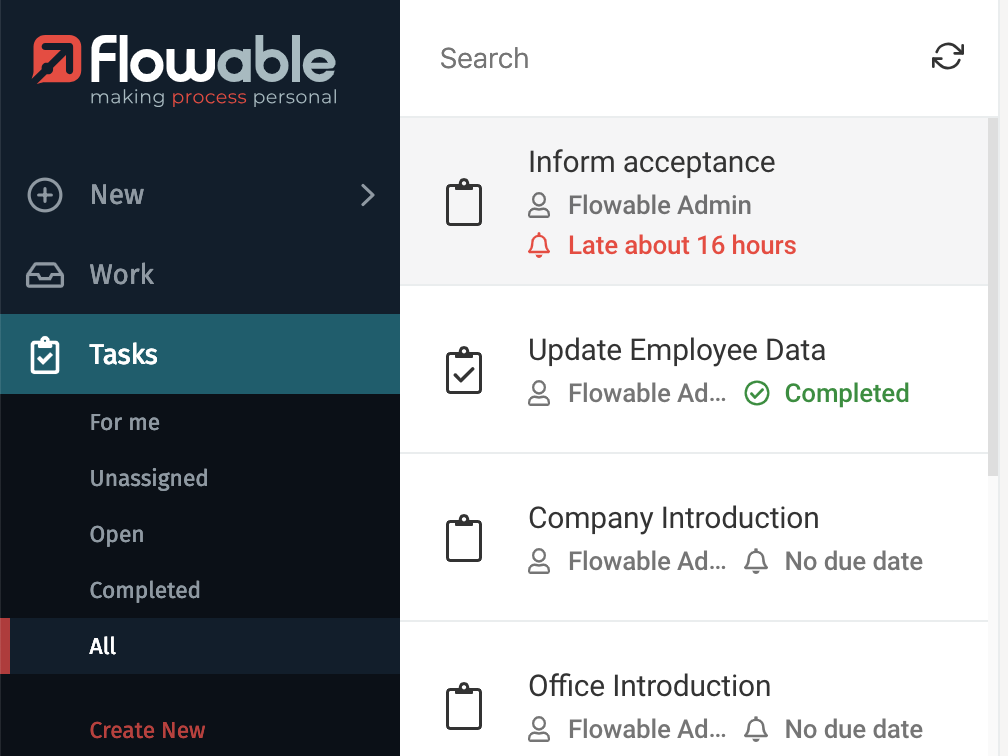
- For the filter All tasks the order is by creation date descending, meaning that most recently created tasks are shown on top of the list.
Creating New Ad Hoc Tasks
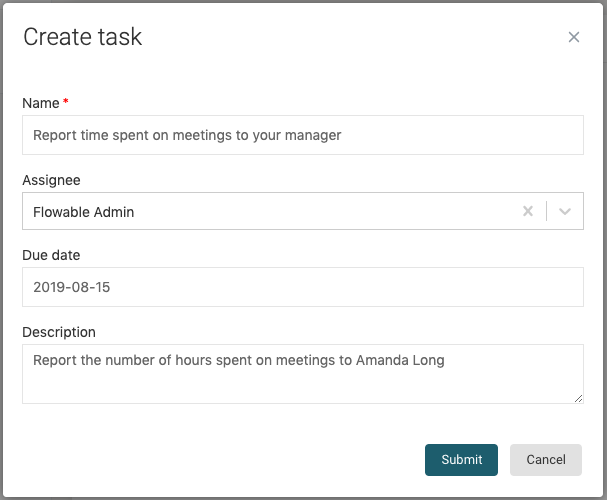
When you click on the Create new item under the Tasks section, a window appears with
a simple form that you need to fill to create a new ad hoc task. Only the name is
required, as it serves to identify the task in the tasks list. The other two optional
fields are Assignee, in case you want to assign the task to a certain member of your
organization, and Description, which you can use to describe what the task involves,
and what needs to be accomplished in order for someone to complete the task. Once you
have filled the fields you can press the Submit button to create it. At any
time you can click on Cancel and the task is not created.
After creating the ad hoc task, it appears in the inbox list, and its details are shown in the details panel.
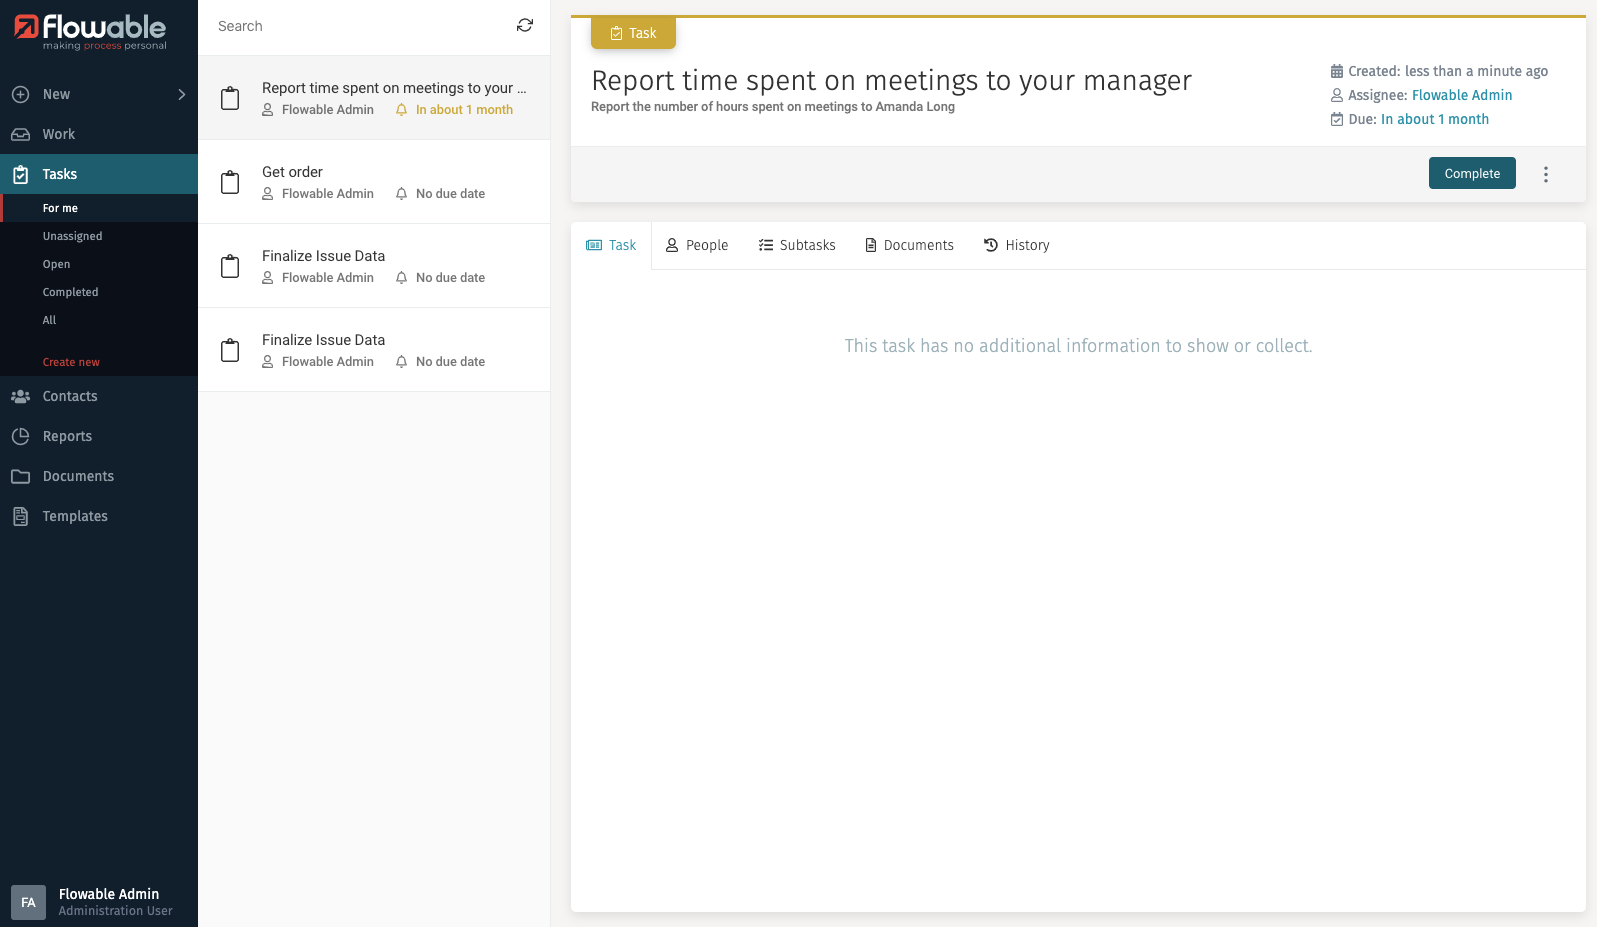
If you look at the top right of the details panel, there is a Complete button.
By clicking on this button, you are informing that the task has been performed and
mark the task as completed.

Task Details
The details panel of a selected task contains all the information about the task, a navigation bar to see more details, a button for additional actions, and a main area to interact with the selected task.
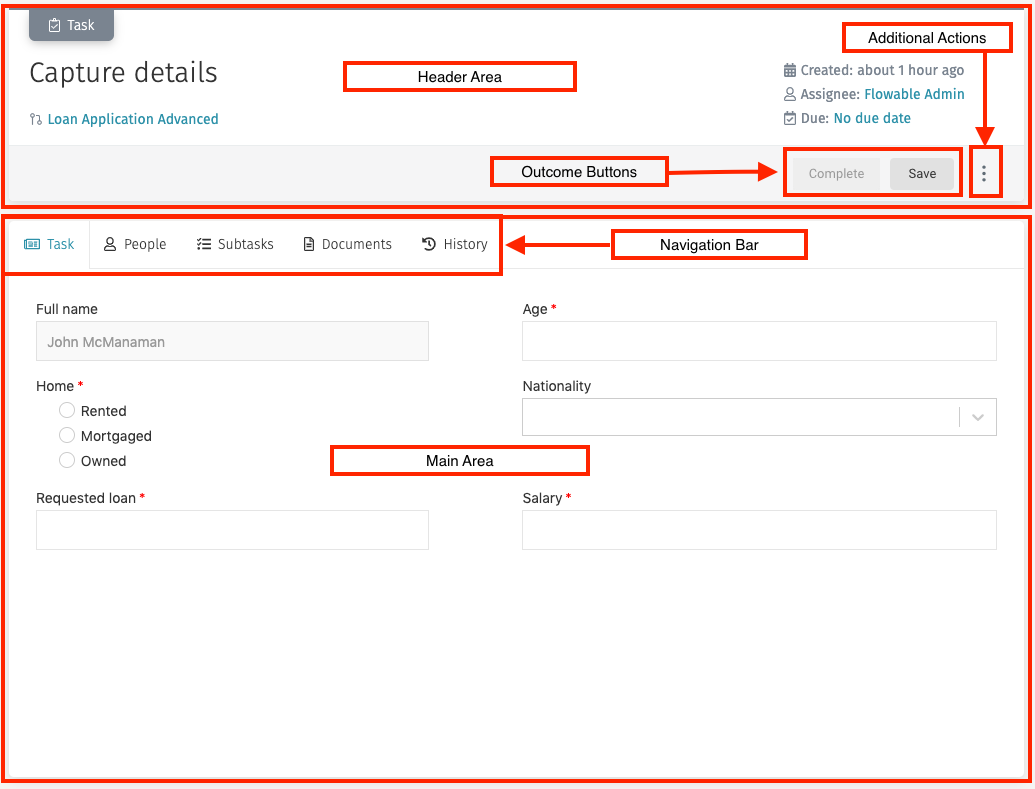
Header
The header contains the name of the task, when it was started and by whom, a link to the work item that contains the task (not shown if the task is an ad hoc task as ad hoc tasks are not related to a work item), a button to perform additional actions, and the outcome buttons.
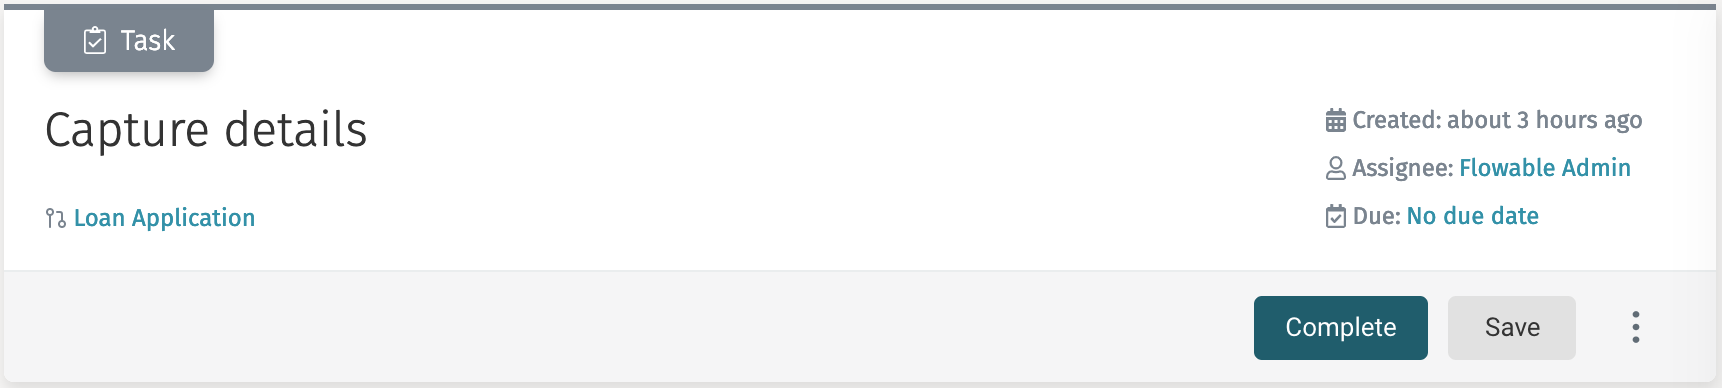
If you click on the link to the work item, it navigates to the corresponding work item to display its details panel and the Work inbox is displayed.
The Task ribbon on top of the header is shown in different colors to quickly display information about the task
| Task Condition | Ribbon Color |
|---|---|
| Assignee set, no due date | 52 tasks details header task grey |
| Due date set in the future | 52 tasks details header task yellow |
| No assignee | 52 tasks details header task yellow |
| Due date reached | 52 tasks details header task red |
Assignee
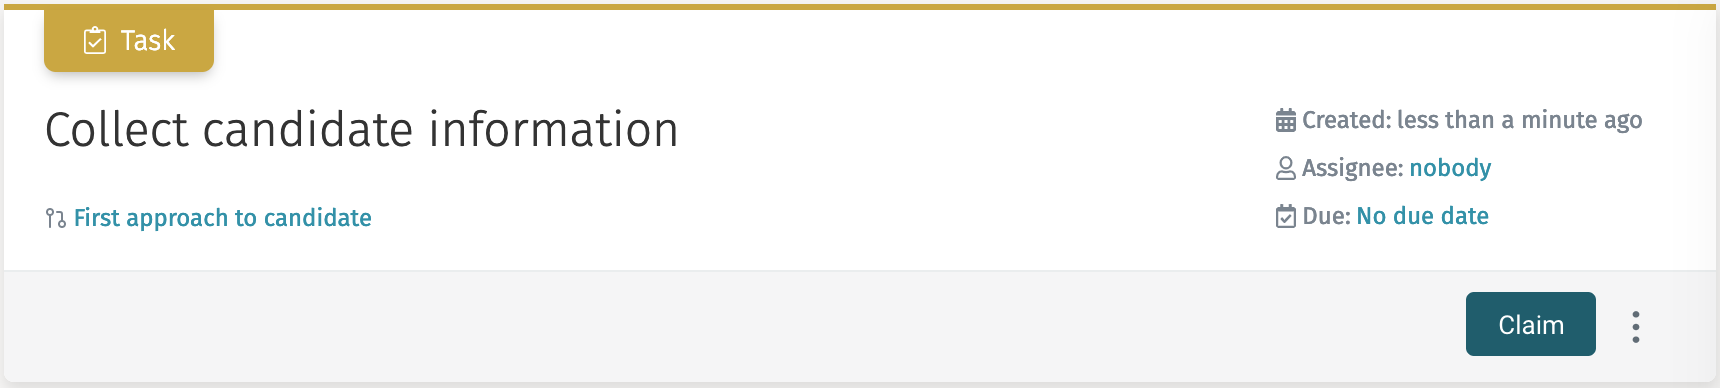
The assignee field in the header shows the current assignee of the task.
If there is no assignee, the text nobody is shown, and the outcome buttons are
replaced by a Claim button.
 note
noteIf there is no assignee, the Task ribbon on top of the header is shown as yellow.
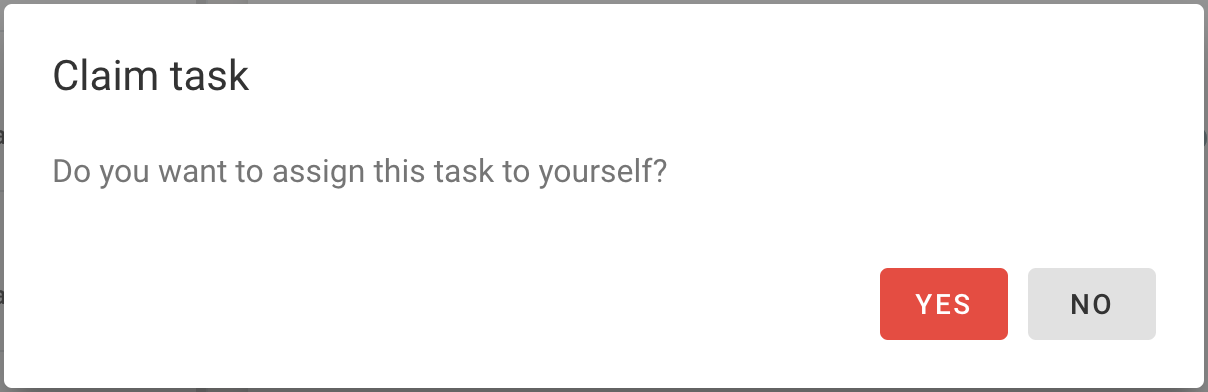
Claim lets you set yourself as assignee. When you click the Claim button,
a window for you to confirm that you want to assign the task to yourself.
Once you click on Yes, you are the assignee of the task,
and the outcome buttons are replaced back.
noteA task cannot be completed without an assignee.
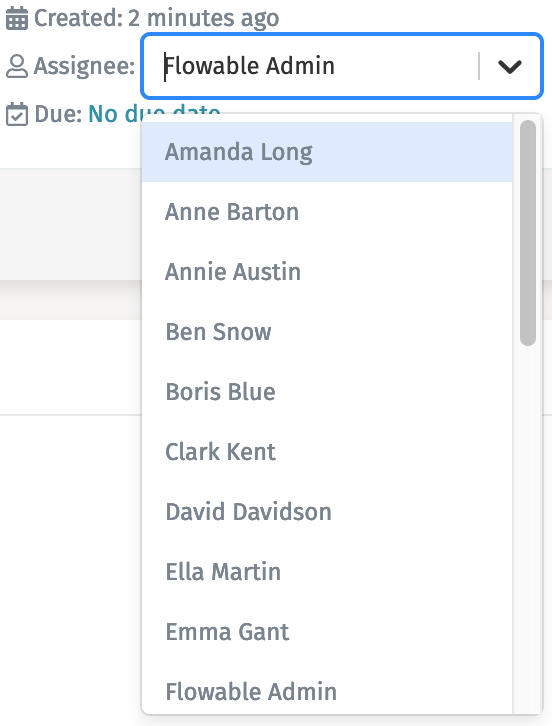
If you have the appropriate permissions, you can change the assignee of the task at any moment by clicking on the name of the assignee. Once you click, a search list appears where you can select directly which user you want to set as assignee.
 tip
tipYou can type some letters of the user name you want to search for to aid you in the selection.
Due date
The Due date field (shown as Due) in the header displays the due date of the task. This is an additional information attribute that you can use to specify when a task should be completed.
If no due date is set, No due date is shown.

Once you click on the due date value, a date picker appears and you can select the day you want to set as the due date.
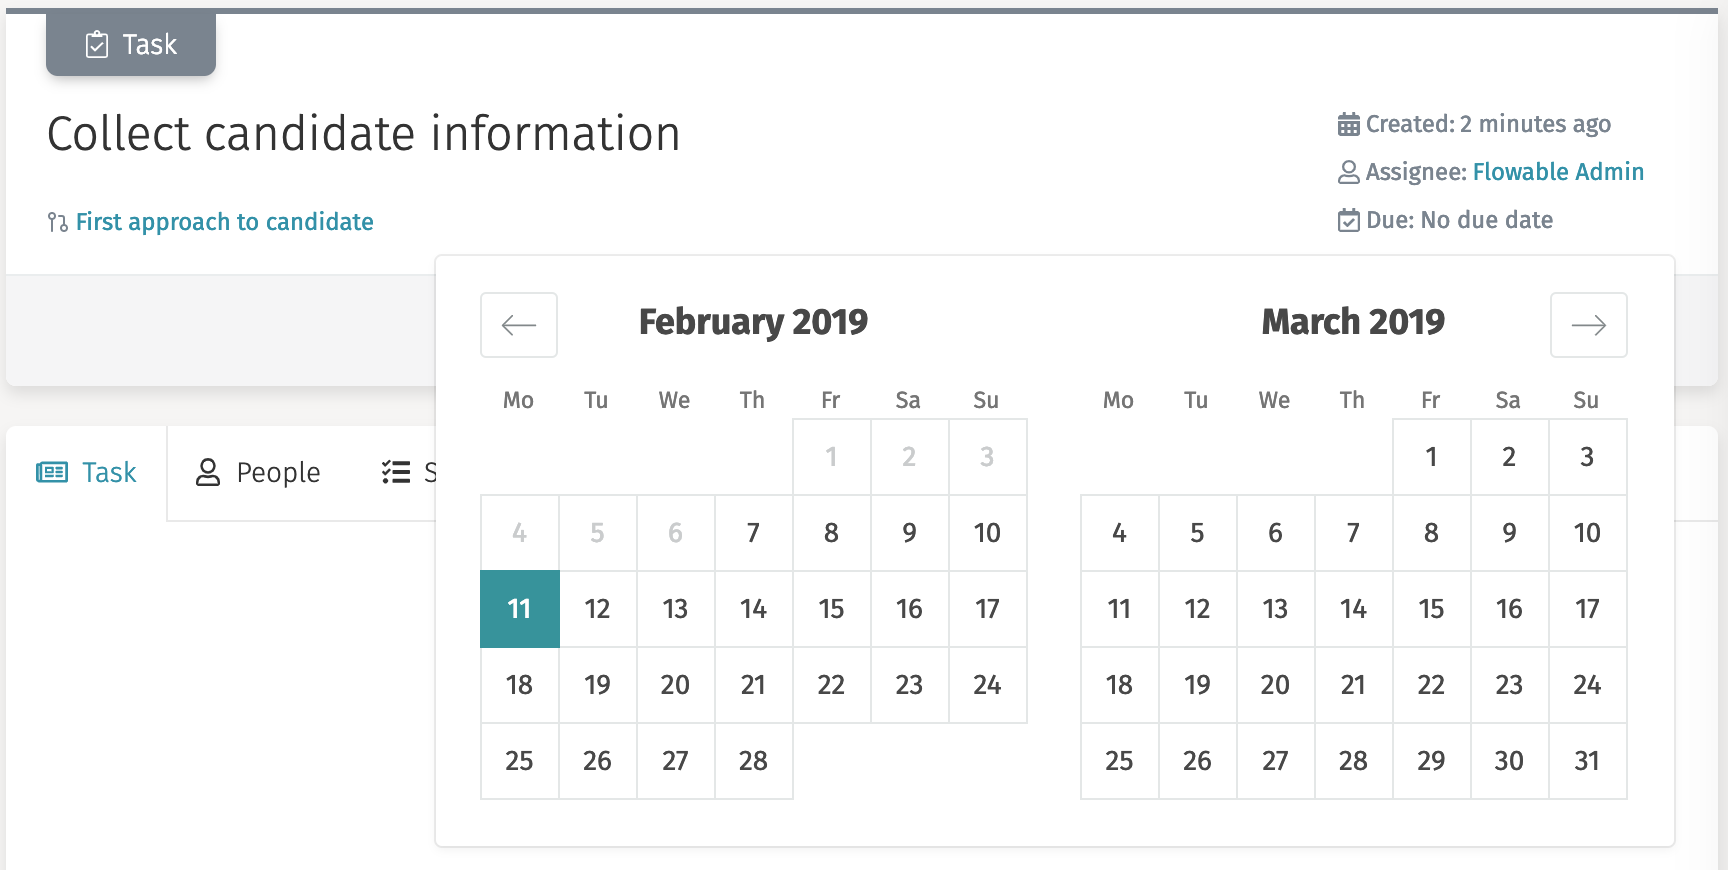
By selecting a day in the calendar the due date is set. The due date can be modified at any time by clicking again on the field. If you place your mouse on top of the due date, the actual date is shown, and a X button appears that lets you remove the due date completely.
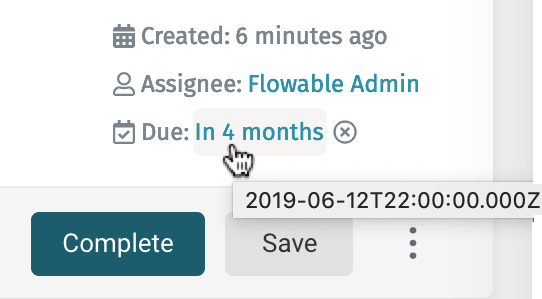
noteThis attribute is just informative. Tasks are available for completion even past the specified due date.
Outcomes
By default, the outcome buttons of a task are Complete and Save.
-
The
Completebutton saves the form and completes the task, making the work item continue to the next step. -
The
Savebutton saves the form, but does not complete the task, thus the task remains opened to be completed on a next step.
If a task has custom outcome buttons, those buttons also complete the task, but add a variable to the process that signals which option was selected. For example, Accept or Reject a loan request. This outcome variable can then be read in the process in order to use it in a conditional flow to model which is the next step that should happen in the process.

Additional actions
If the task has additional modeled actions, they are displayed when you click on the button represented by the three dots. You can then select which action you want to execute by clicking on it.
Navigation Bar
When you click on a task and the details panel loads its information, a navigation bar is shown on the main area. This bar acts as tabs from where you can perform additional actions on the task.

Task
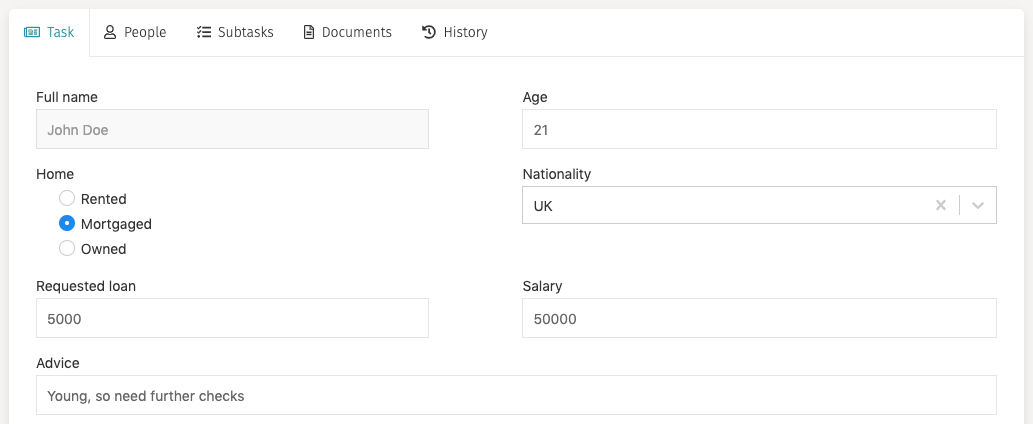
The task tab is the default tab of the task details view. It shows the corresponding form of the task, so the assignee user can interact with it, fill the appropriate fields, and save or complete the task. This area is scrollable when needed.
 caution
If the task tab is not selected, you do not see the outcome buttons in the header area to be able to complete the task.
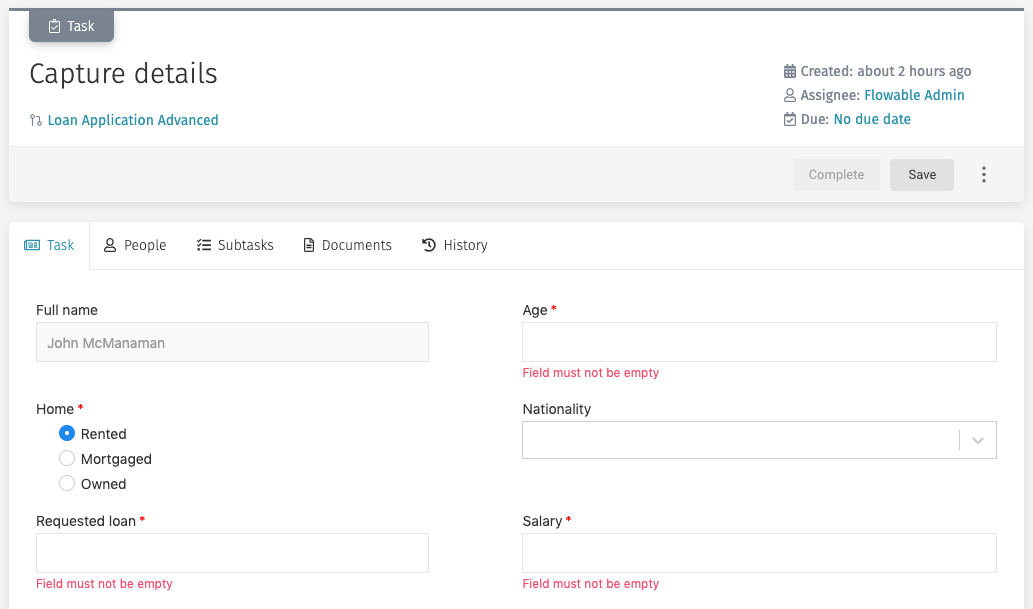
A task form can have mandatory fields. The mandatory fields are marked with a
red asterisk (*). A task cannot be completed (the Complete button is
disabled) until all mandatory fields have been filled in, and a message appears under
them asking you to fill them.
noteYou can always save a form without filling in all mandatory fields.
People
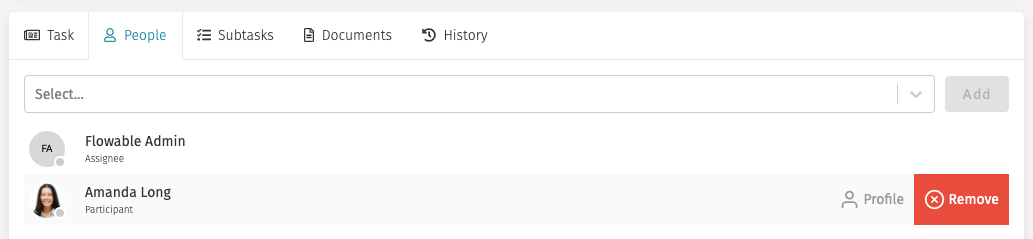
When you are working on a task, you might want to involve other members of your team in it, so they can help you, add additional information or documents. From this tab you can view who is involved in the task.

If you want to involve someone in the task, you just have to type his name in the
input search combo, select him and click on Add. You can add as many people
as you want.

noteEvery user that you involve in the task are set as a candidate for the task, and if they have the appropriate permissions, they can complete the task. The task is listed in their open tasks list.
If you want to remove someone from the task you can place your mouse over its row,
and then on the right side a button Remove appears.
noteYou can only add or remove people from open tasks. You cannot modify who is involved after a task has been completed.
Subtasks
Similar to ad hoc tasks (see Creating New Ad Hoc Tasks), you are able to create new subtasks. When clicking on the subtasks tab, you see the list of subtasks.
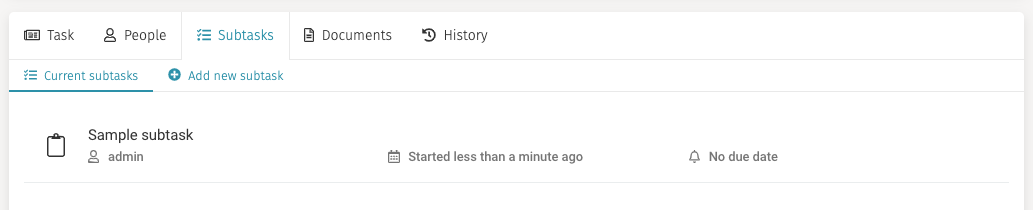
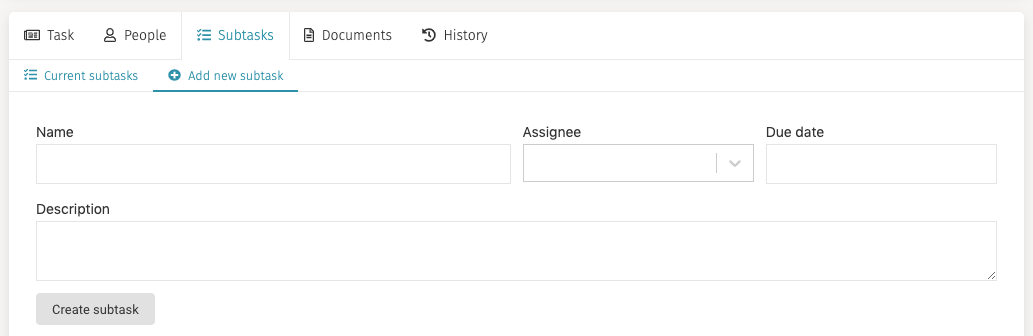
If you want to create a new subtask, you can click on the Add new subtask button
and a form loads where you can enter the basic information for it
(only Name is mandatory). After you are done filling the form in, click on
Create subtask.
tipThe description field supports a small subset of Markdown. For example, you can use *My text* to bold what is between the asterisks: My text.
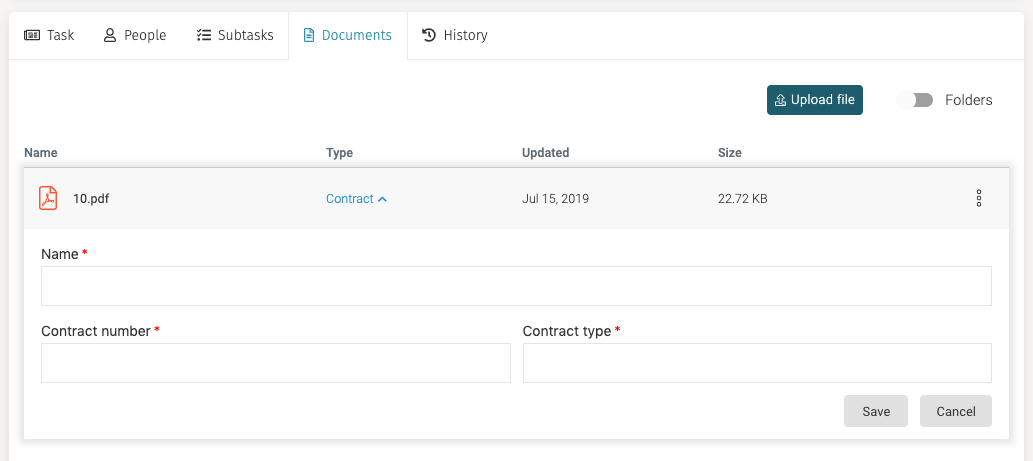
Documents
In the documents tab you can attach files to the task, view already attached files and delete attached files.
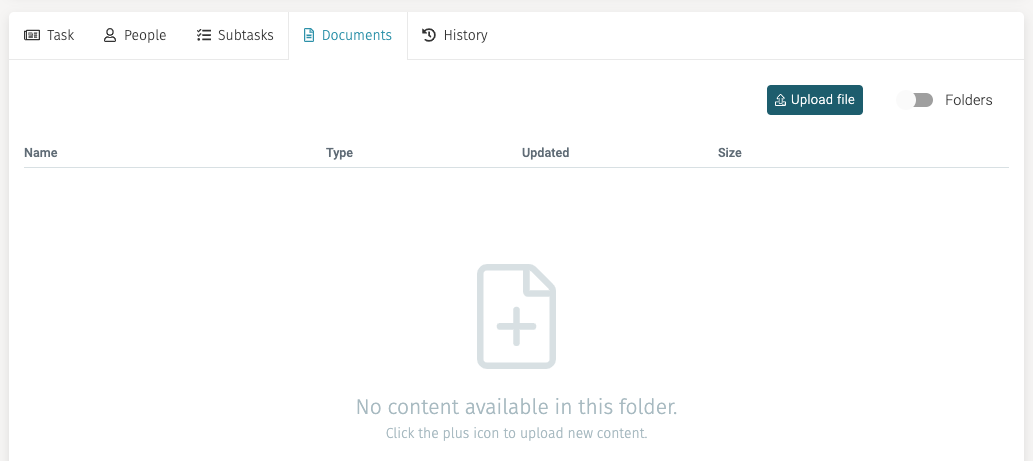
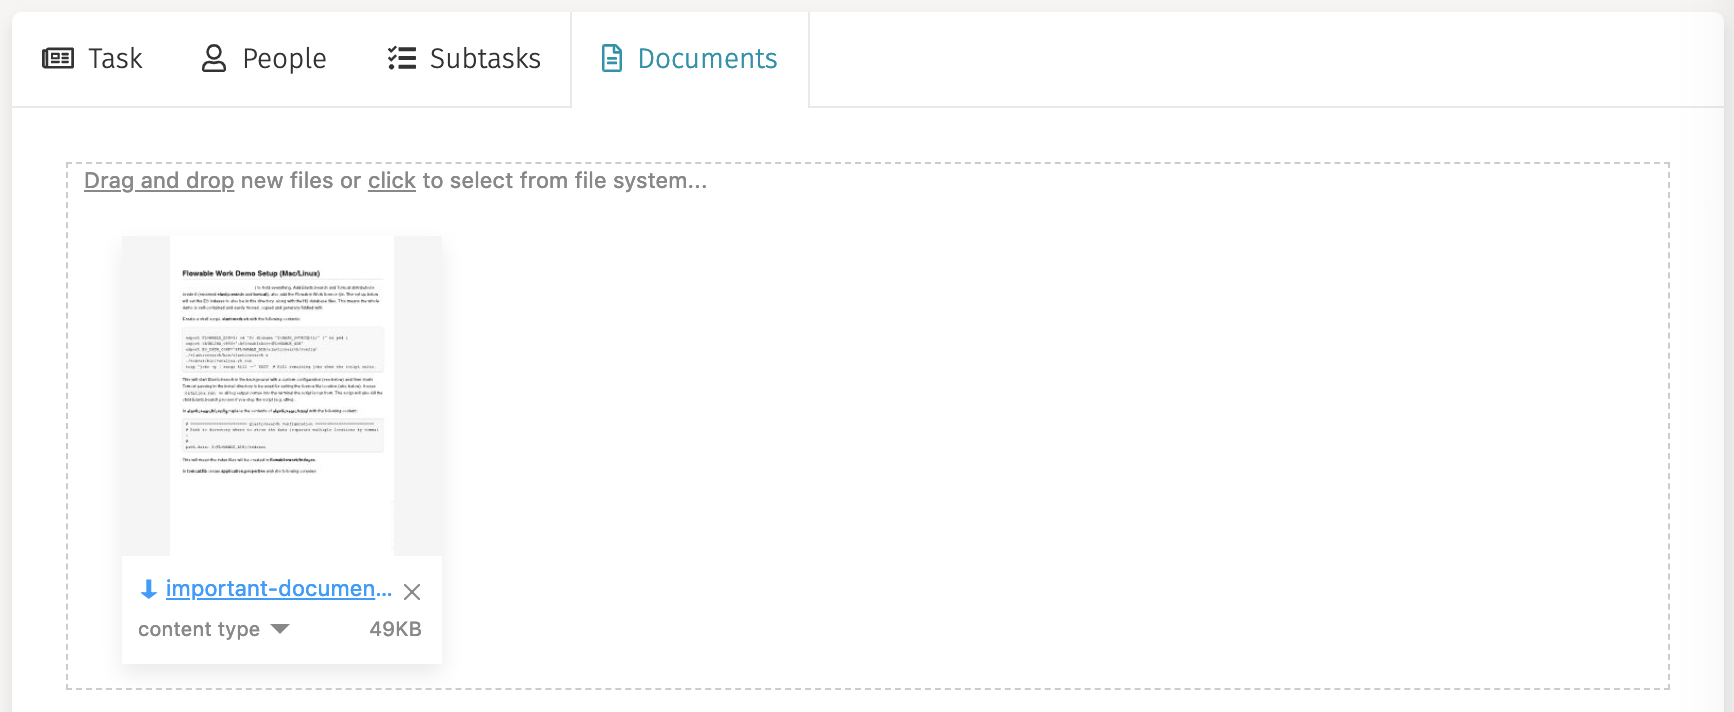
To attach a new file, either click the plus sign in the window or click on
the Upload file button and a window for choosing the file from your system opens.
To delete a document, simply click the item, click the three dots menu at the right of the line and then select Delete file.
You can add metadata to a document by clicking the three dots menu and selecting the
Add content type item. This opens
a panel below where you can enter the content type (for example Contract) and based
on the selected content additional fields appear. In order to save your metadata,
you have to press the Save button on the header area.